
Footwear evidence guide
Sneaker Authentication
Learn how sneaker authentication checks the exact SKU, release, shape, materials, construction, labels, packaging, condition, and pair consistency.
Independent educational guidance. An item-level result requires review of the exact product evidence.
Direct answer
Sneaker authentication identifies the exact SKU, colorway, size, region, and release, then compares both shoes for shape, materials, stitching, logos, labels, soles, internal finishing, packaging relationships, and modifications.
Sneaker evidence is release-specific. A rule for one colorway, size, country, or production run may not apply to another.
Confirm the exact release before comparison
Match product code, color description, size system, label format, barcode context, release period, and expected accessories. A copied label can identify the claim without proving the shoes.
Some brands add a self-check. New Balance says shoes made from May 2025 carry a QR code on the tongue label that opens a microsite whose details should match the shoe, while earlier pairs cannot be self-authenticated. A printed code can be copied, so it supports the pair rather than replacing it.
Use same-SKU references and account for size-related proportion changes.
Compare both shoes as a pair
Photograph lateral and medial profiles, toe, heel, tongue, collar, logos, panels, insole, midsole, outsole, and internal finishing on both shoes.
Look for coherent materials and assembly, allowing reasonable production tolerance while investigating repeated contradictions.
Disclose wear, restoration, and packaging
Regluing, repainting, sole swaps, replacement insoles, and missing boxes affect scope and value. Show all changed areas.
Boxes and accessories support the release story but are separable. The physical pair remains primary evidence.
Photo guide
Photos to take of sneakers
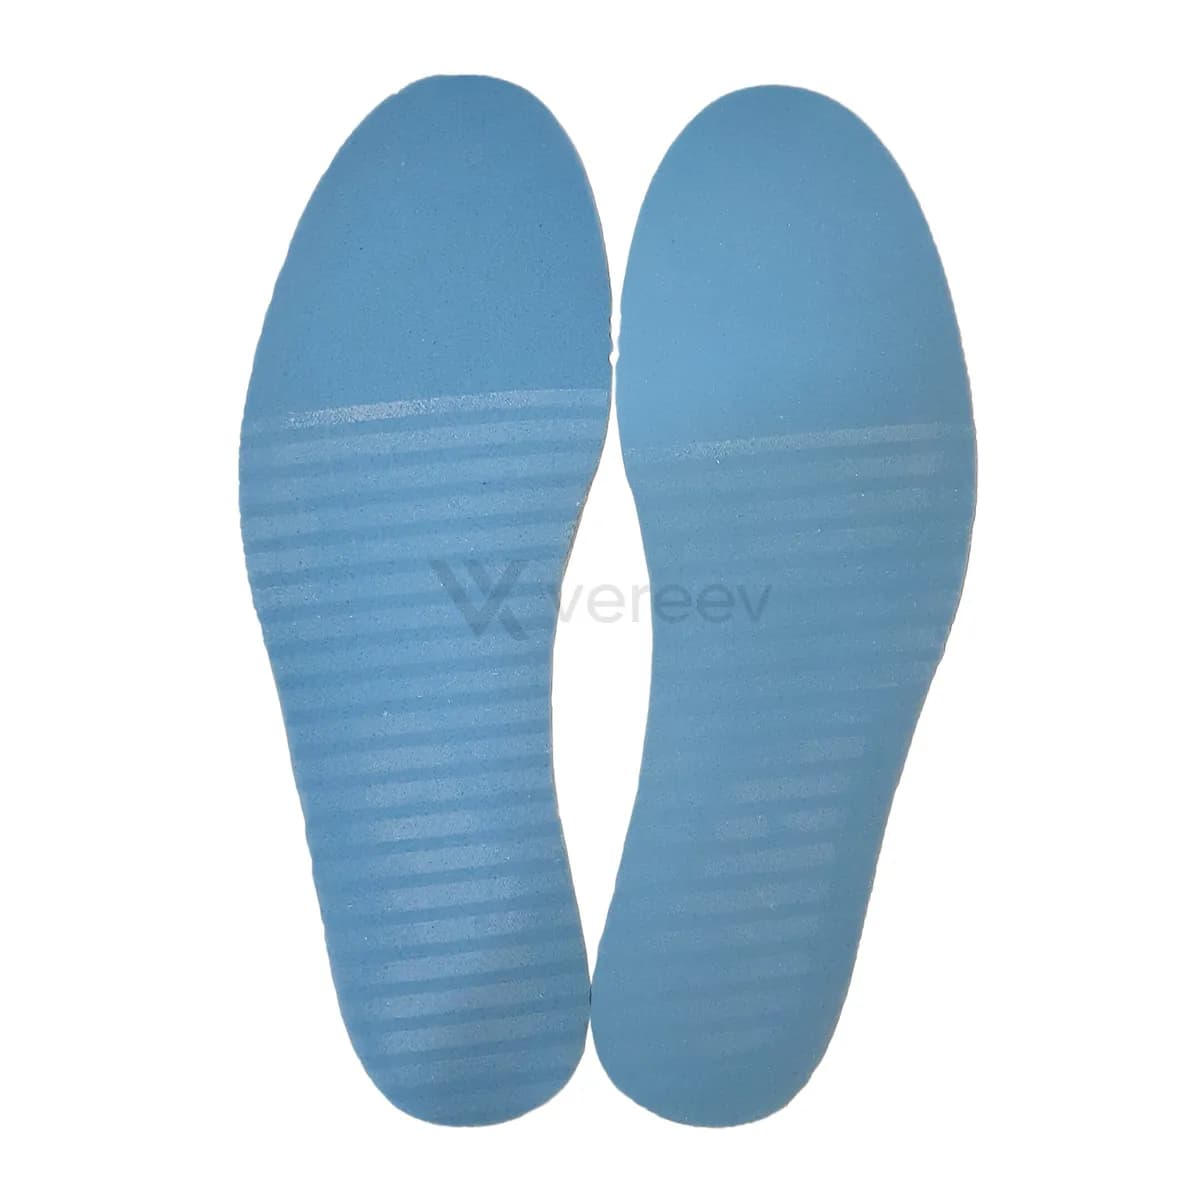
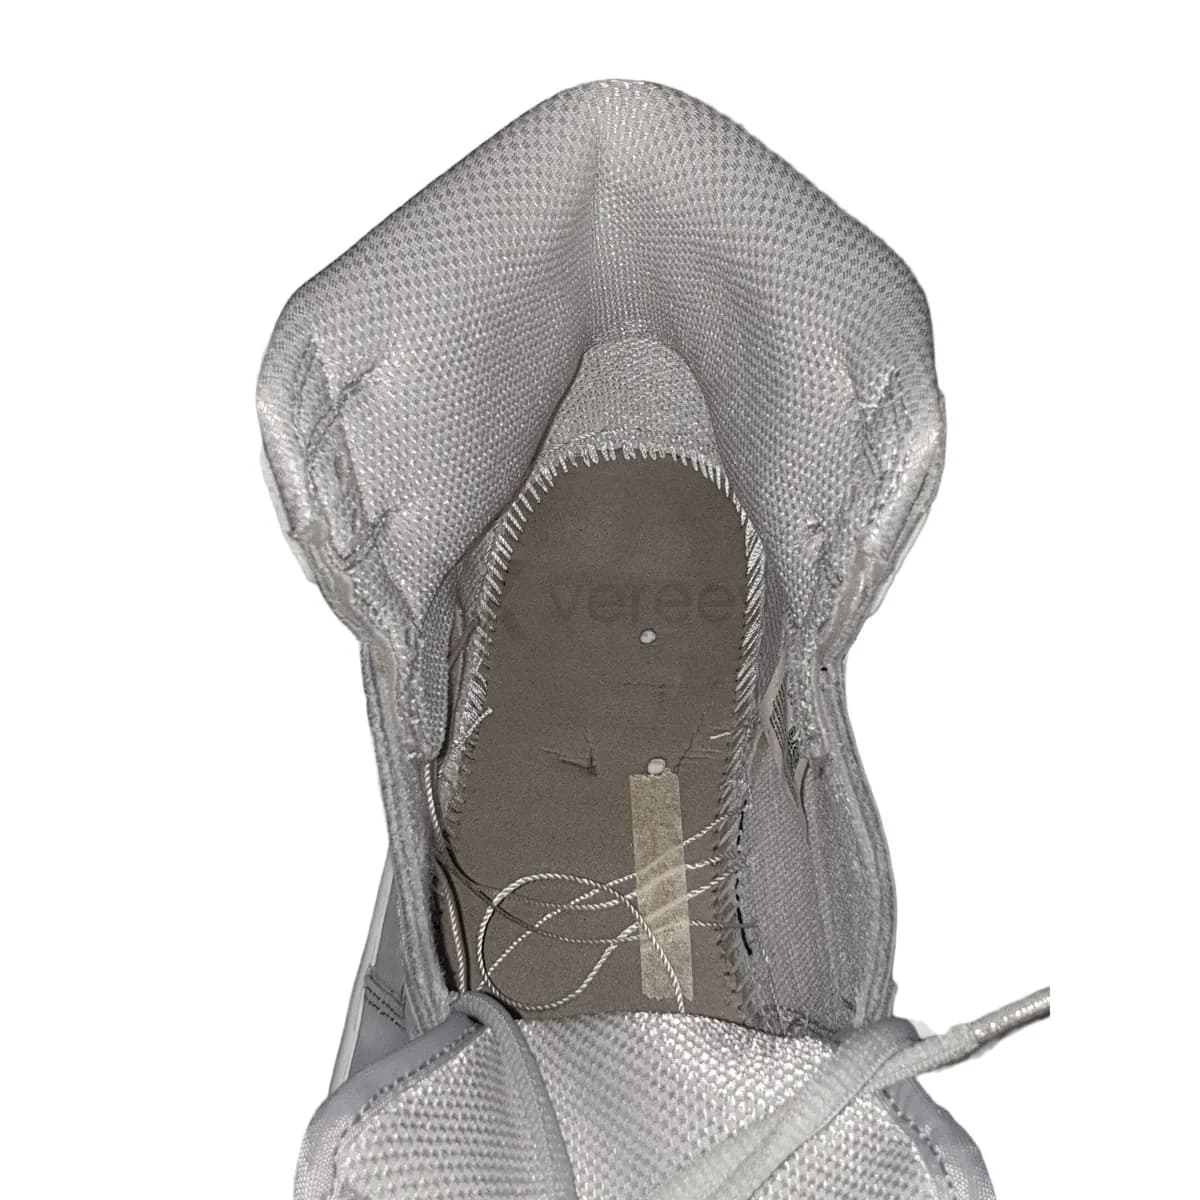
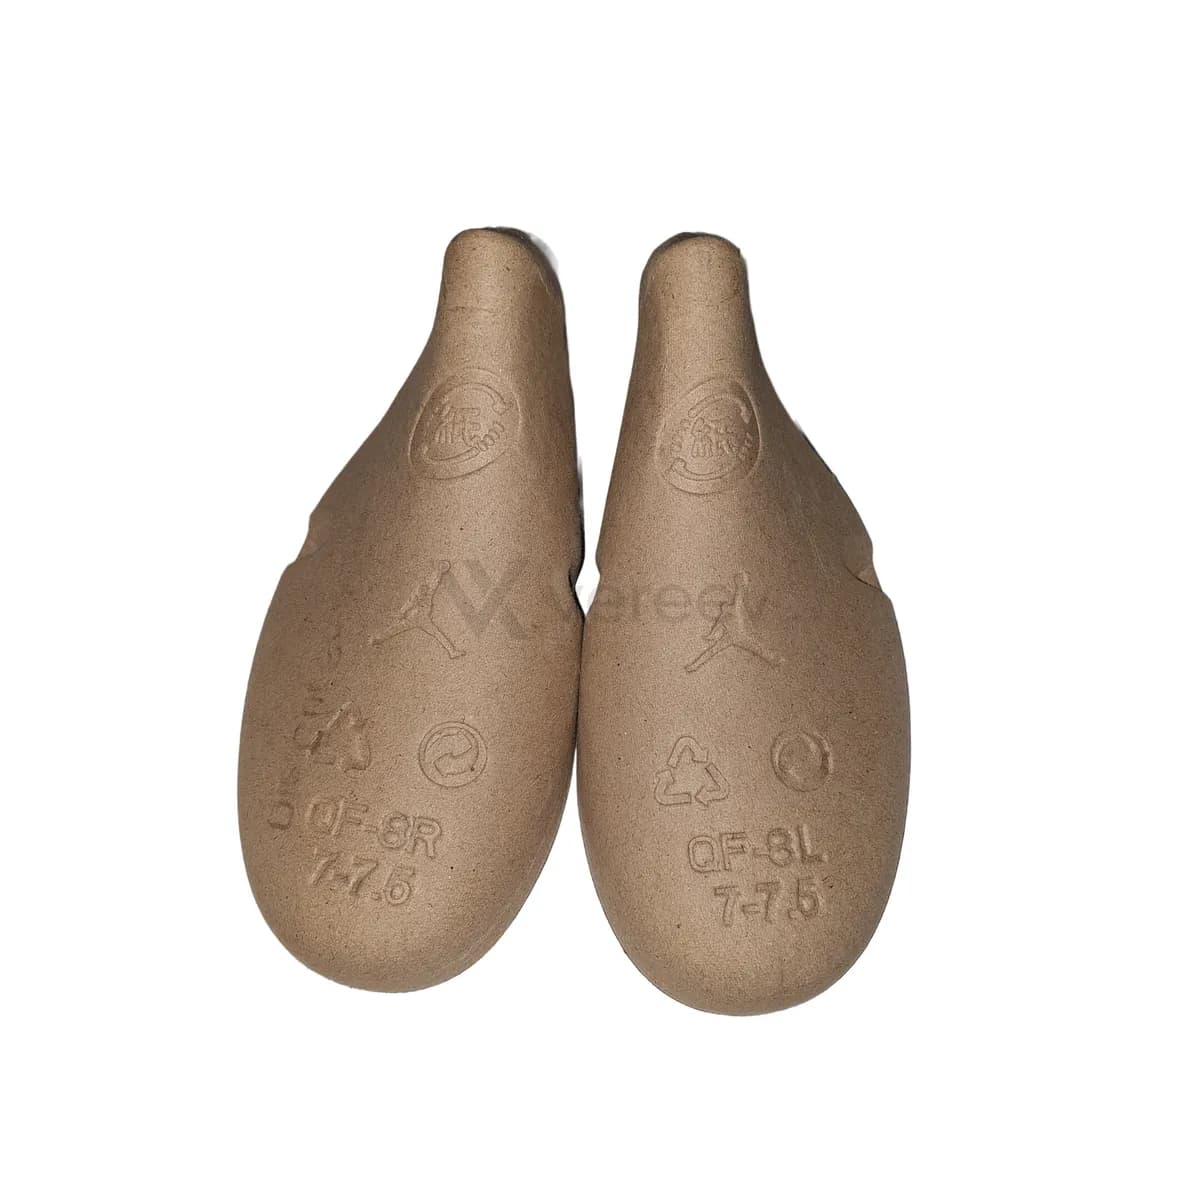
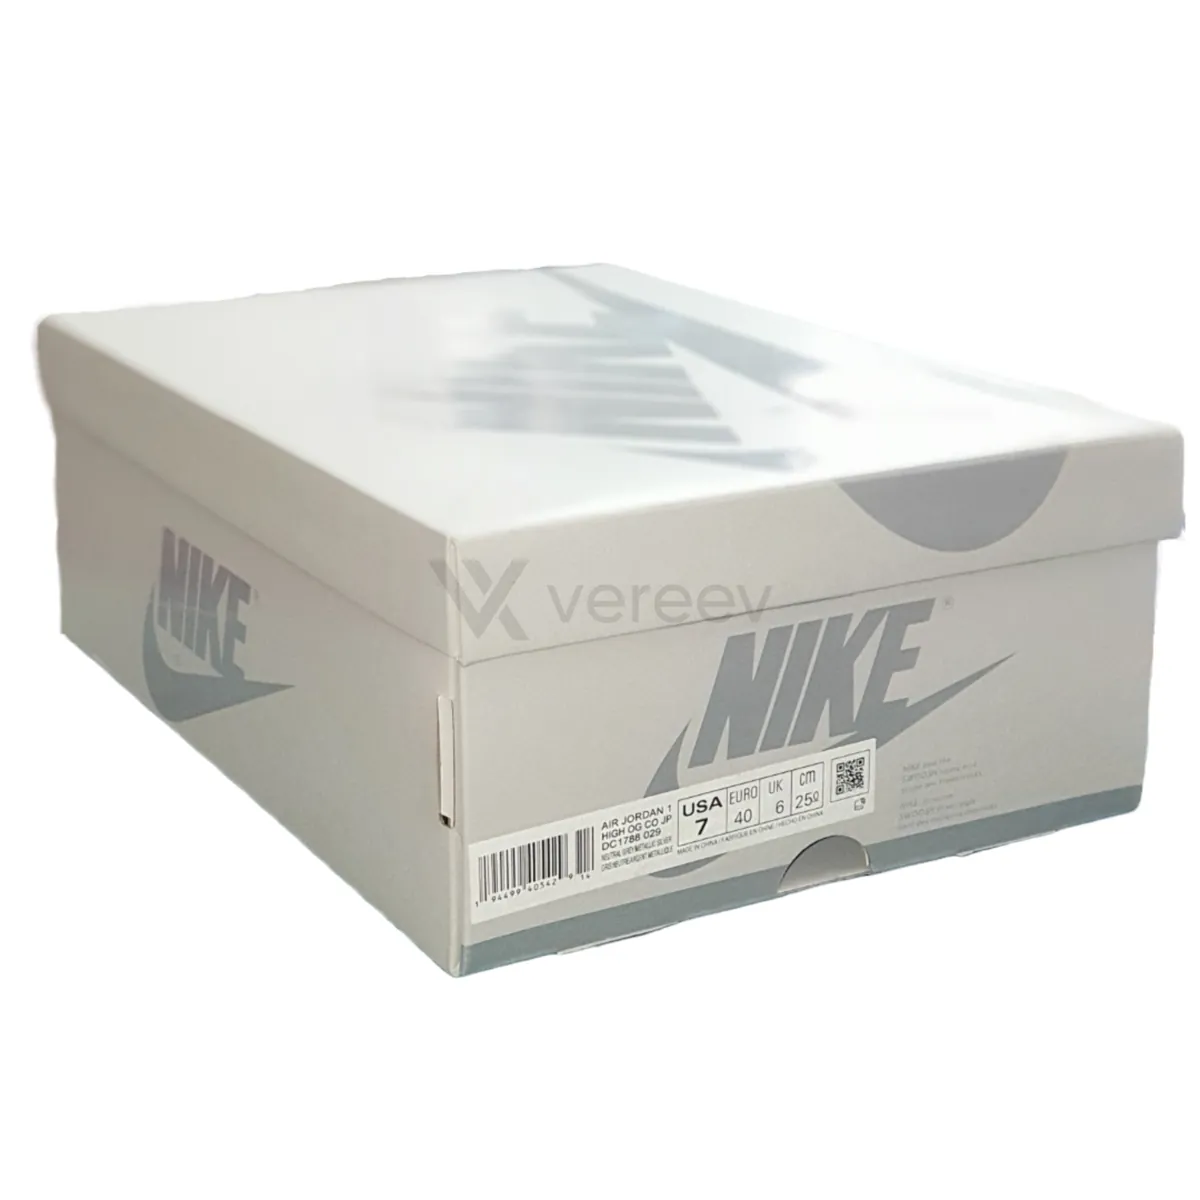
The Vereev app's photo guide for shoes lists these 11 angles, with a sample photo for each. The numbers on the photos match the list.
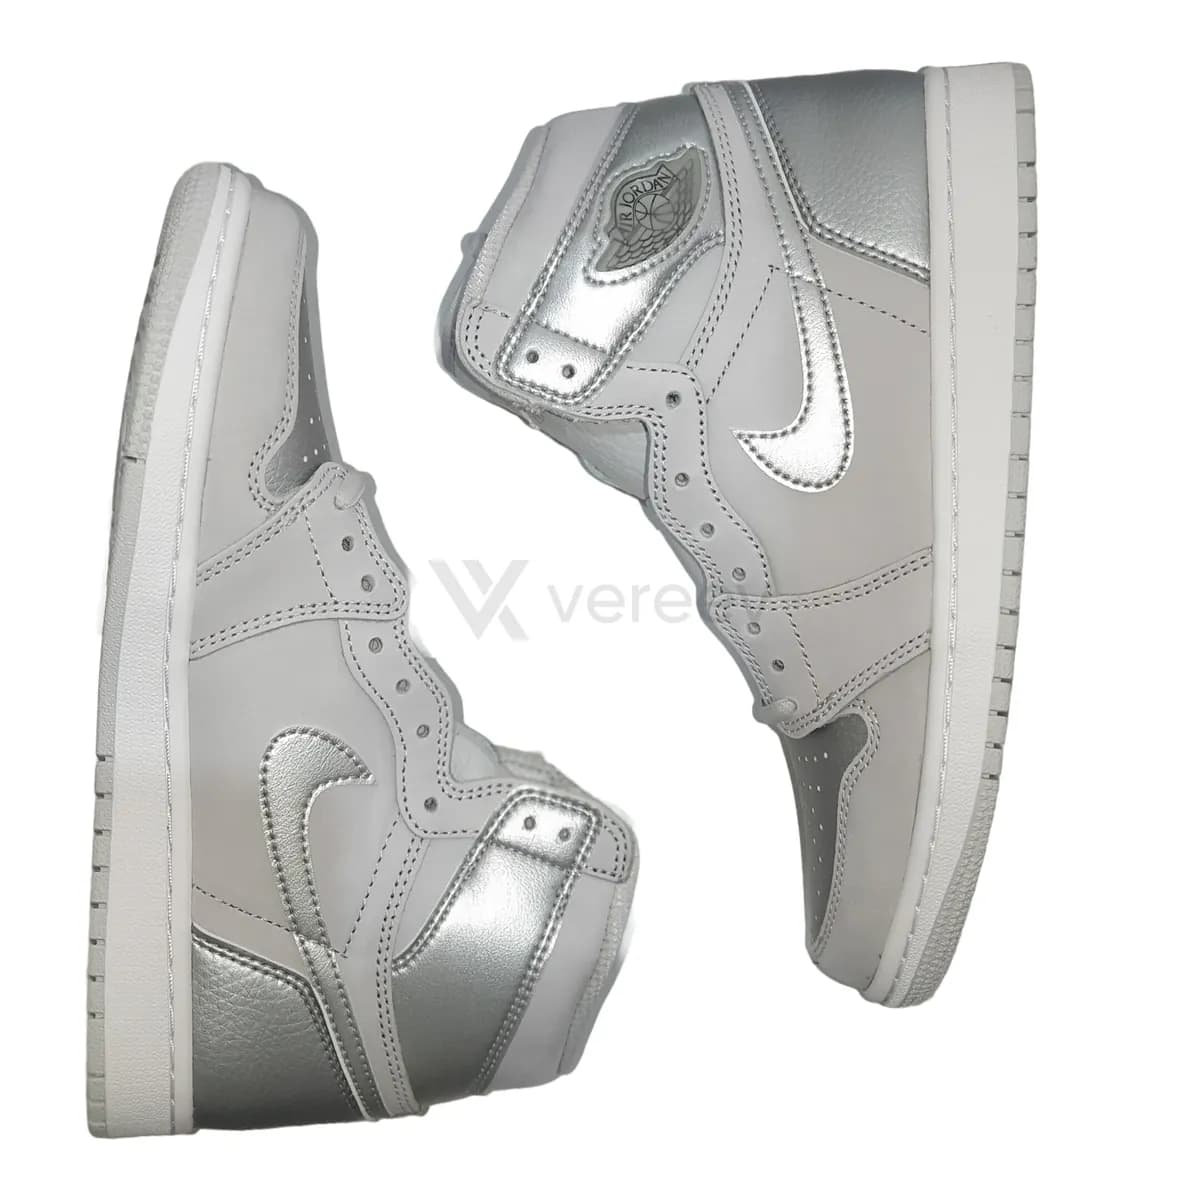
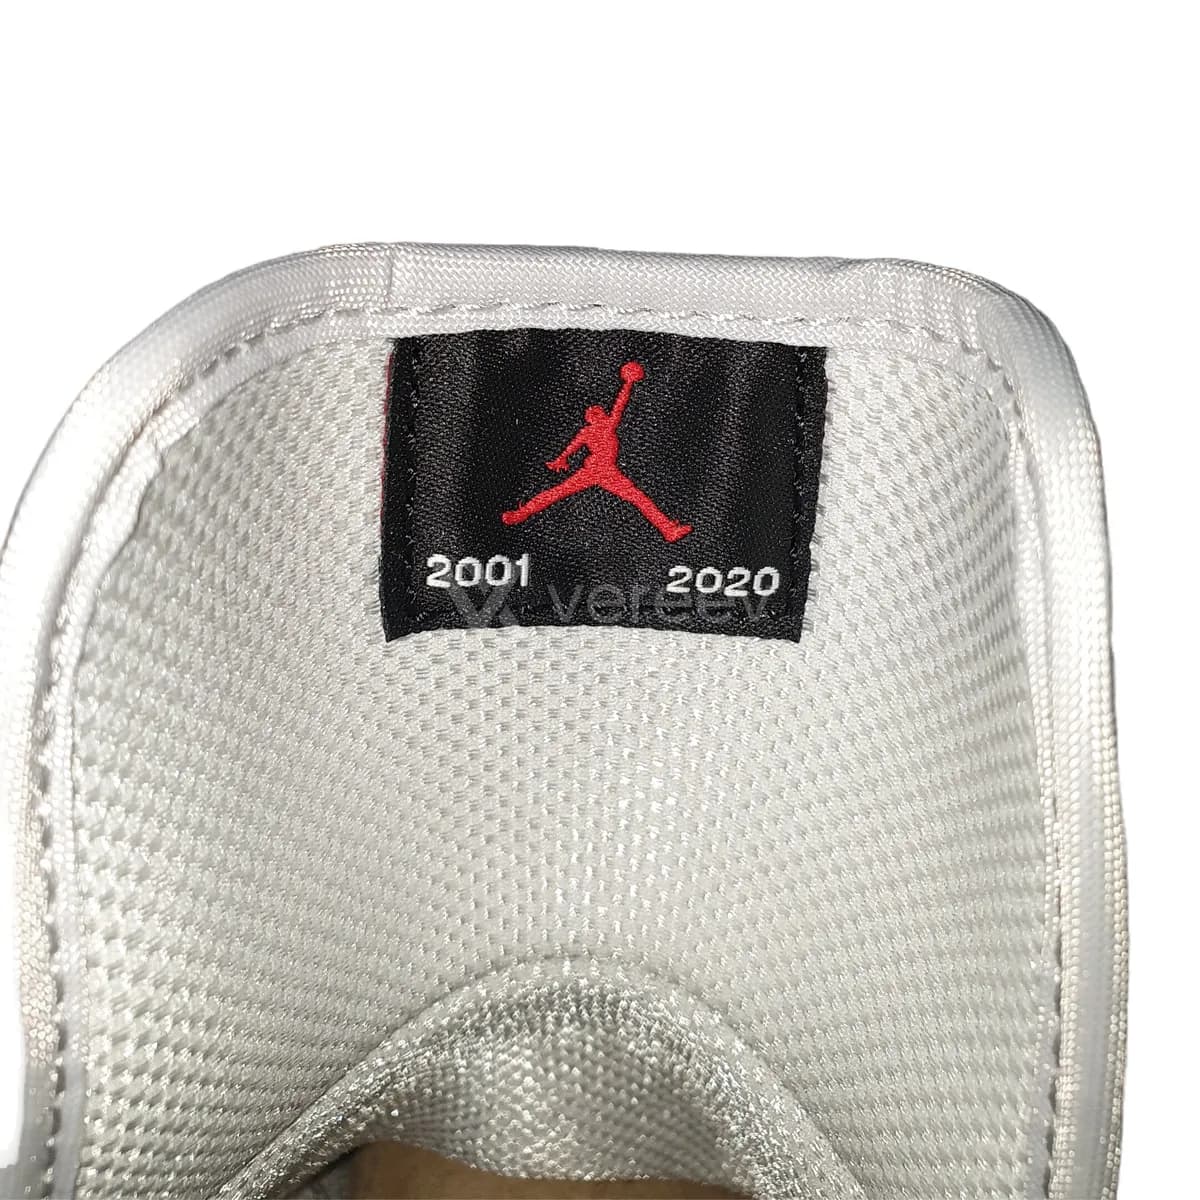
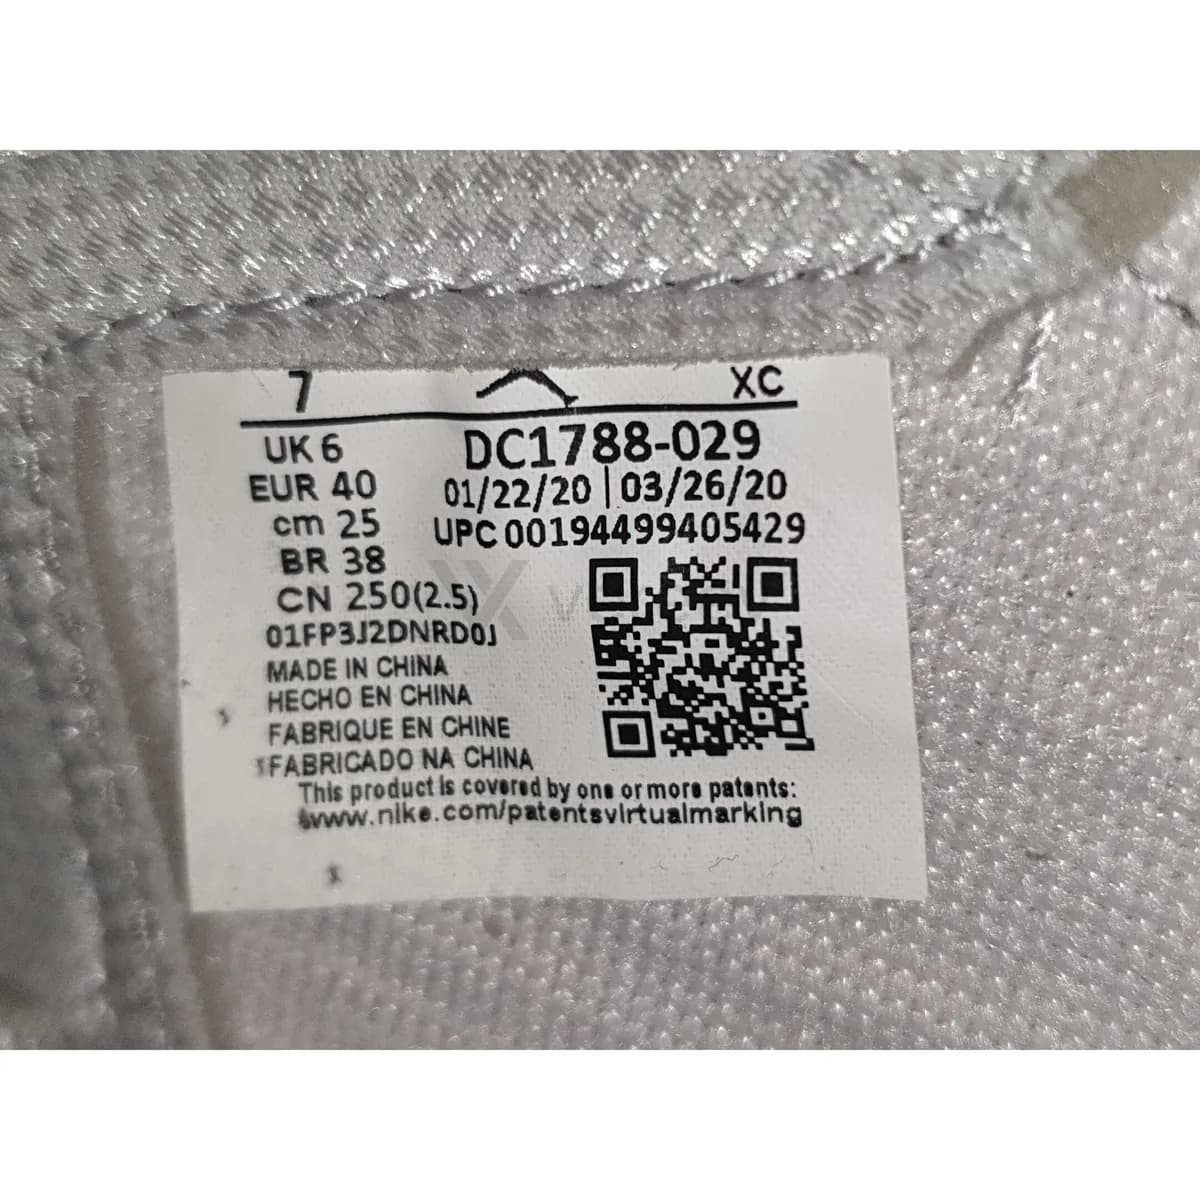
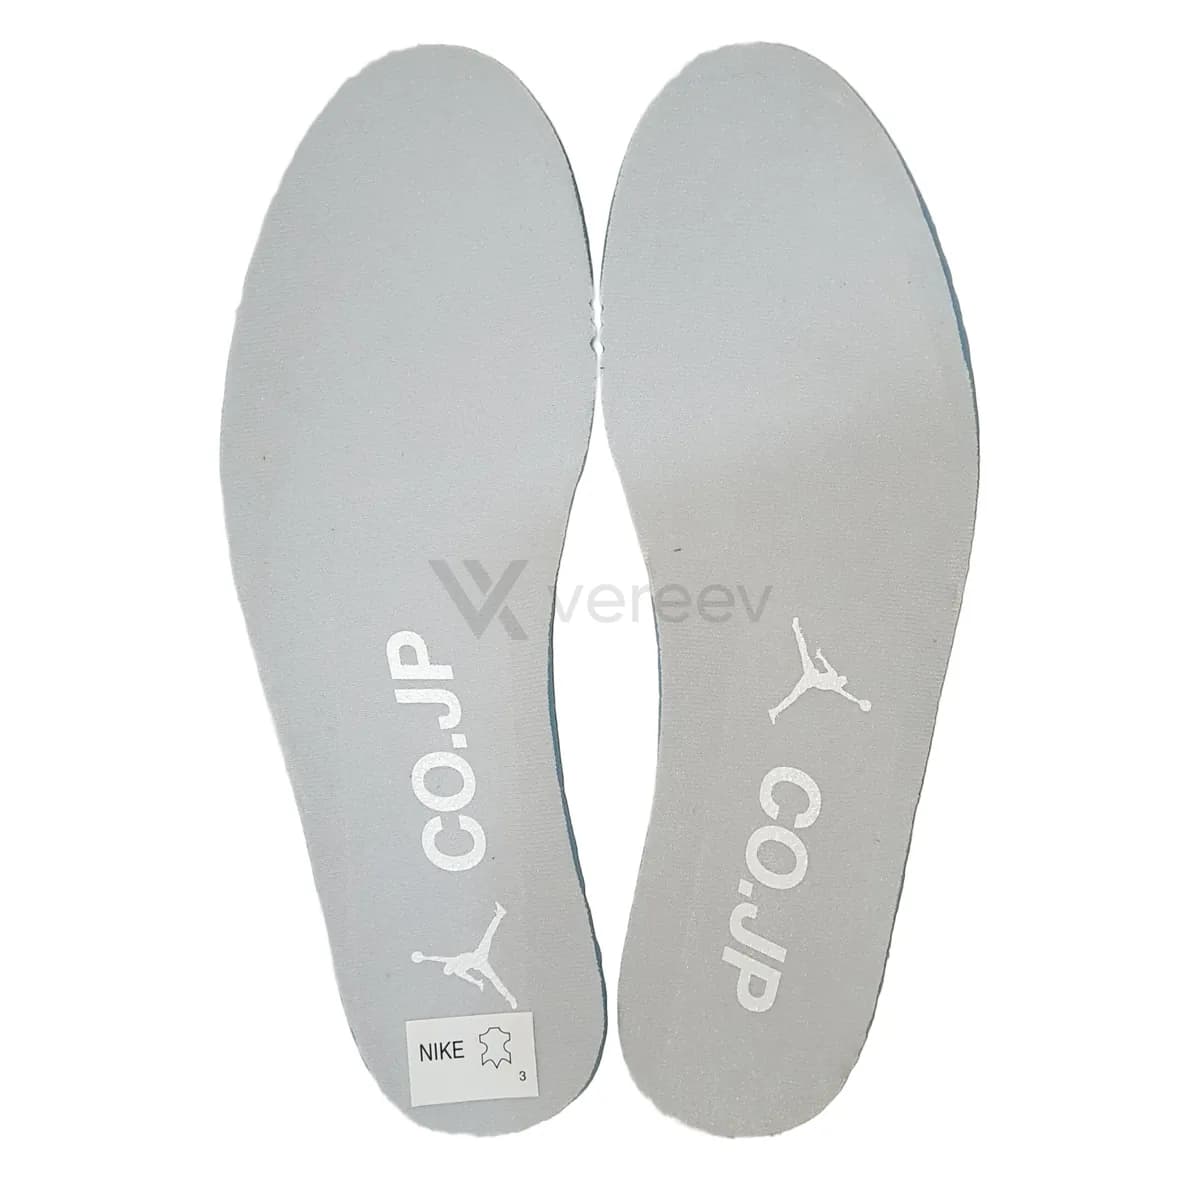
Full Pair
Show both shoes together so a reviewer can see overall shape, symmetry, color, and condition.
Tongue
Capture the tongue shape, label placement, stitching, padding, and material texture.
Size Label
Show the size tag clearly so the SKU, production dates, typography, and spacing can be checked.
Insole Top
Remove the insole if possible and photograph the top print, logo, shape, and wear pattern.
Insole Bottom
Capture the underside of the insole, including foam texture, glue marks, stamps, or cut shape.
Inner Construction
Photograph the inside of the shoe so stitching, strobel board, lining, and inner finish are visible.
Shoe Tree / Inserts
Include shoe trees, paper stuffing, inserts, spare laces, or accessories that came with the shoes.
Box Label
Show the main box label with SKU, size, barcode, product name, and printing quality.
Box Details
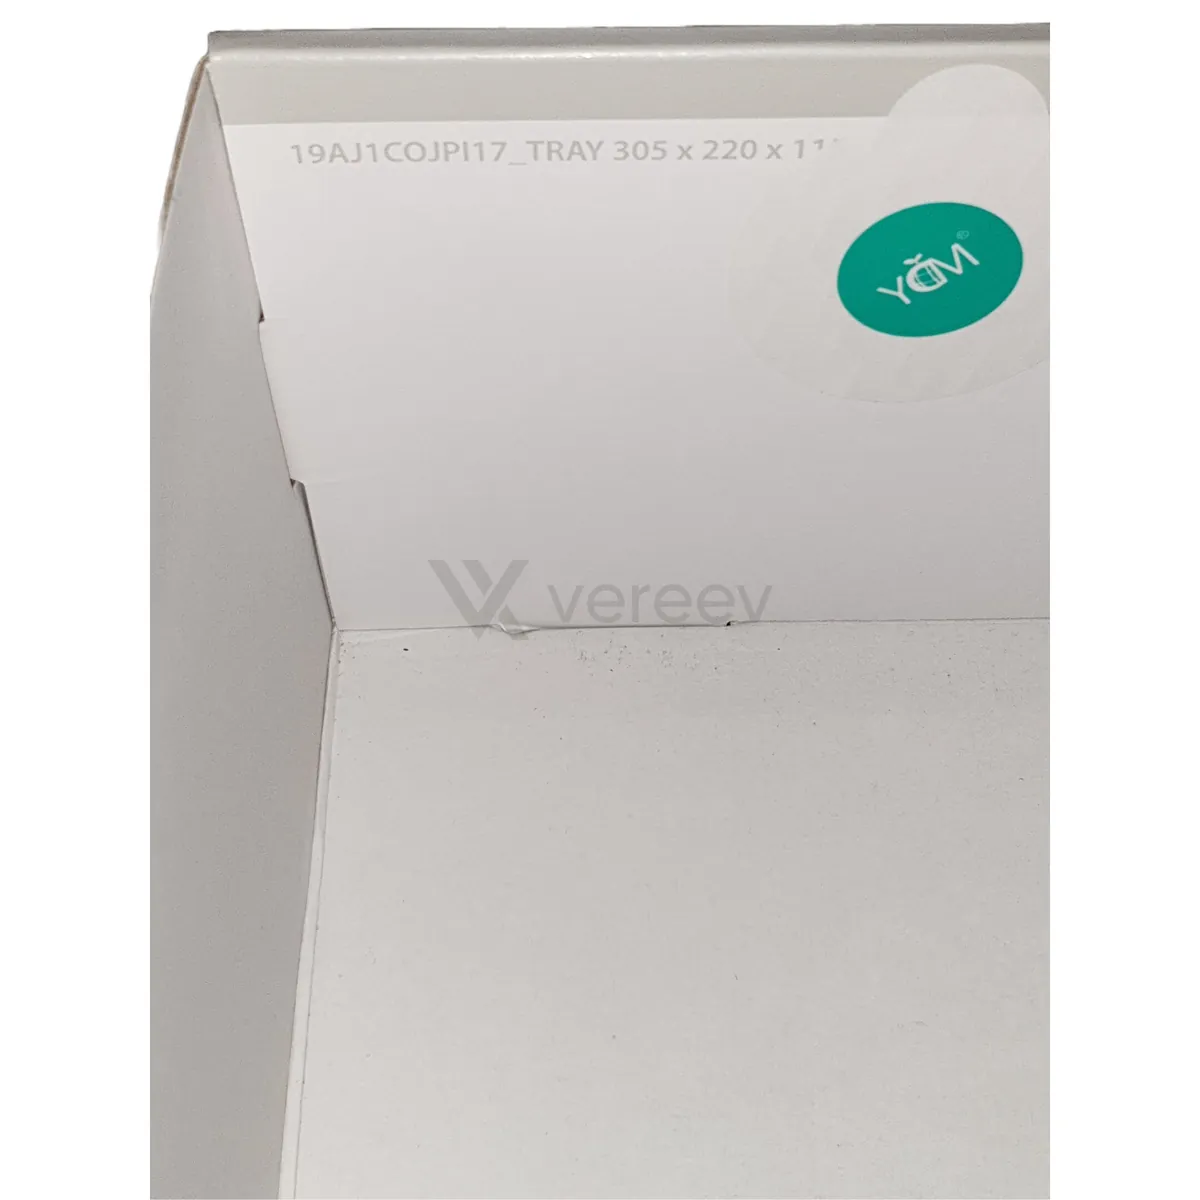
Capture extra box angles, stickers, stamps, damage, or production marks.
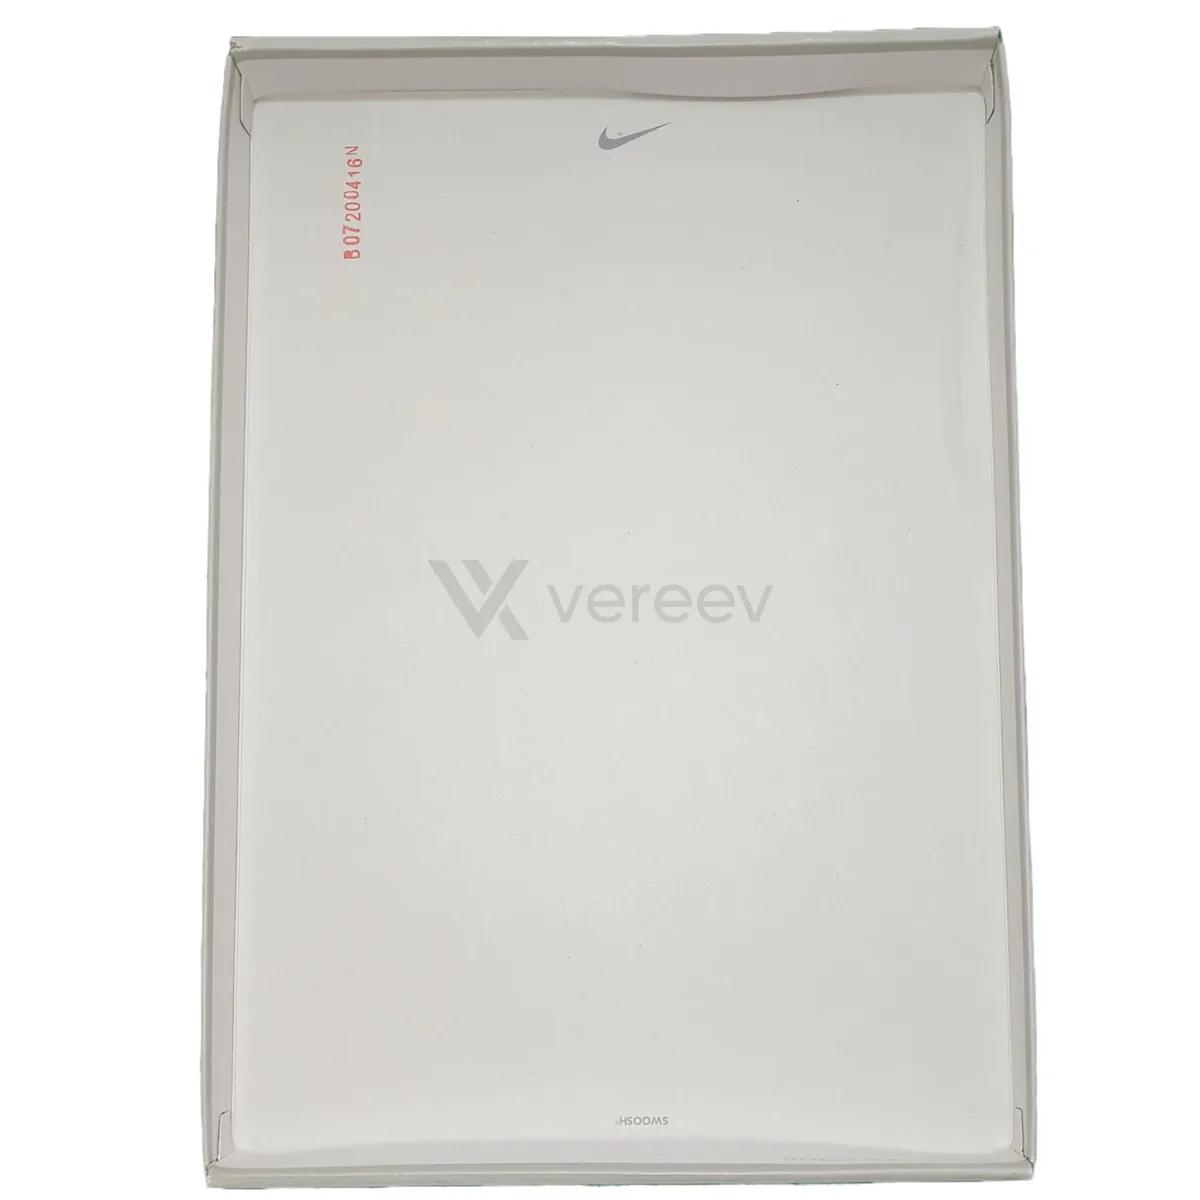
Packaging Overview
Include the full box, wrapping paper, receipt, tags, or proof of purchase if available.
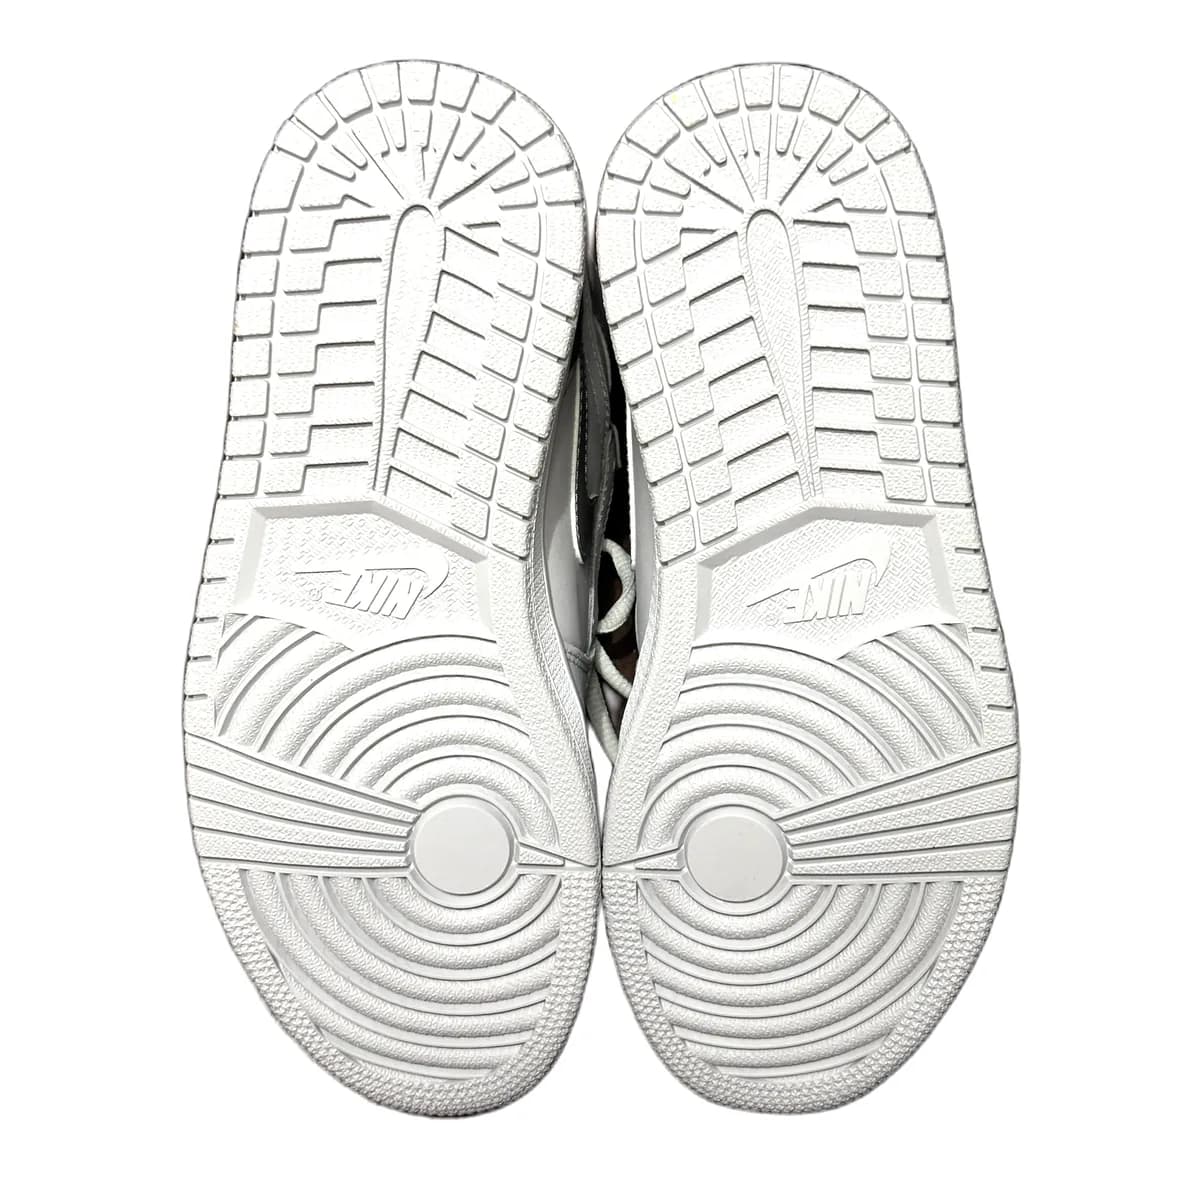
Outsole
Show the bottom of both shoes side by side, with the full tread pattern, logos, and molded markings clearly visible.
Follow the same angles in the app
The Vereev app shows a sample photo for each angle when you submit sneakers. Sharp, same-item photos give the reviewer the evidence this page describes; packaging and documents help when you have them.
Open the full photo guide for sneakersCommon questions
Sneaker Authentication FAQ
Can a sneaker SKU prove authenticity?
No. It identifies the claimed release but must agree with the complete pair.
Can used sneakers be authenticated?
Usually, if enough original construction remains visible and repairs are disclosed.
Is the original box required?
Not always. It affects provenance and value but does not decide authenticity alone.
Continue with evidence
Relevant Vereev resources
Item-level review
Authenticate with Vereev
Use this guide to prepare the evidence, then submit the exact supported item for a documented result.