How to Photograph Sneakers for Authentication
Start with both shoes together, then photograph the tongue, the size label inside the shoe, the top and underside of the insole, and the inside of the shoe with the insole out. Add any shoe trees or inserts, the box label, other box details, the packaging, and the outsoles side by side. The Vereev app shows a sample photo for each of these 11 angles.
Step by step
The 11 photos to take
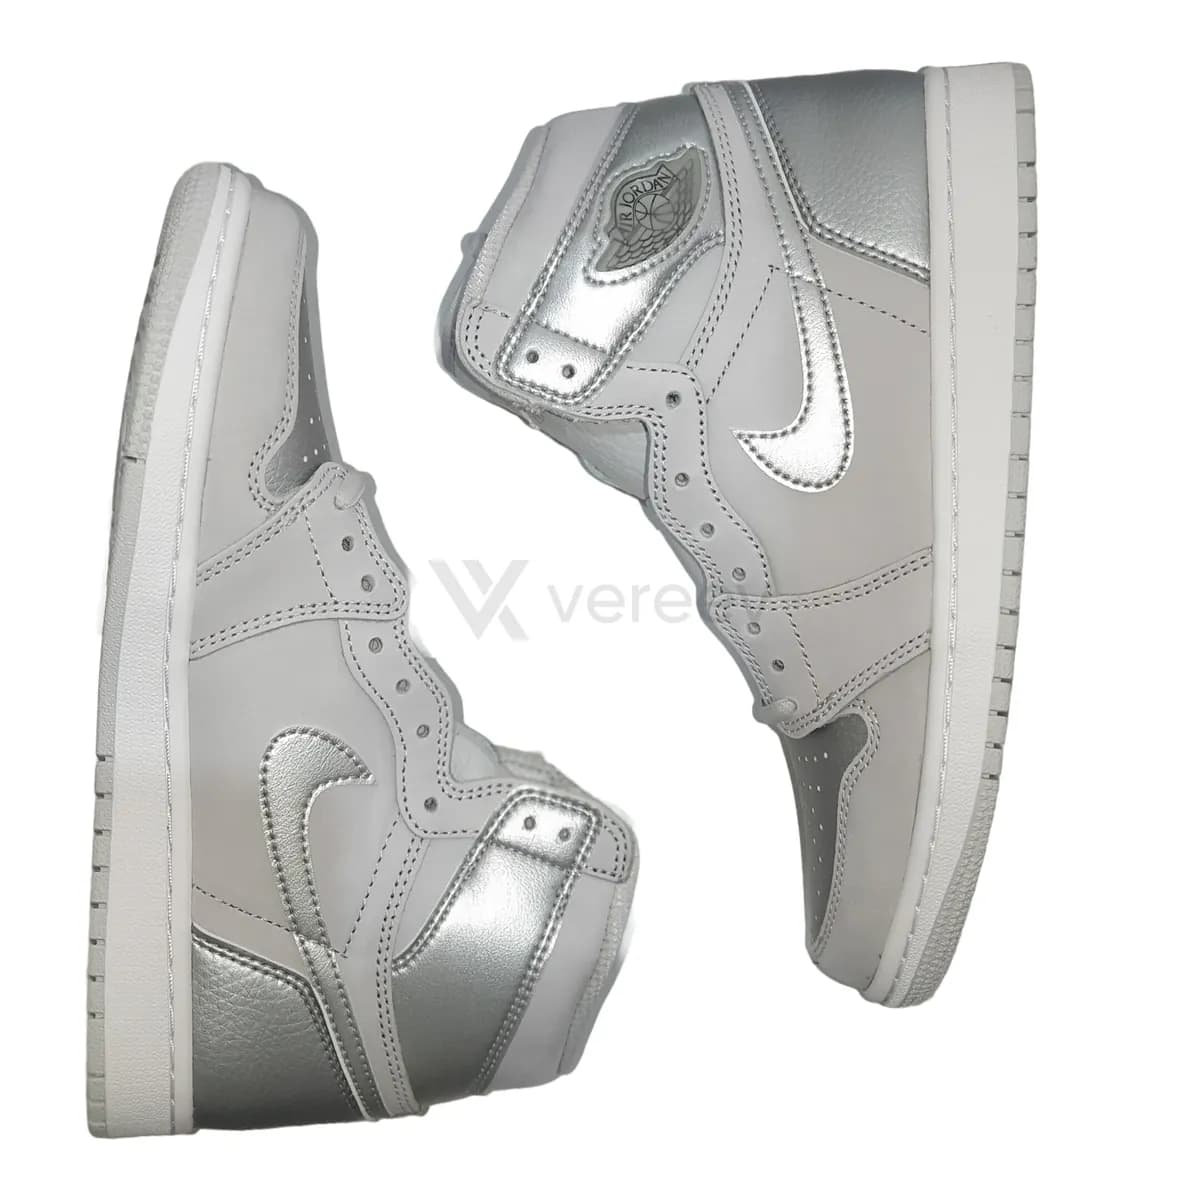
The app uses this guide for sneakers and other footwear, with shoe details and packaging when available. Its sample photos show a pair of Air Jordan 1 High CO.JP Neutral Grey sneakers. Use the same angles for any brand, and keep the same item in every photo.
Full Pair
Show both shoes together so a reviewer can see overall shape, symmetry, color, and condition.
Tongue
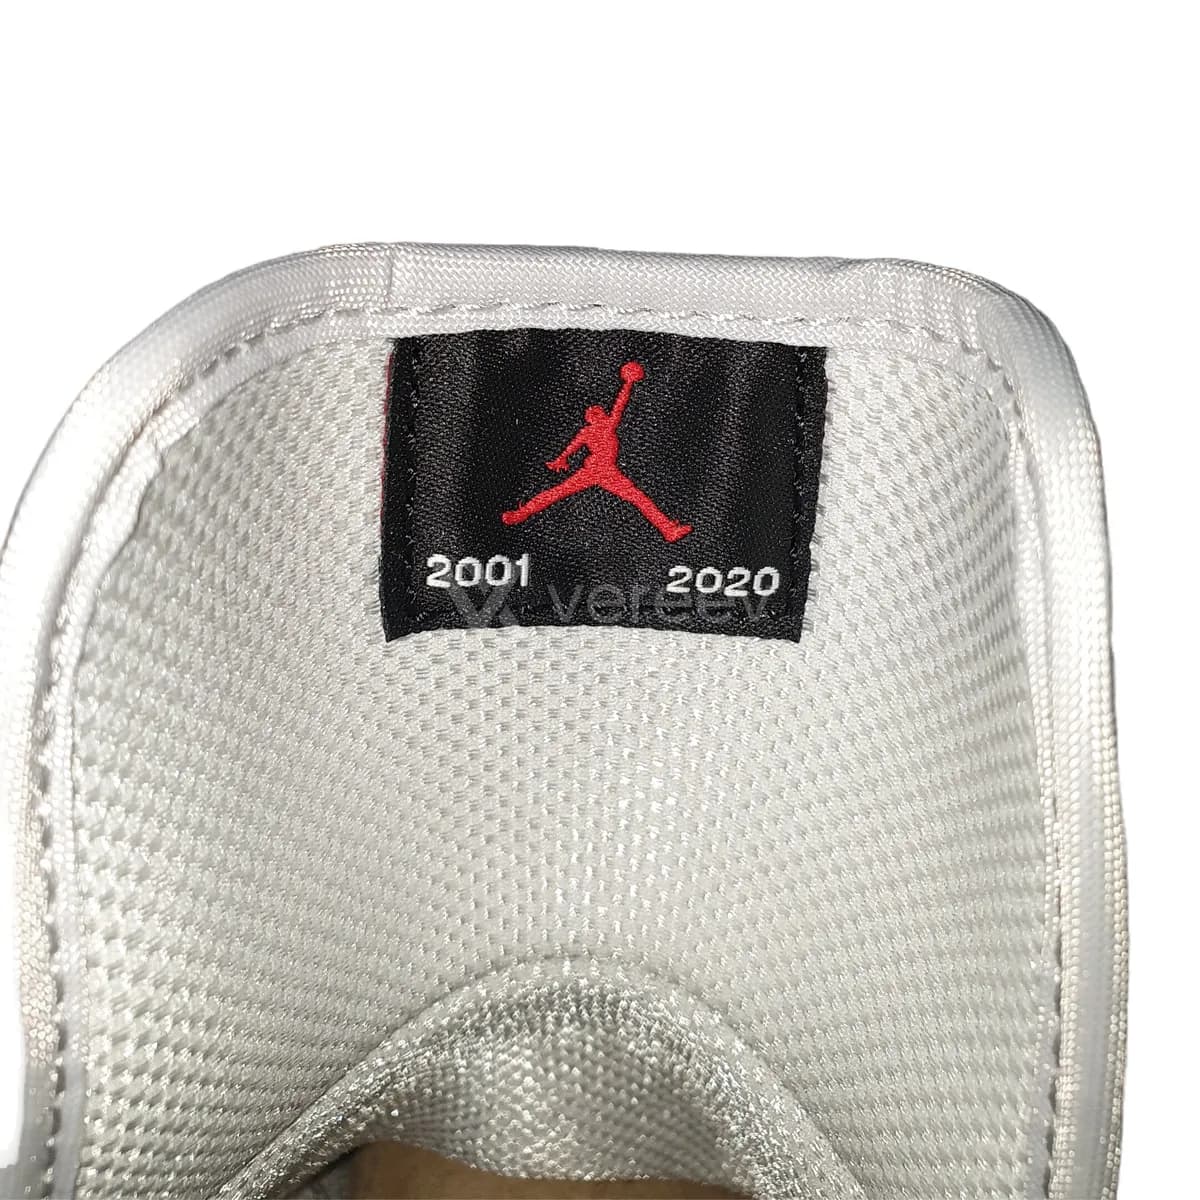
Capture the tongue shape, label placement, stitching, padding, and material texture.
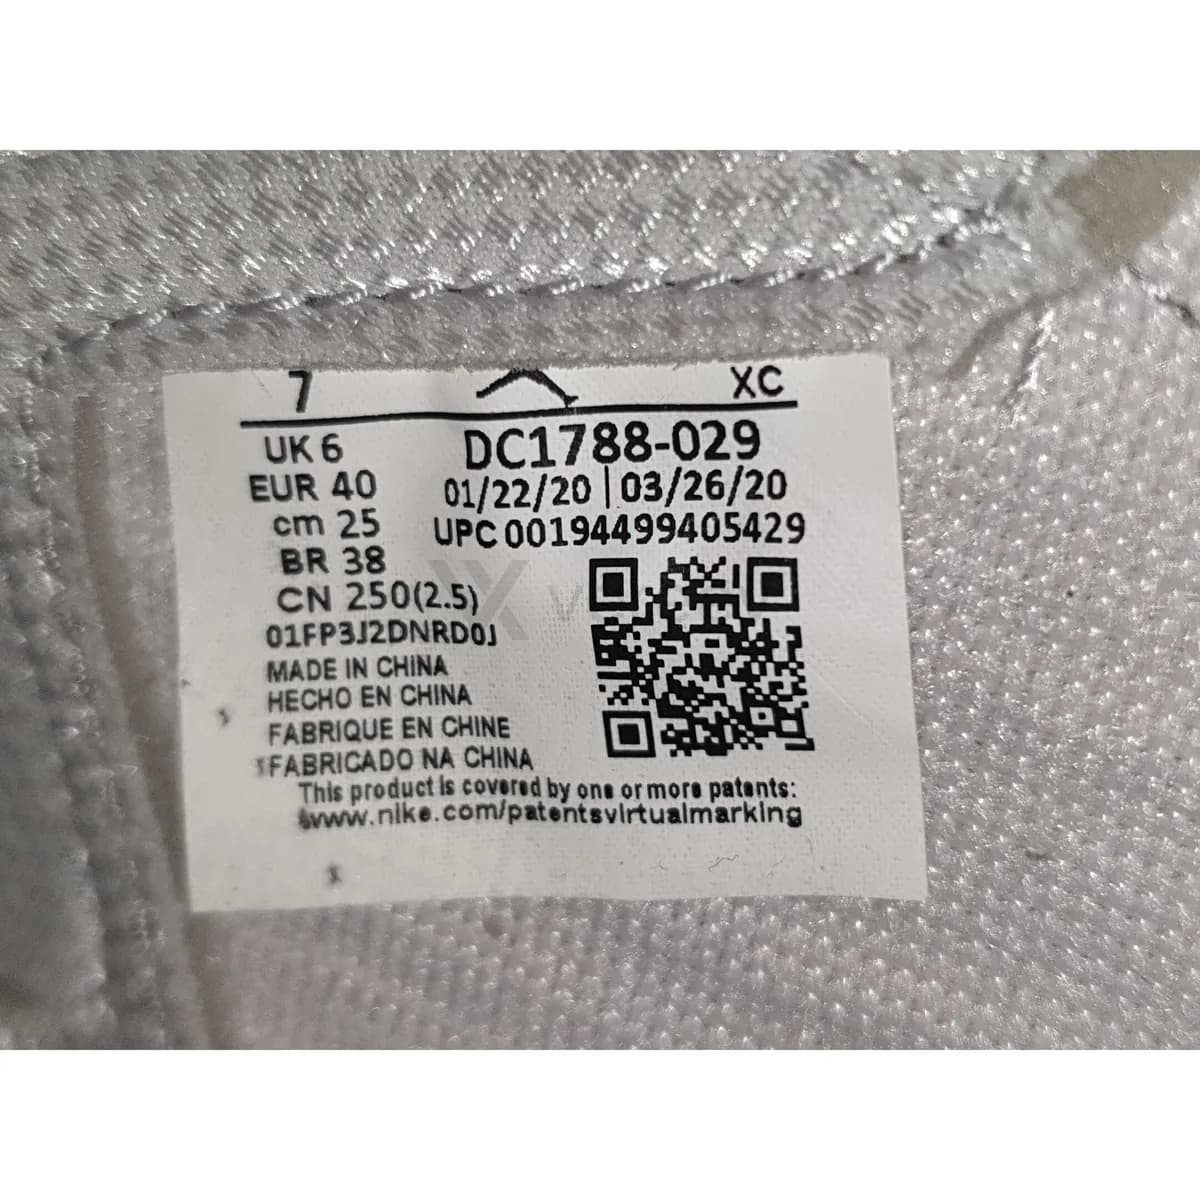
Size Label
Show the size tag clearly so the SKU, production dates, typography, and spacing can be checked.
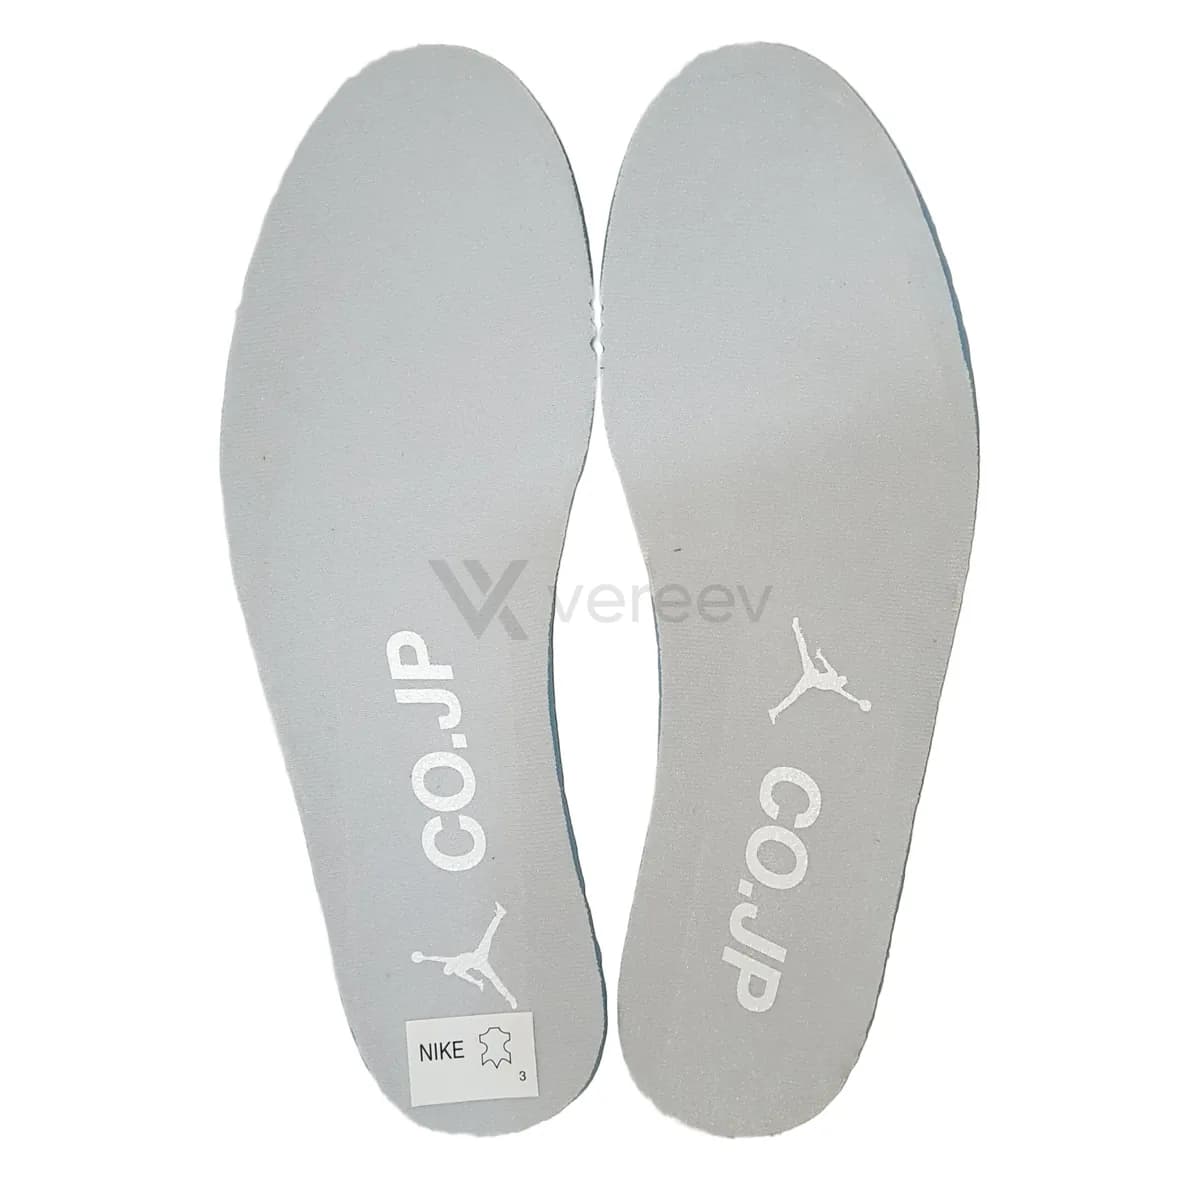
Insole Top
Remove the insole if possible and photograph the top print, logo, shape, and wear pattern.
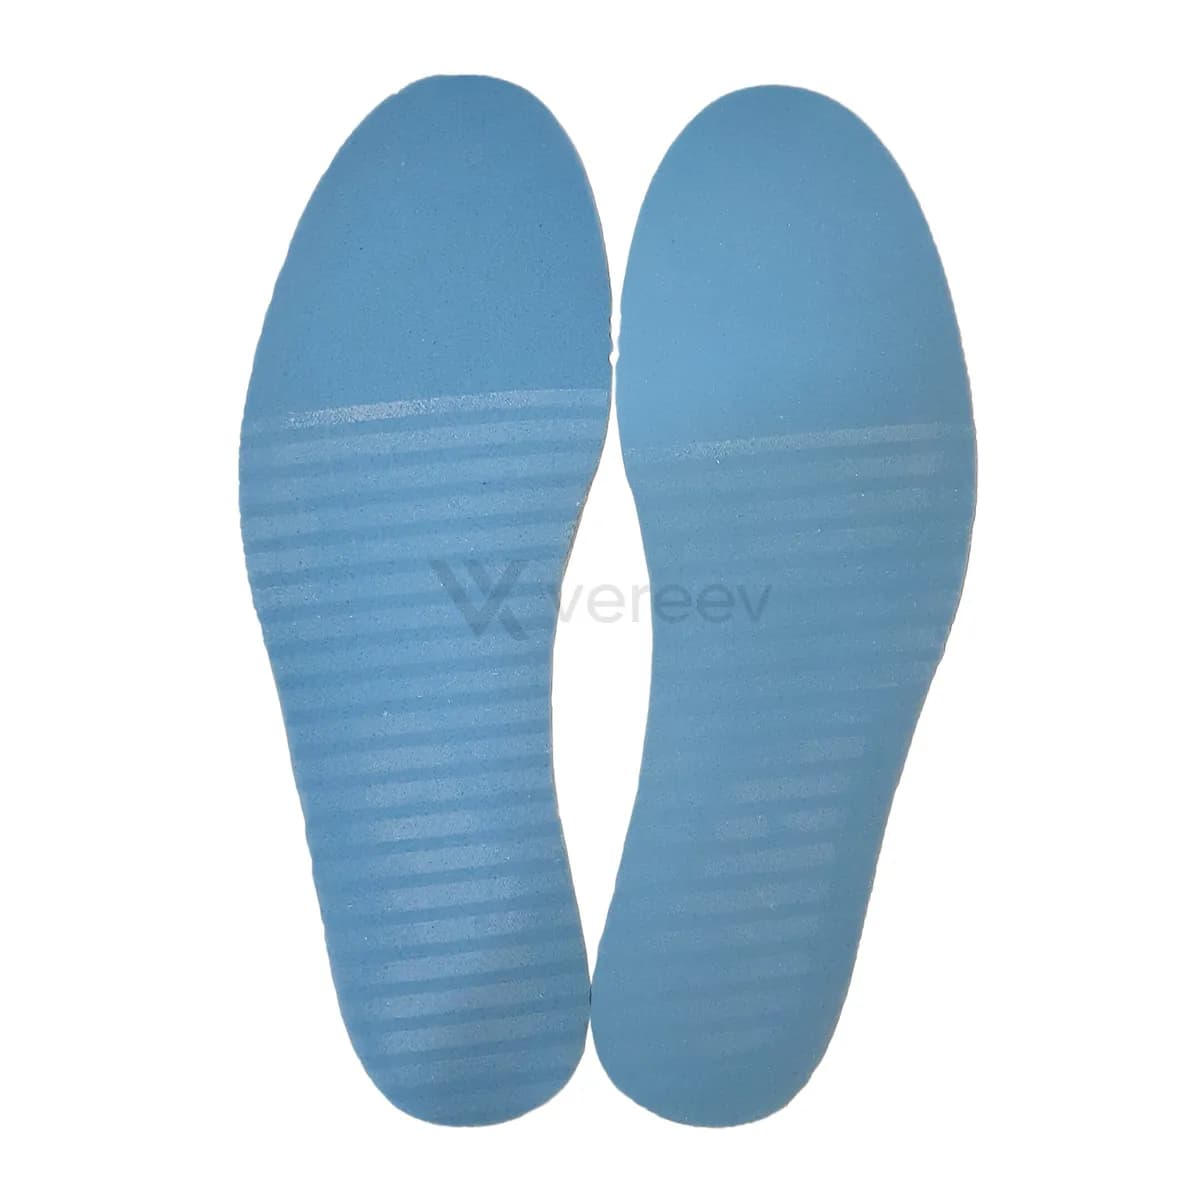
Insole Bottom
Capture the underside of the insole, including foam texture, glue marks, stamps, or cut shape.
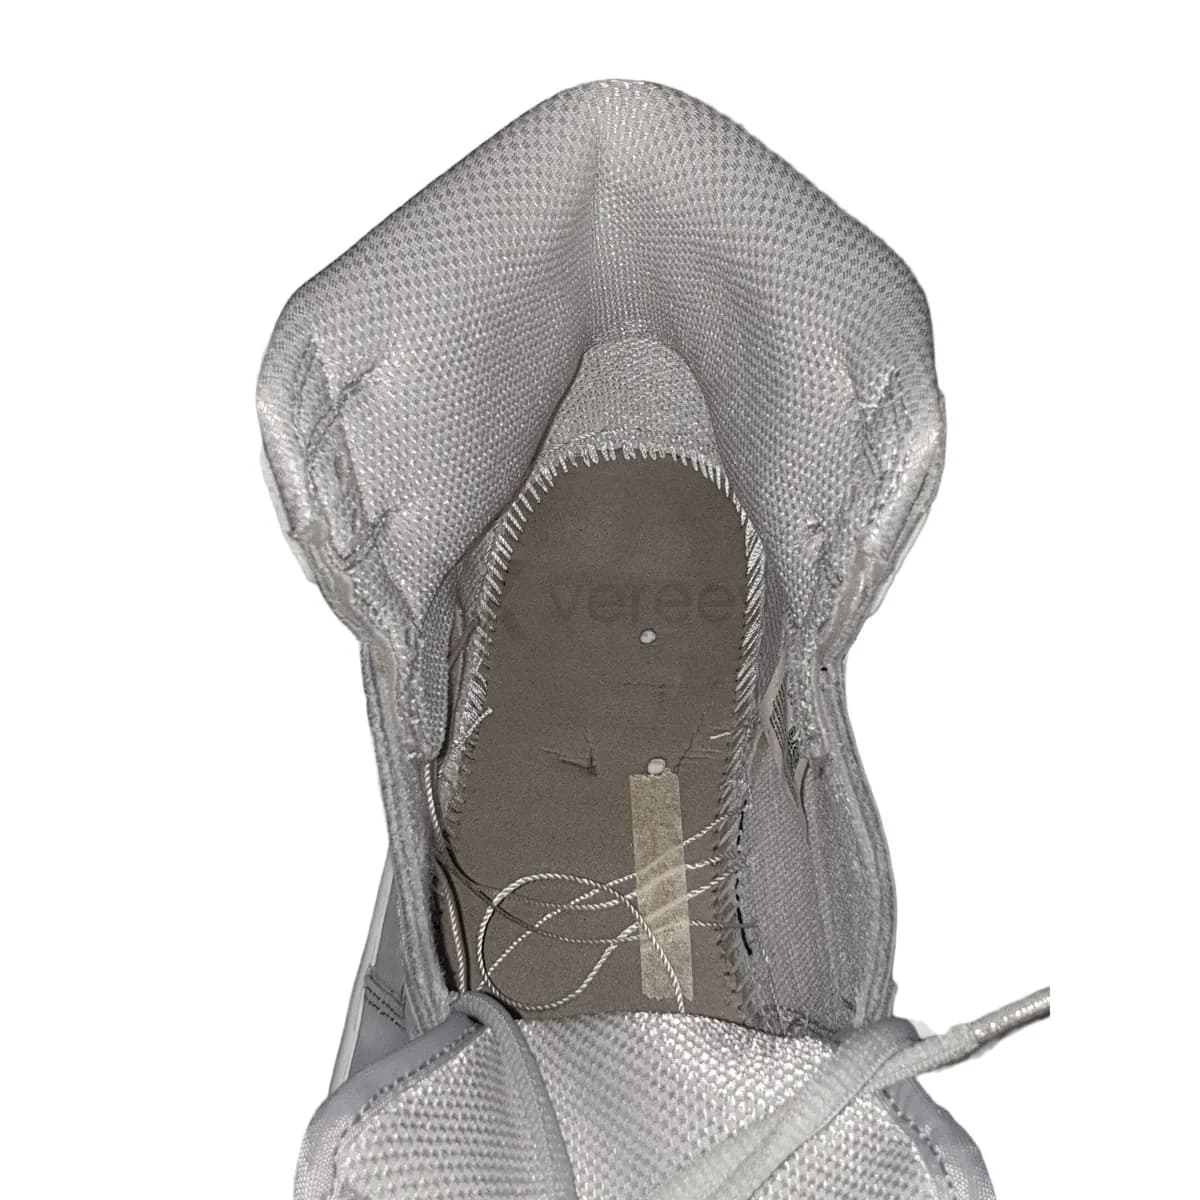
Inner Construction
Photograph the inside of the shoe so stitching, strobel board, lining, and inner finish are visible.
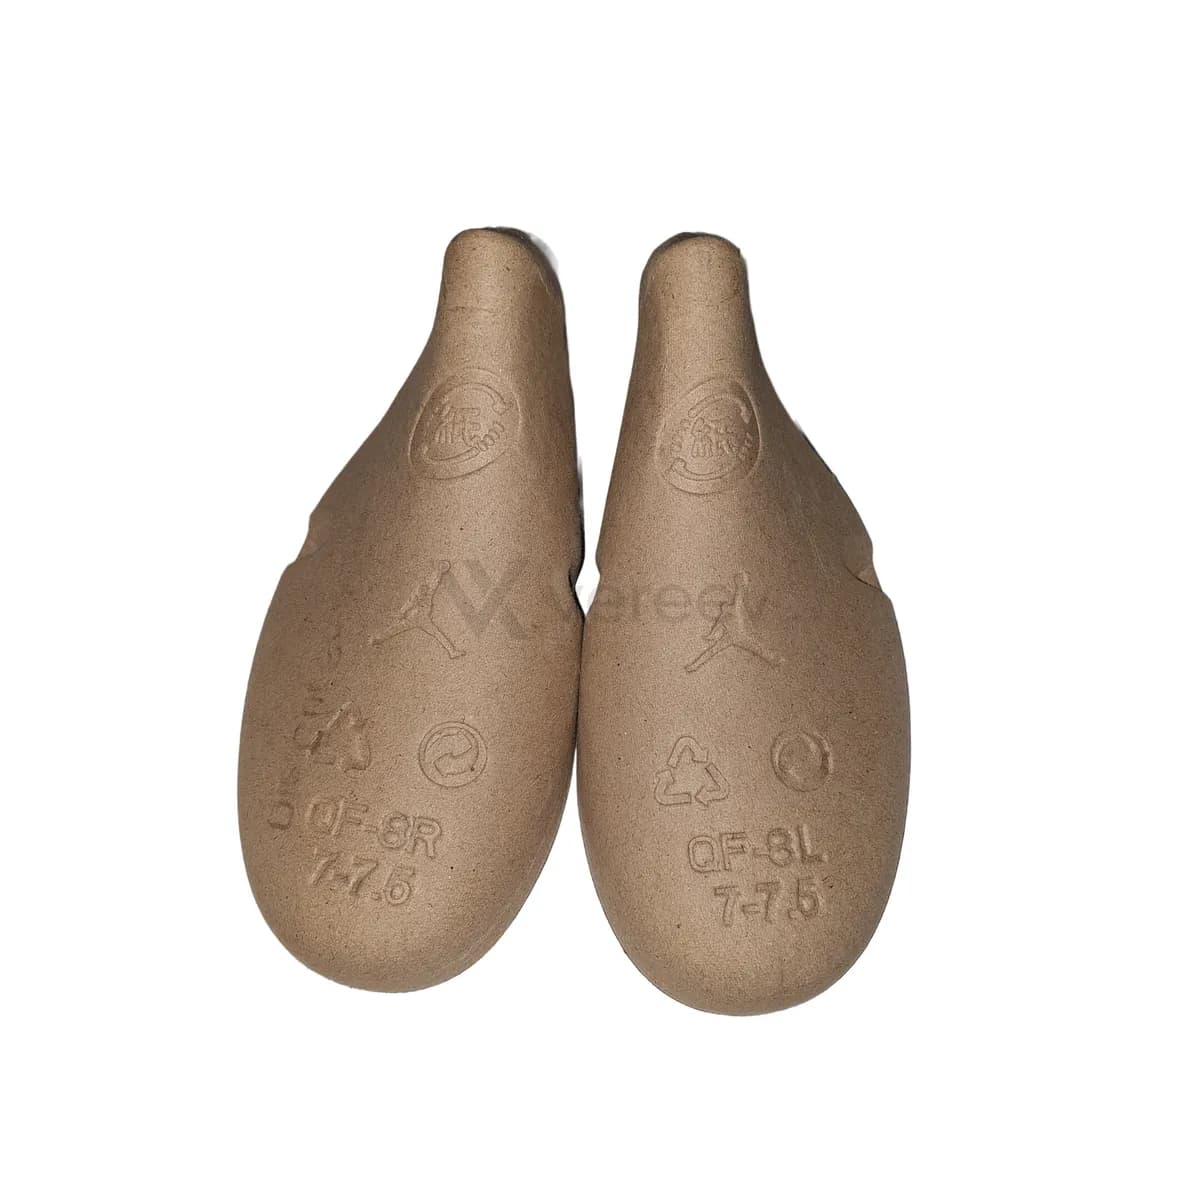
Shoe Tree / Inserts
Include shoe trees, paper stuffing, inserts, spare laces, or accessories that came with the shoes.
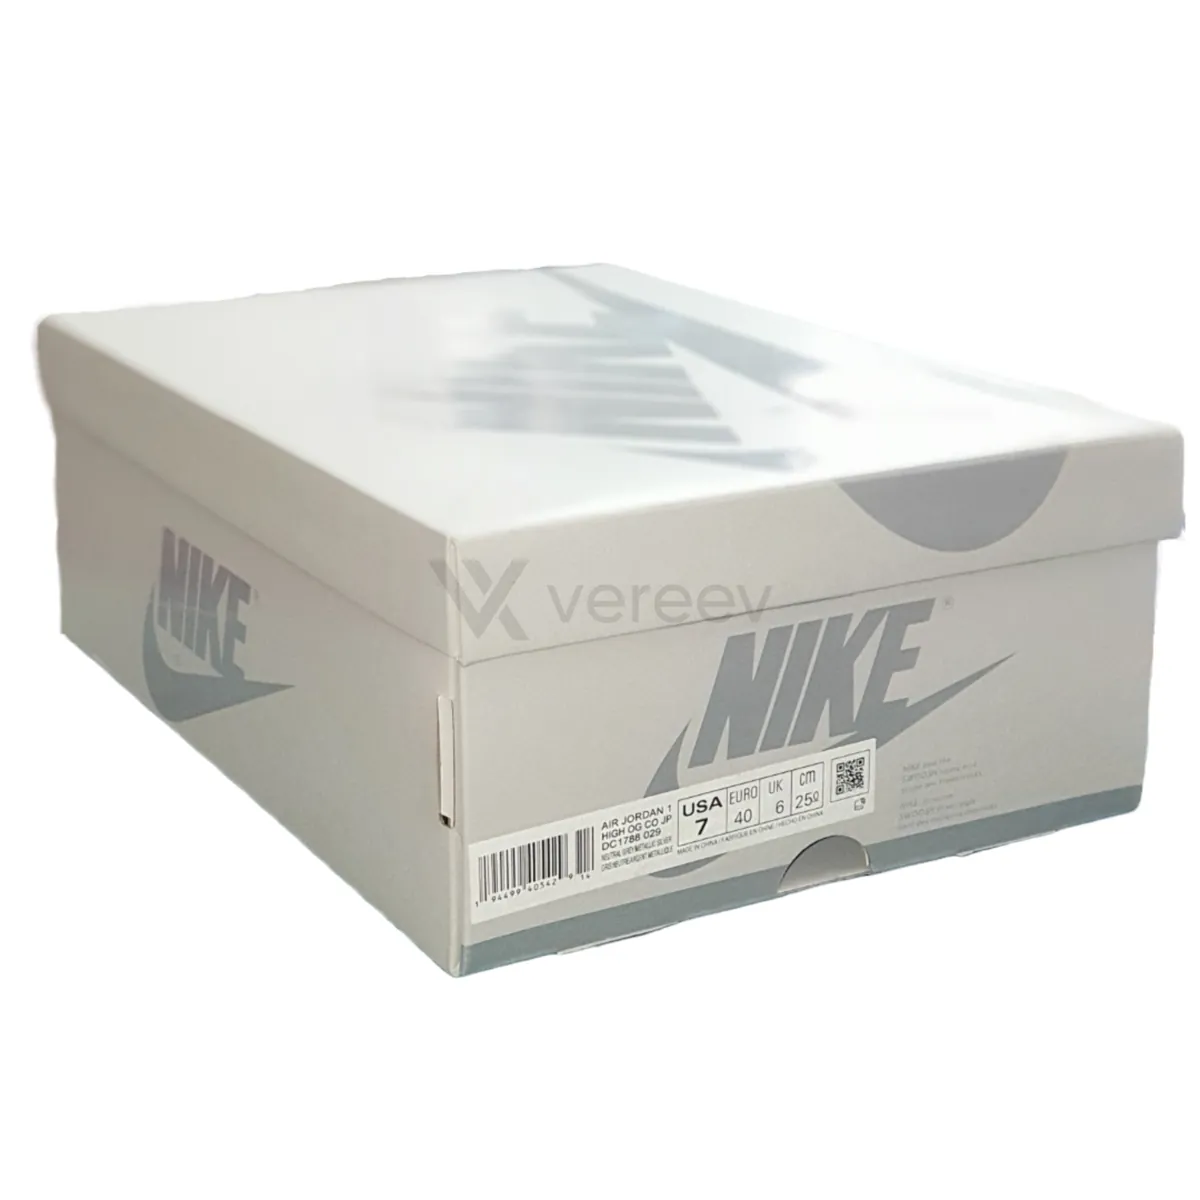
Box Label
Show the main box label with SKU, size, barcode, product name, and printing quality.
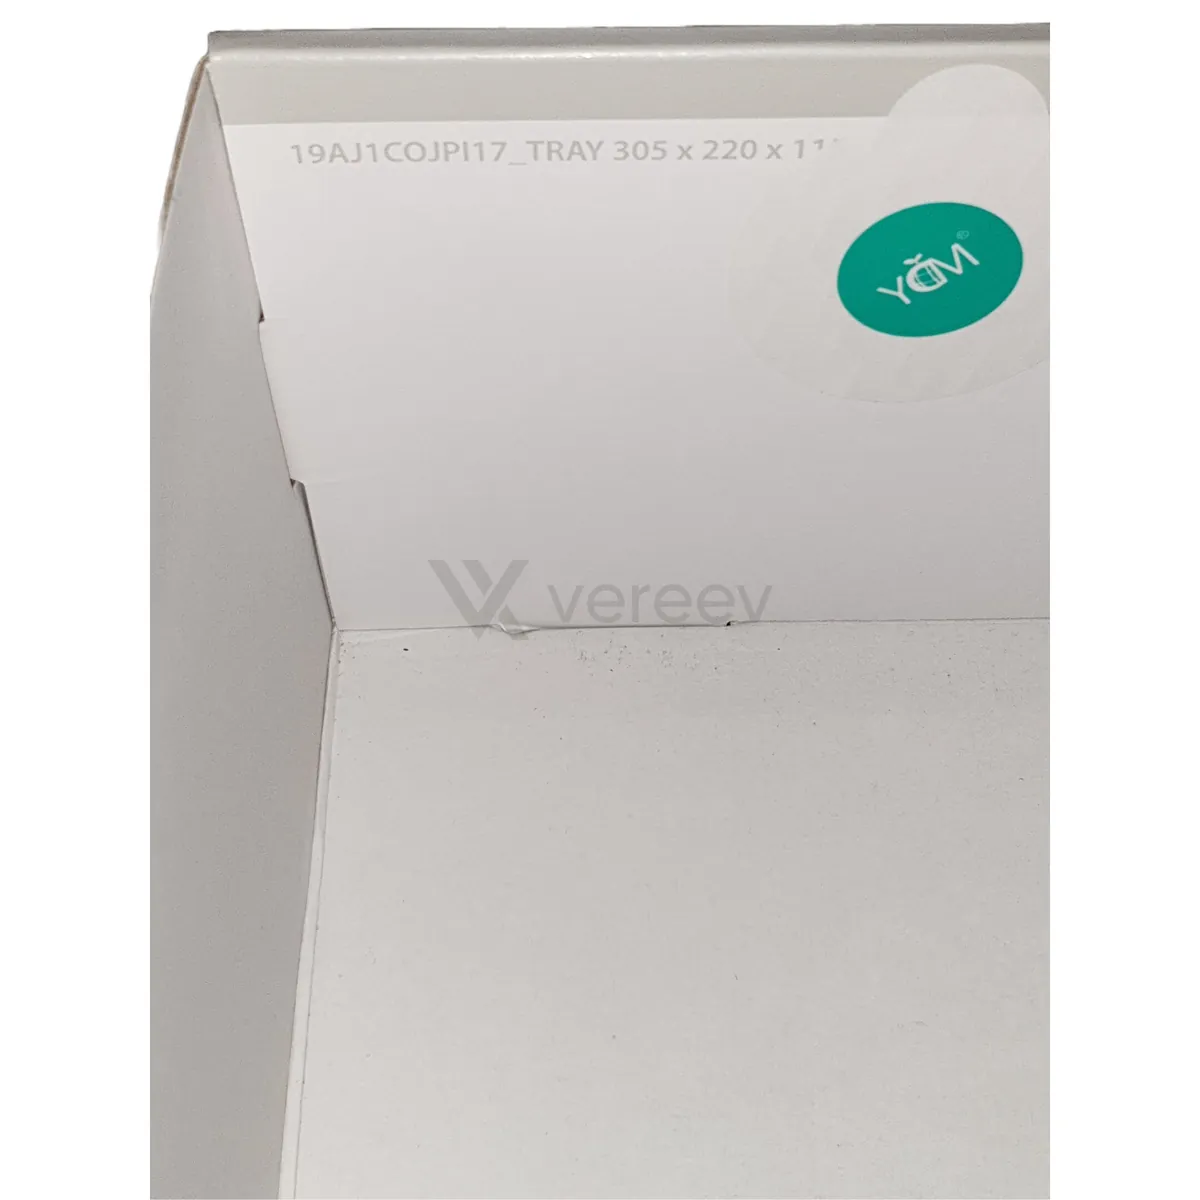
Box Details
Capture extra box angles, stickers, stamps, damage, or production marks.
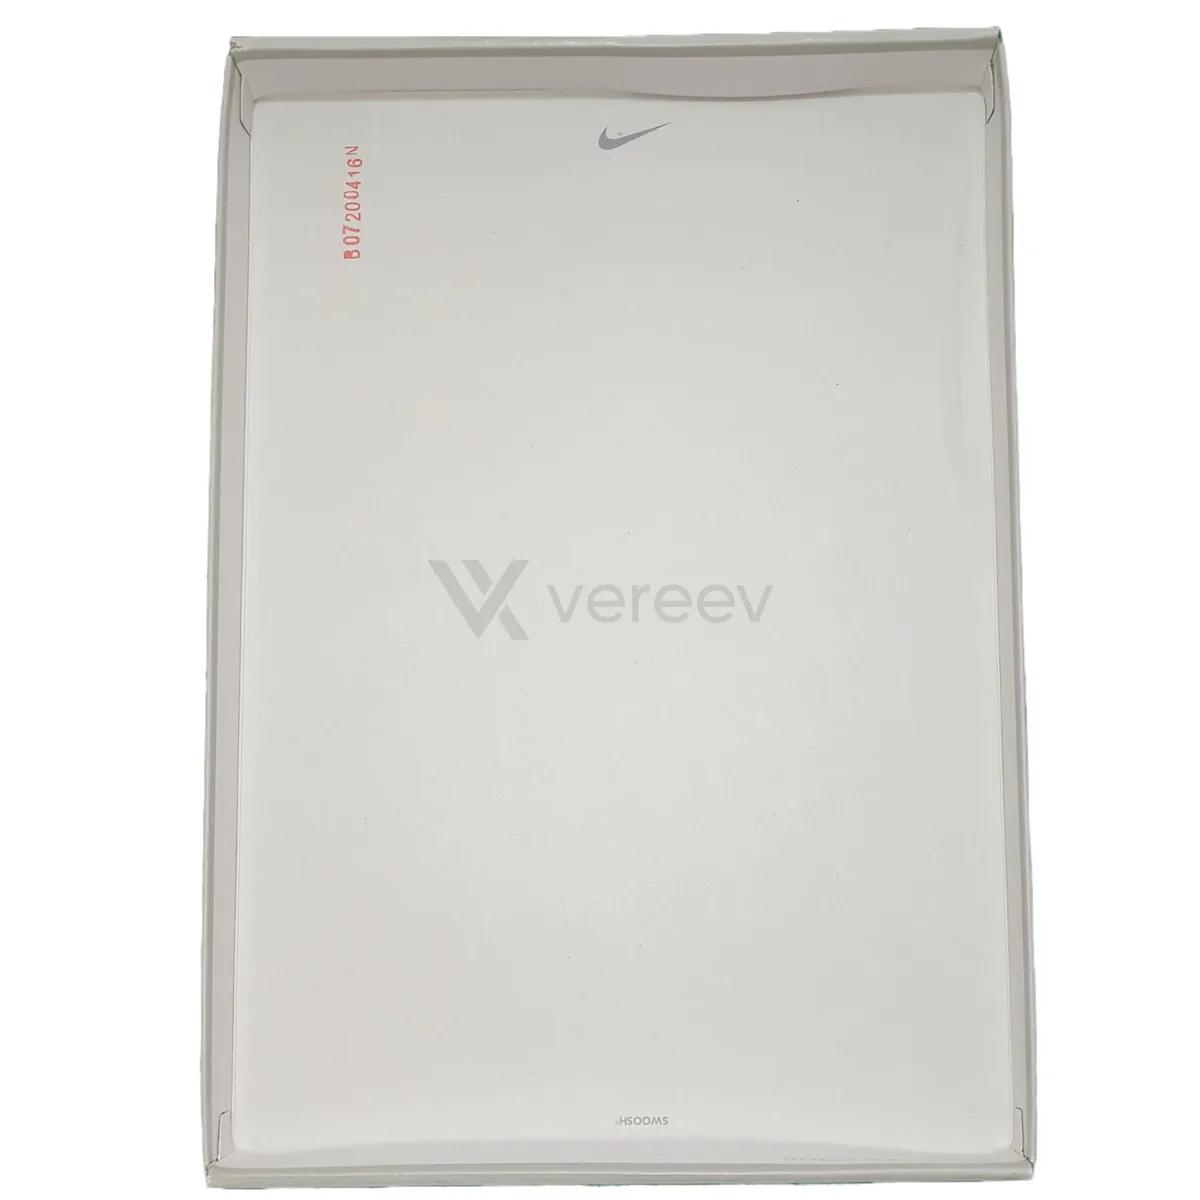
Packaging Overview
Include the full box, wrapping paper, receipt, tags, or proof of purchase if available.
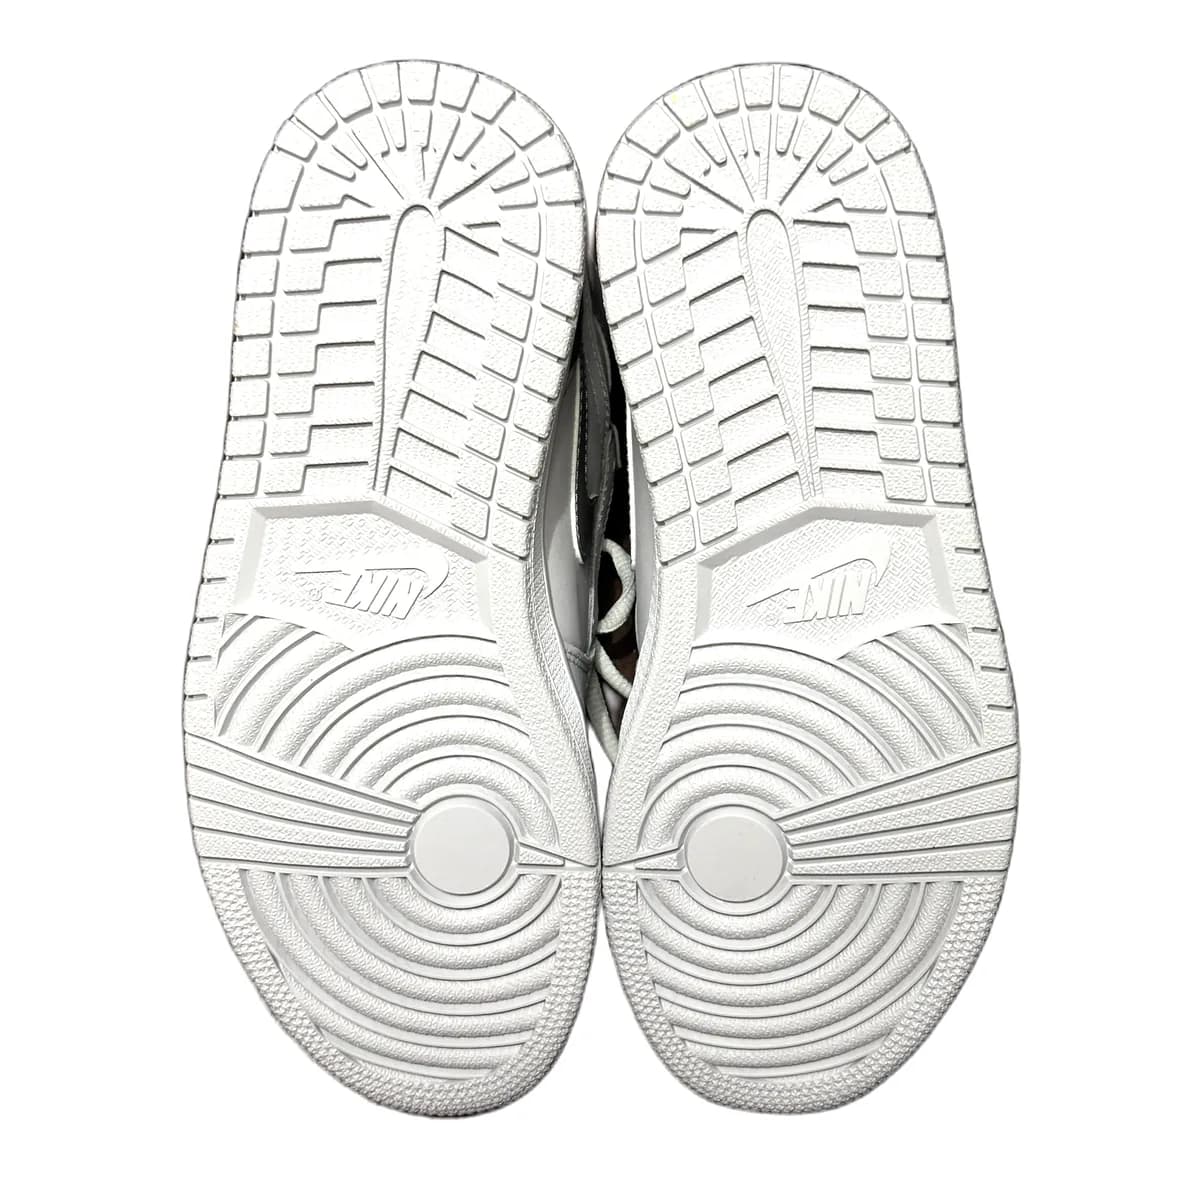
Outsole
Show the bottom of both shoes side by side, with the full tread pattern, logos, and molded markings clearly visible.
Better evidence
Tips for sneakers
- Photograph the size label straight on and in focus, so the style code, dates and small print can be read.
- Take the insoles out only if they come out without damage, and photograph both sides.
- Keep the box photos with the shoes. A box label is worth comparing with the size label, but a matching box is not proof on its own.
Take these photos in the Vereev app
The Vereev app shows a sample photo for each angle when you submit sneakers. Follow the guide, submit the photos for review, and receive your result and digital certificate in Vereev.
FAQ
How many photos do I need for a sneaker legit check?
The Vereev app's shoe guide lists 11 angles: the full pair, the tongue, the size label, both sides of the insole, the inside of the shoe, inserts, the box label, box details, the packaging and the outsoles. Packaging photos help when you have them.
Do I need the original box?
No. The guide asks for the box, wrapping, receipt and tags when they are available. A box can be replaced or copied, so the shoes themselves carry most of the evidence.
Should I take the insoles out?
If they come out without damage, yes. The guide asks for the top and the underside of the insole and for the inside of the shoe, where the stitching and board construction are visible.
Continue your research