How to Photograph a Bag for Authentication
Photograph the whole bag first: the front, the back and one side. Then open it for the interior and the tag or stamp, and add close-ups of the stitching, the hardware and its engraved lettering, and the zipper where it starts, at the slider and at the bottom. Add the dust bag and any card or receipt if you have them. The Vereev app shows a sample photo for each of these 13 angles.
Step by step
The 13 photos to take
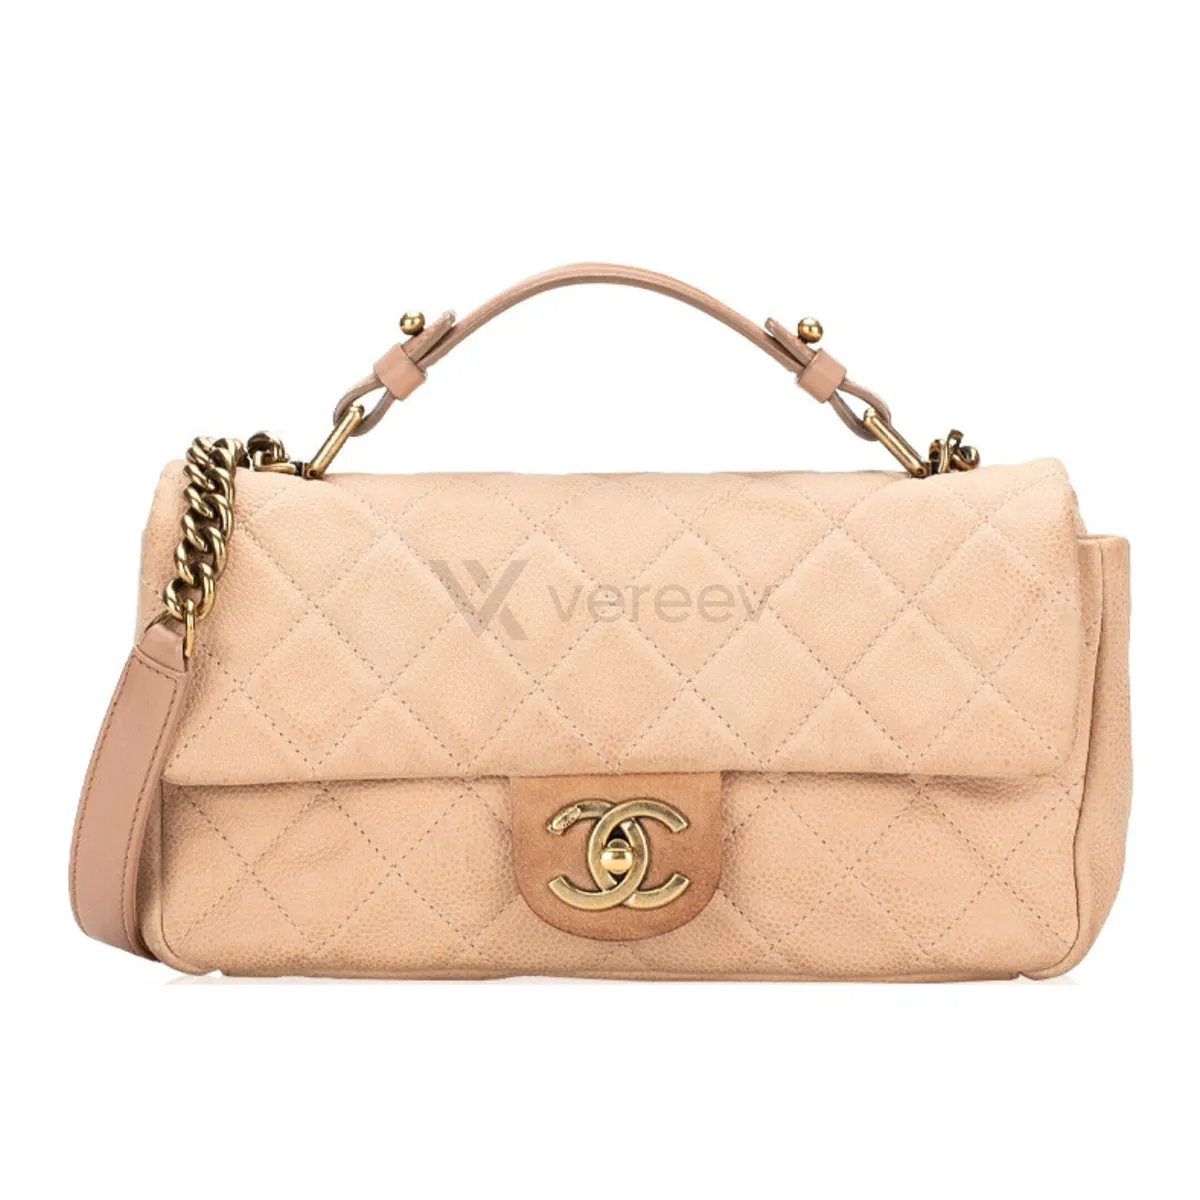
The app uses this guide for handbags, shoulder bags, totes and similar leather goods. Its sample photos show a beige quilted Chanel flap bag with a top handle. Use the same angles for any brand, and keep the same item in every photo.
Front Appearance
Show the complete front shape, proportions, logo placement, and material condition.
Back Appearance
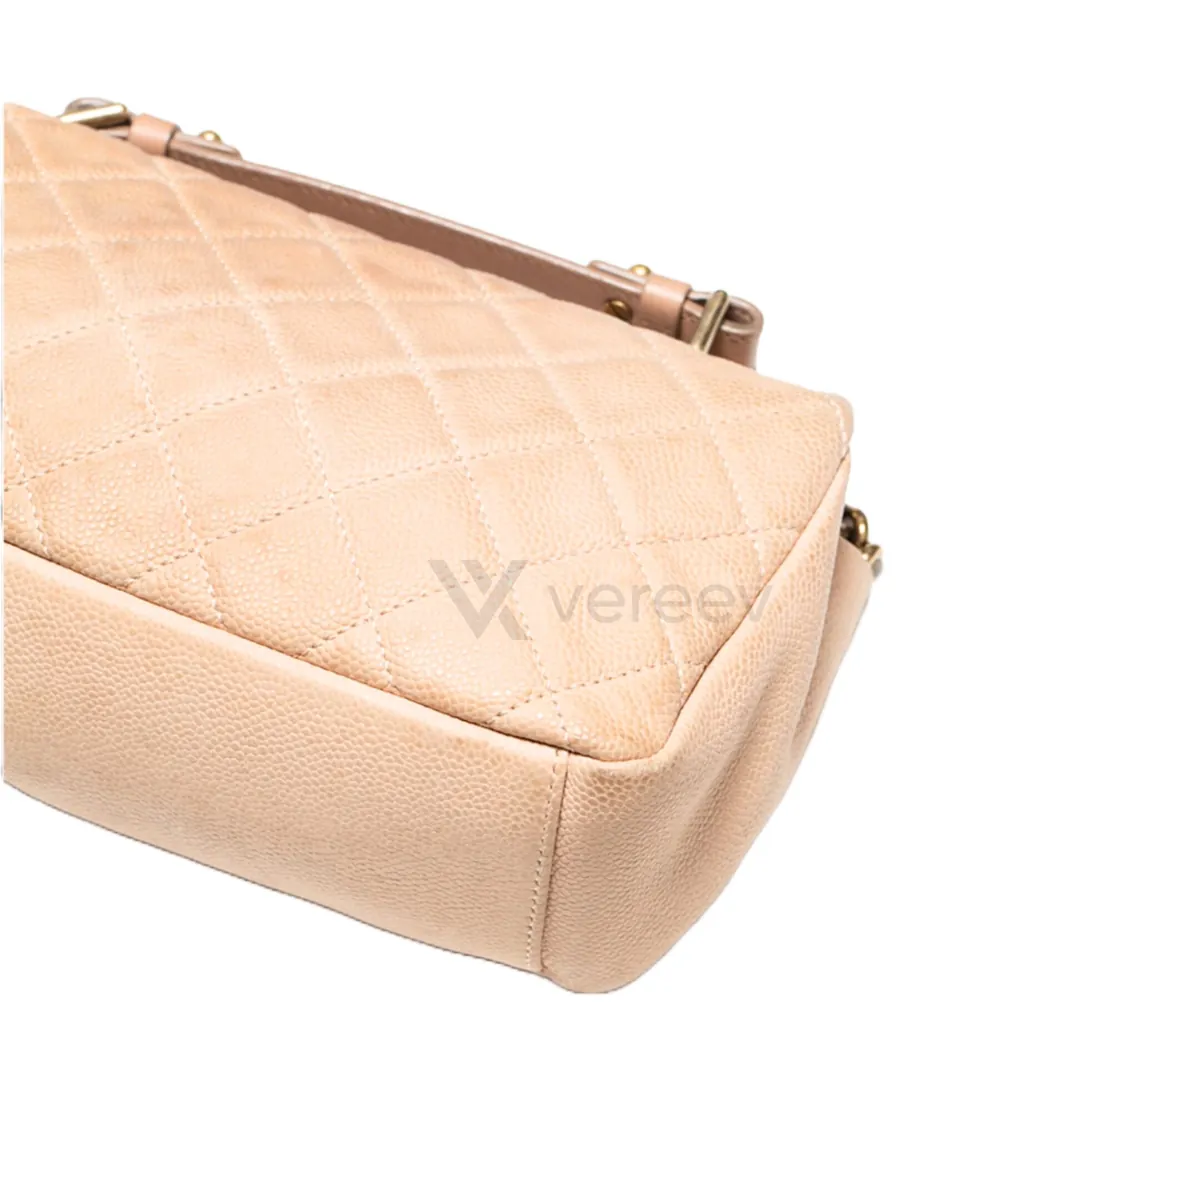
Capture the back side so panel alignment, structure, and wear can be compared.
Side Profile
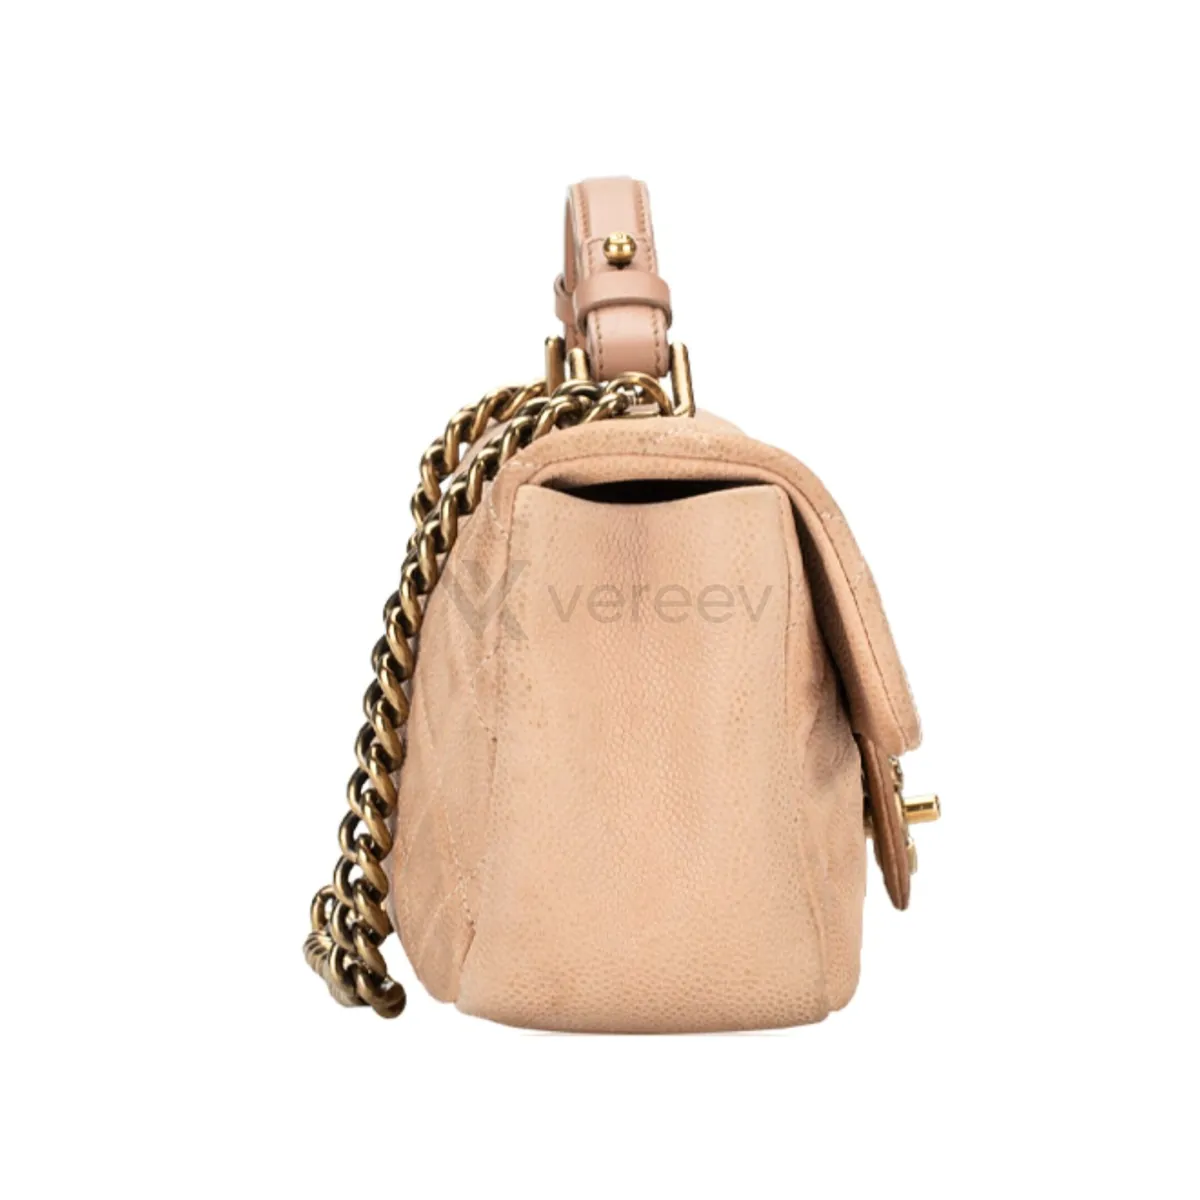
Show side shape, depth, seams, and how the bag holds its form.
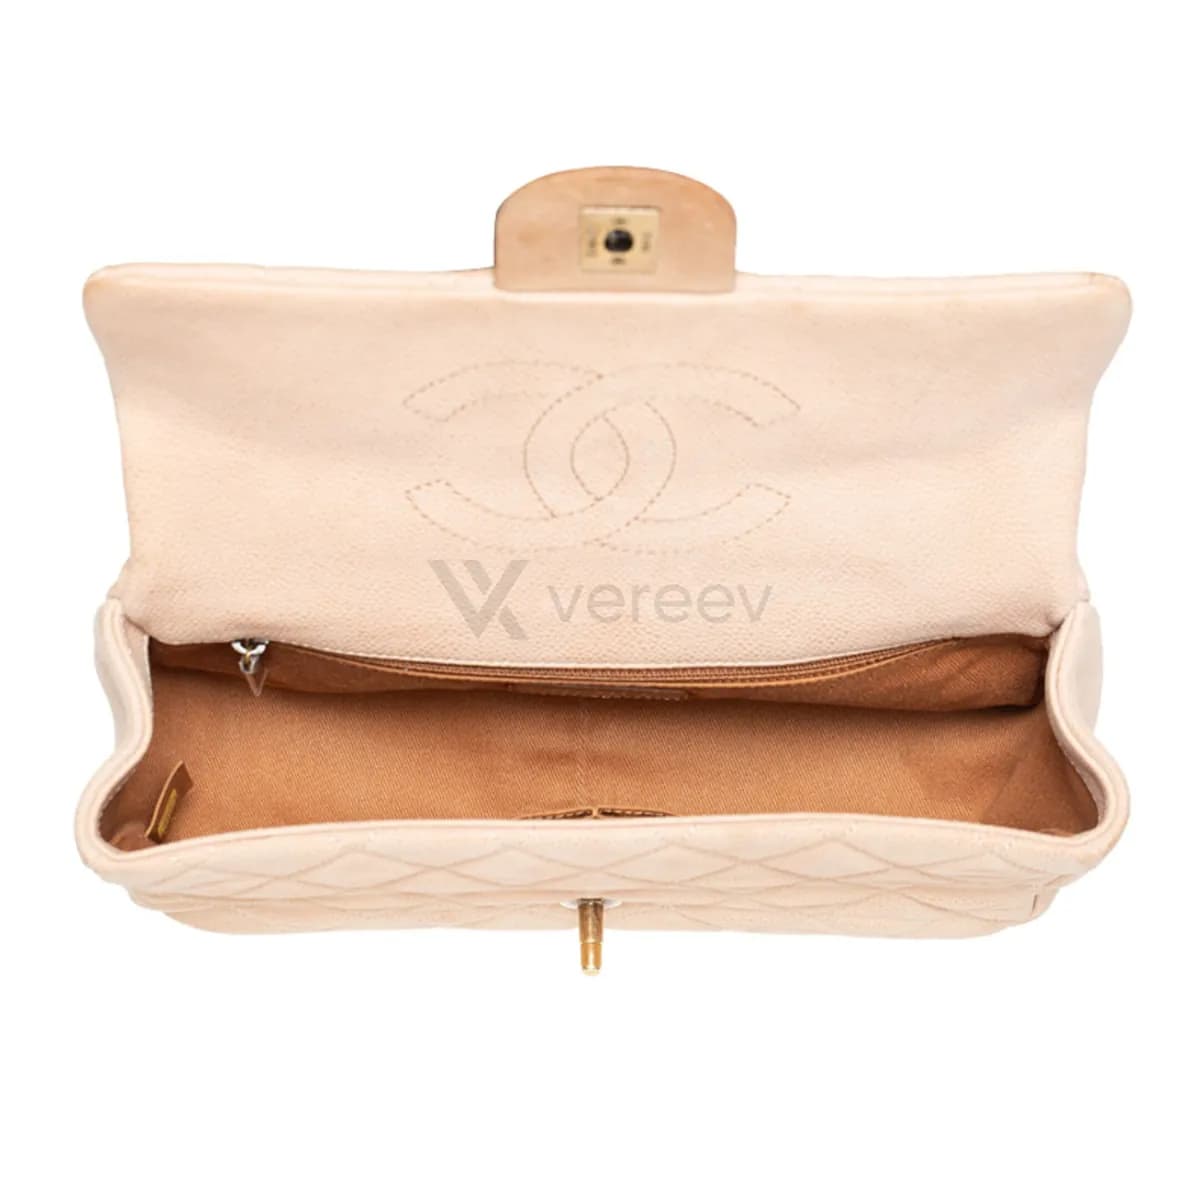
Interior
Open the bag and photograph the lining, pockets, interior stamp, and construction.
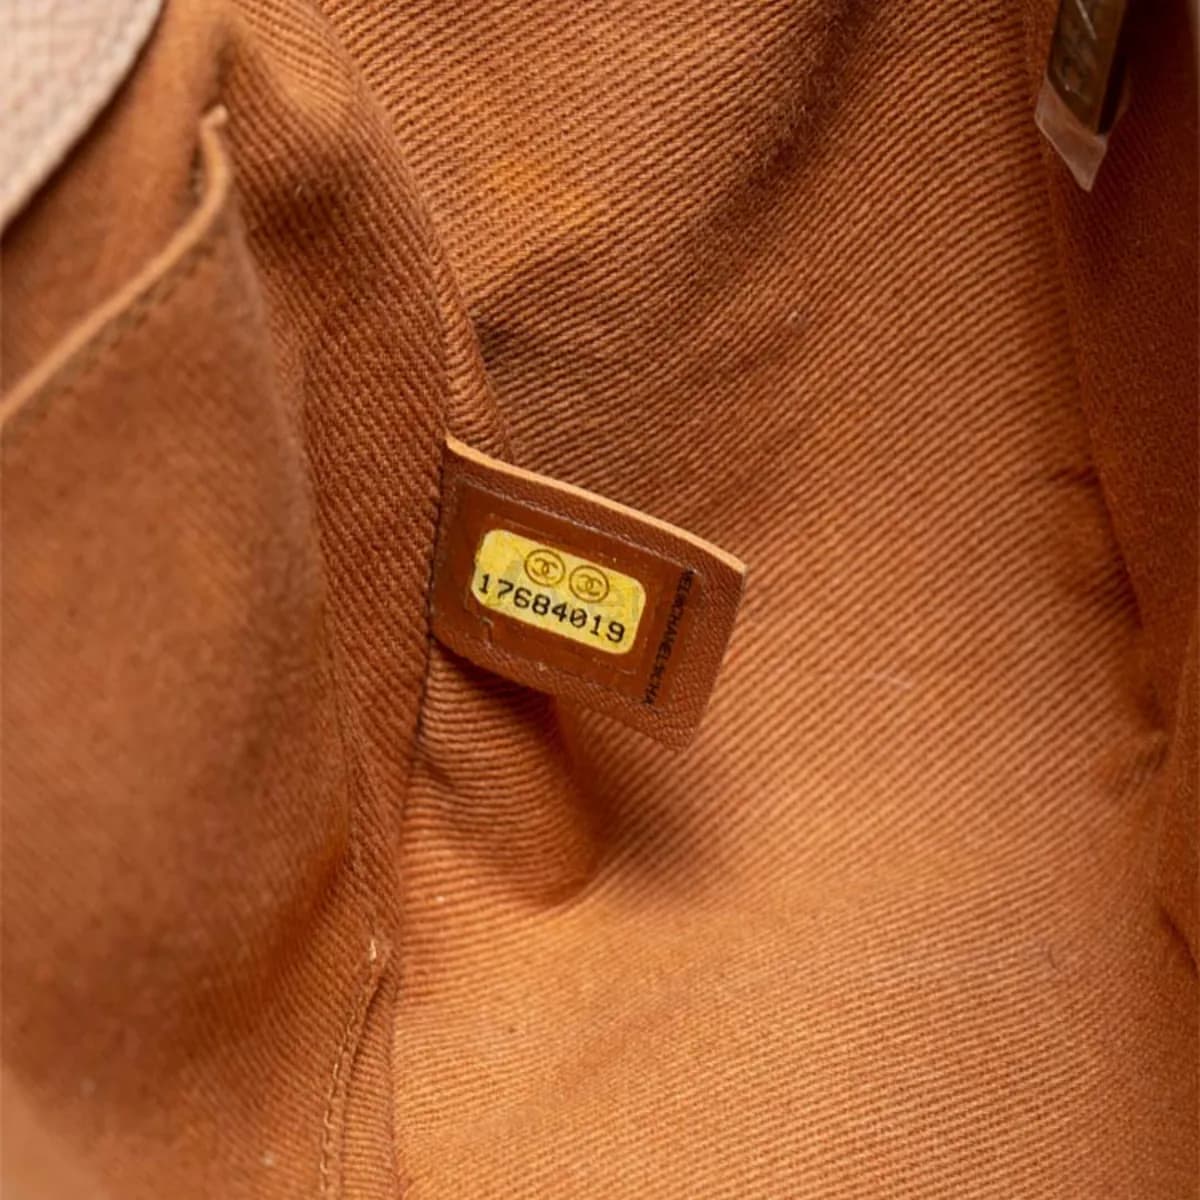
Tag or Stamp
Capture tags, stamps, serial marks, or date codes in sharp focus.
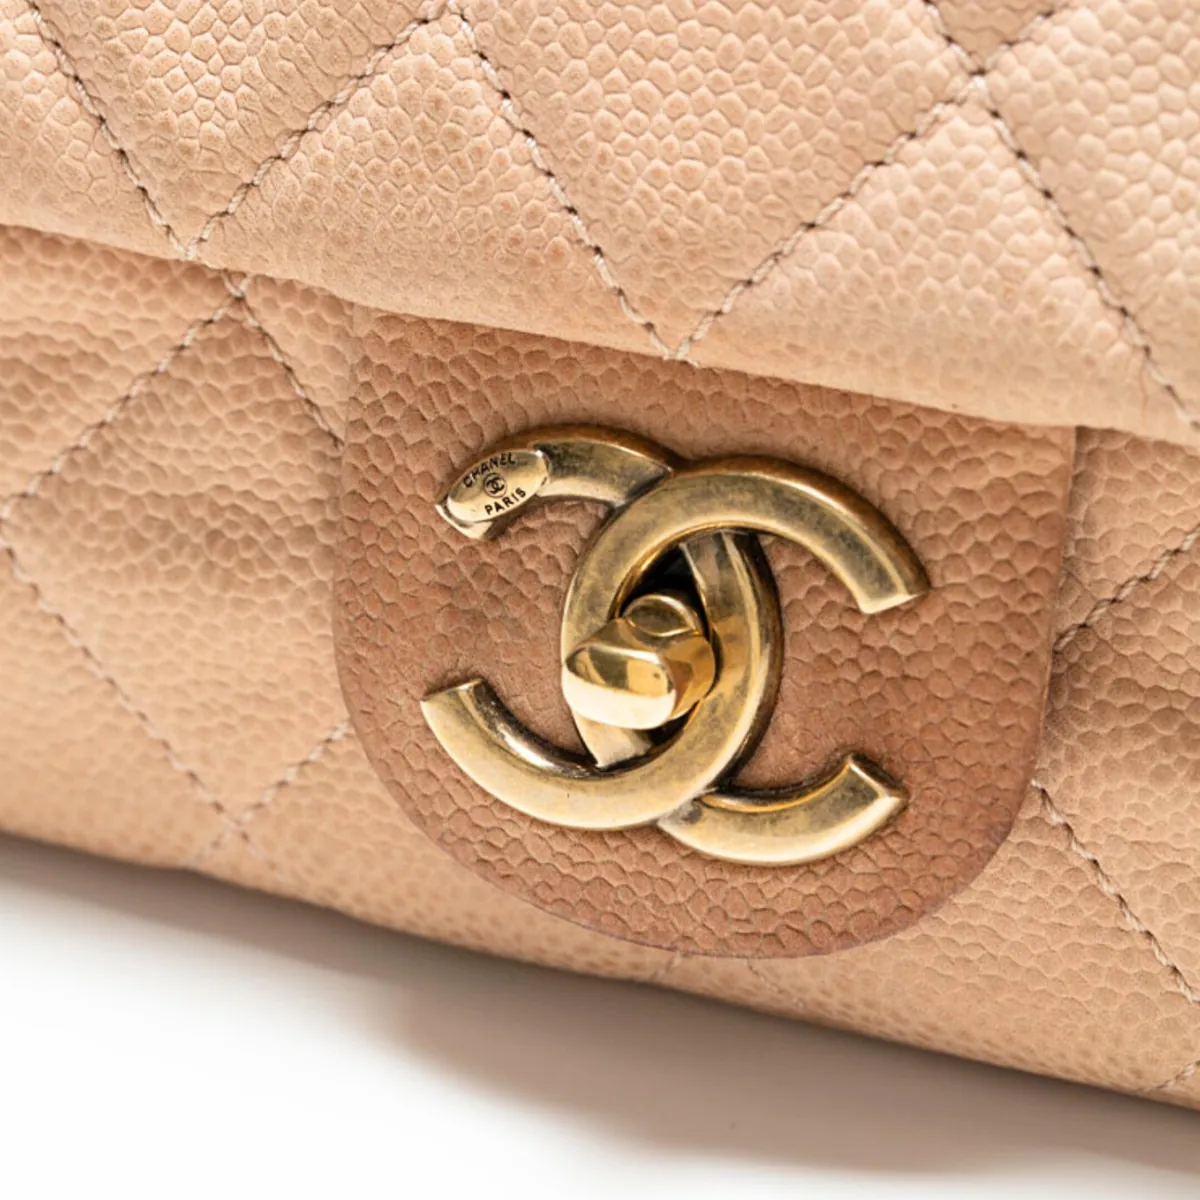
Detail Close-up
Show stitching, glazing, corners, print alignment, or any detail that helps authentication.
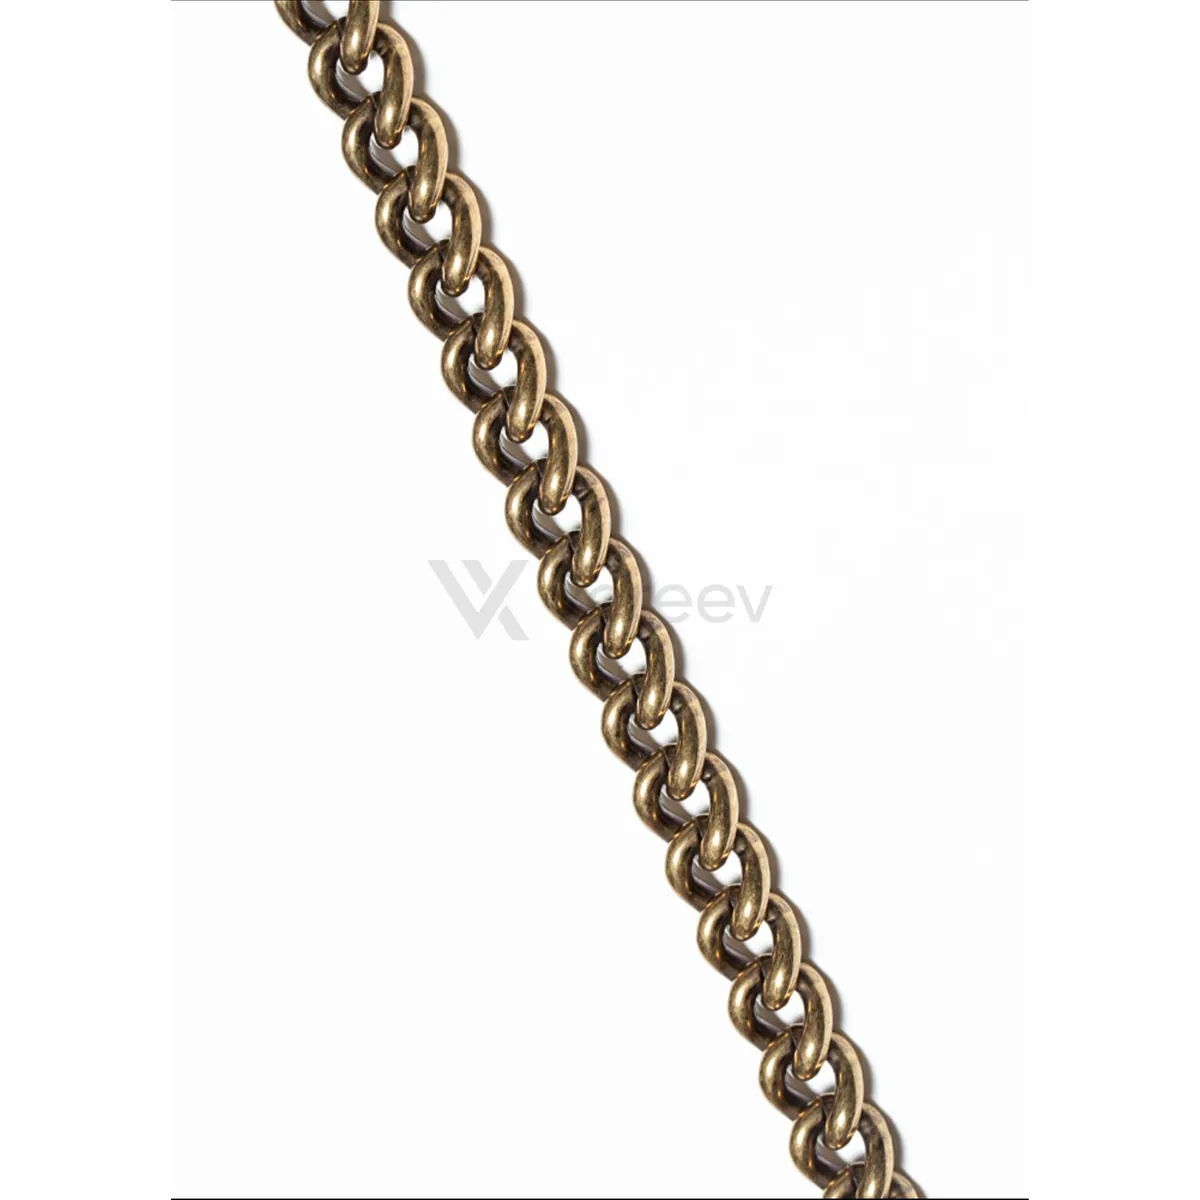
Hardware
Photograph zipper pulls, clasps, buckles, engraving, and metal finish clearly.
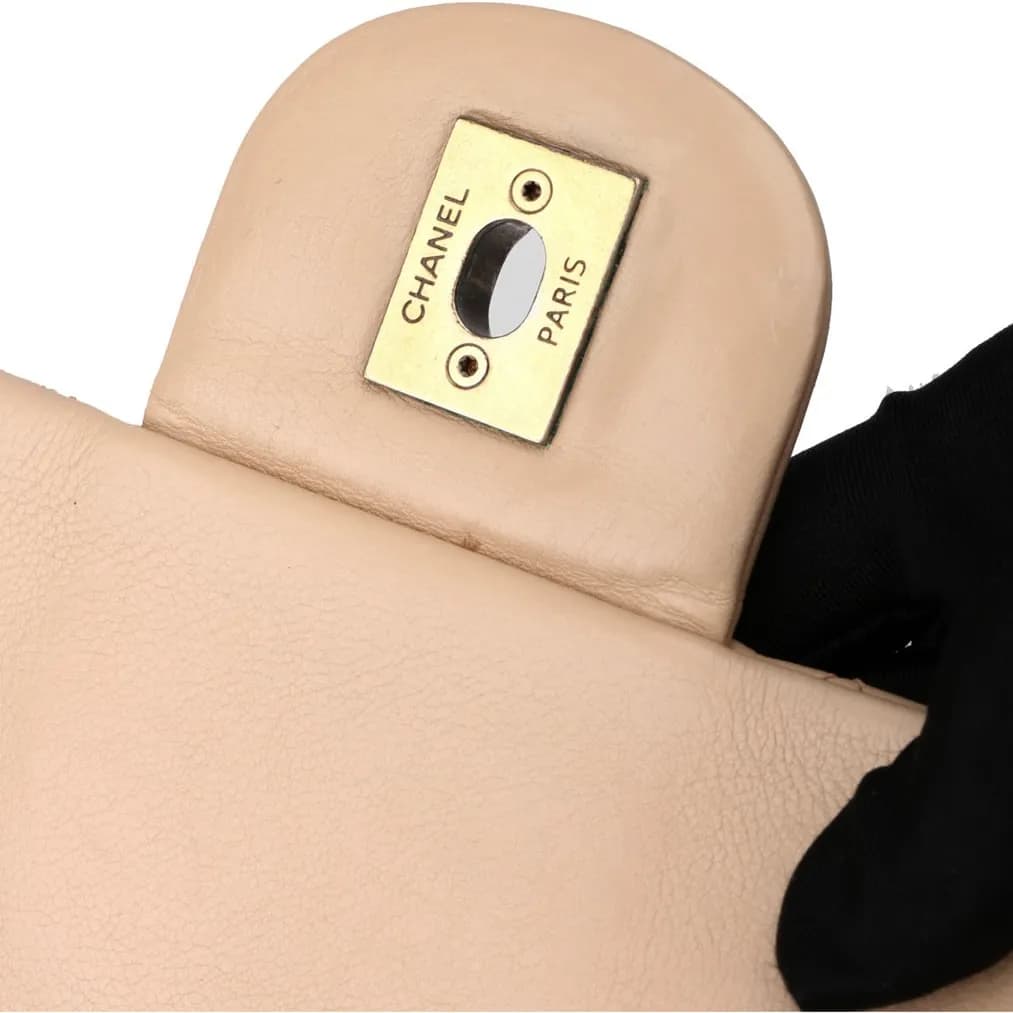
Hardware Lettering with Logo
Photograph the hardware lettering and logo straight-on in sharp focus, including engraving depth, typography, spacing, screws, and metal finish.
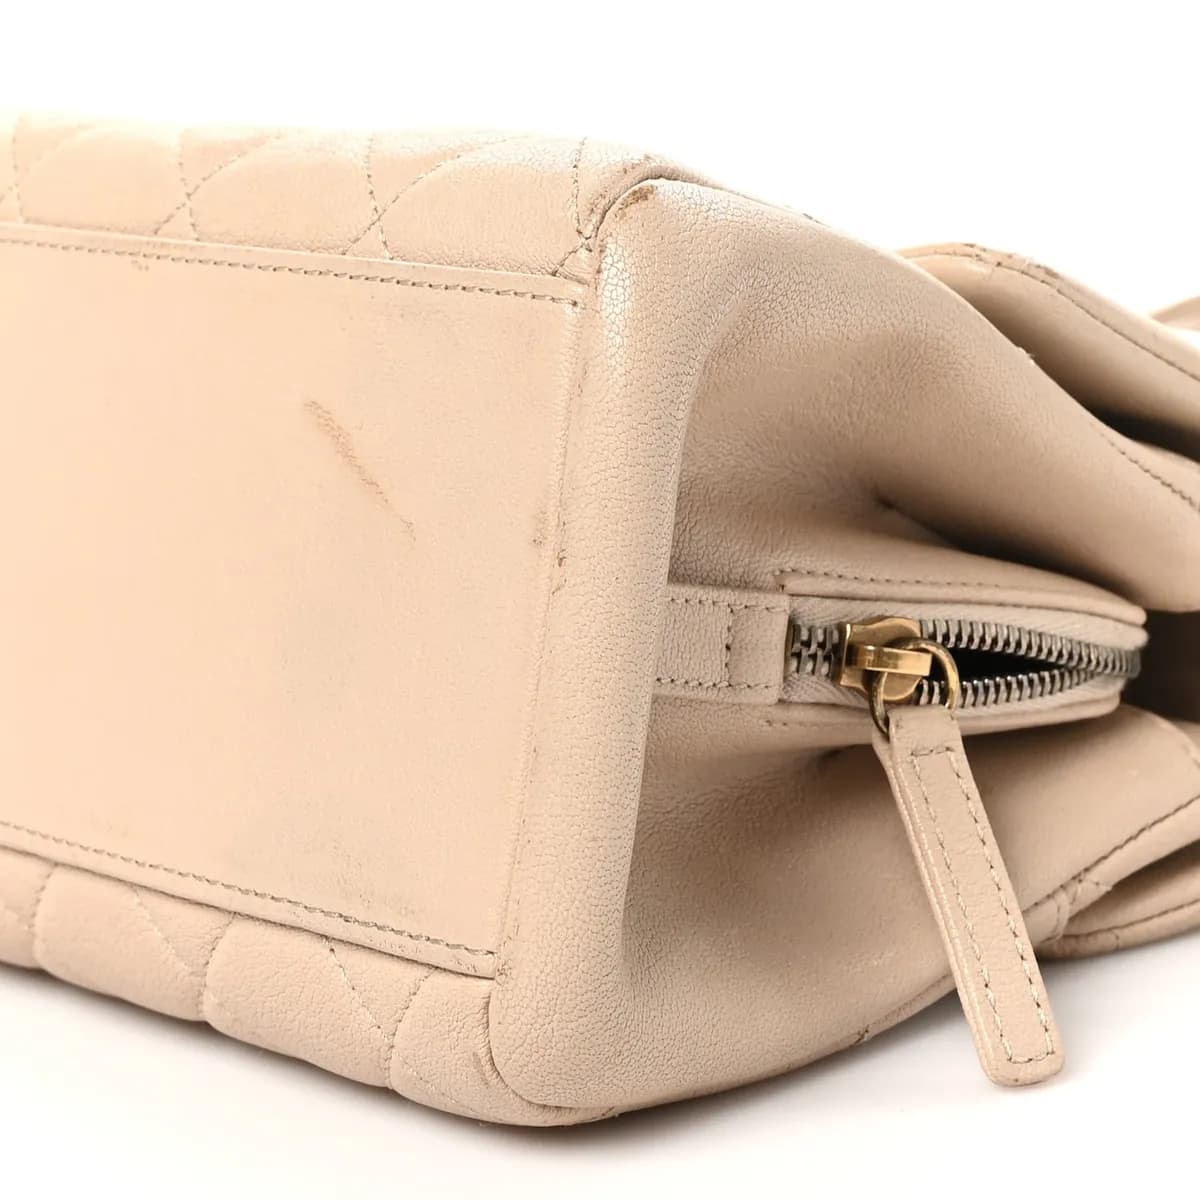
Zipper Starting Point
Photograph where the zipper begins, including the anchor tab, zipper teeth and tape, surrounding stitching, and nearby construction.
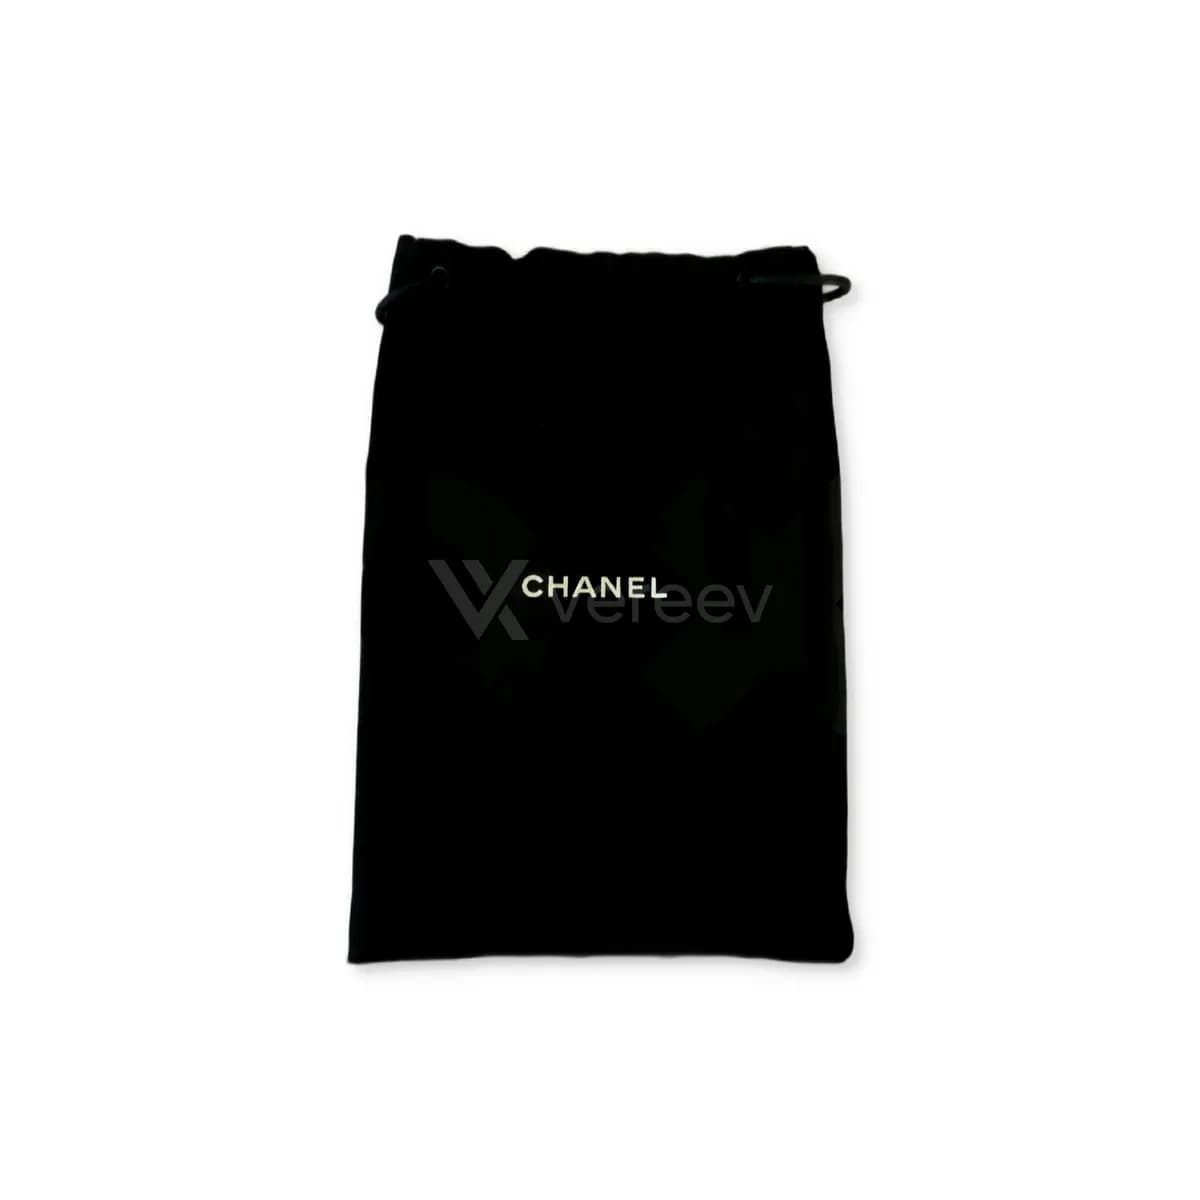
Dust Bag
Include the dust bag, care card, or packaging materials if available.
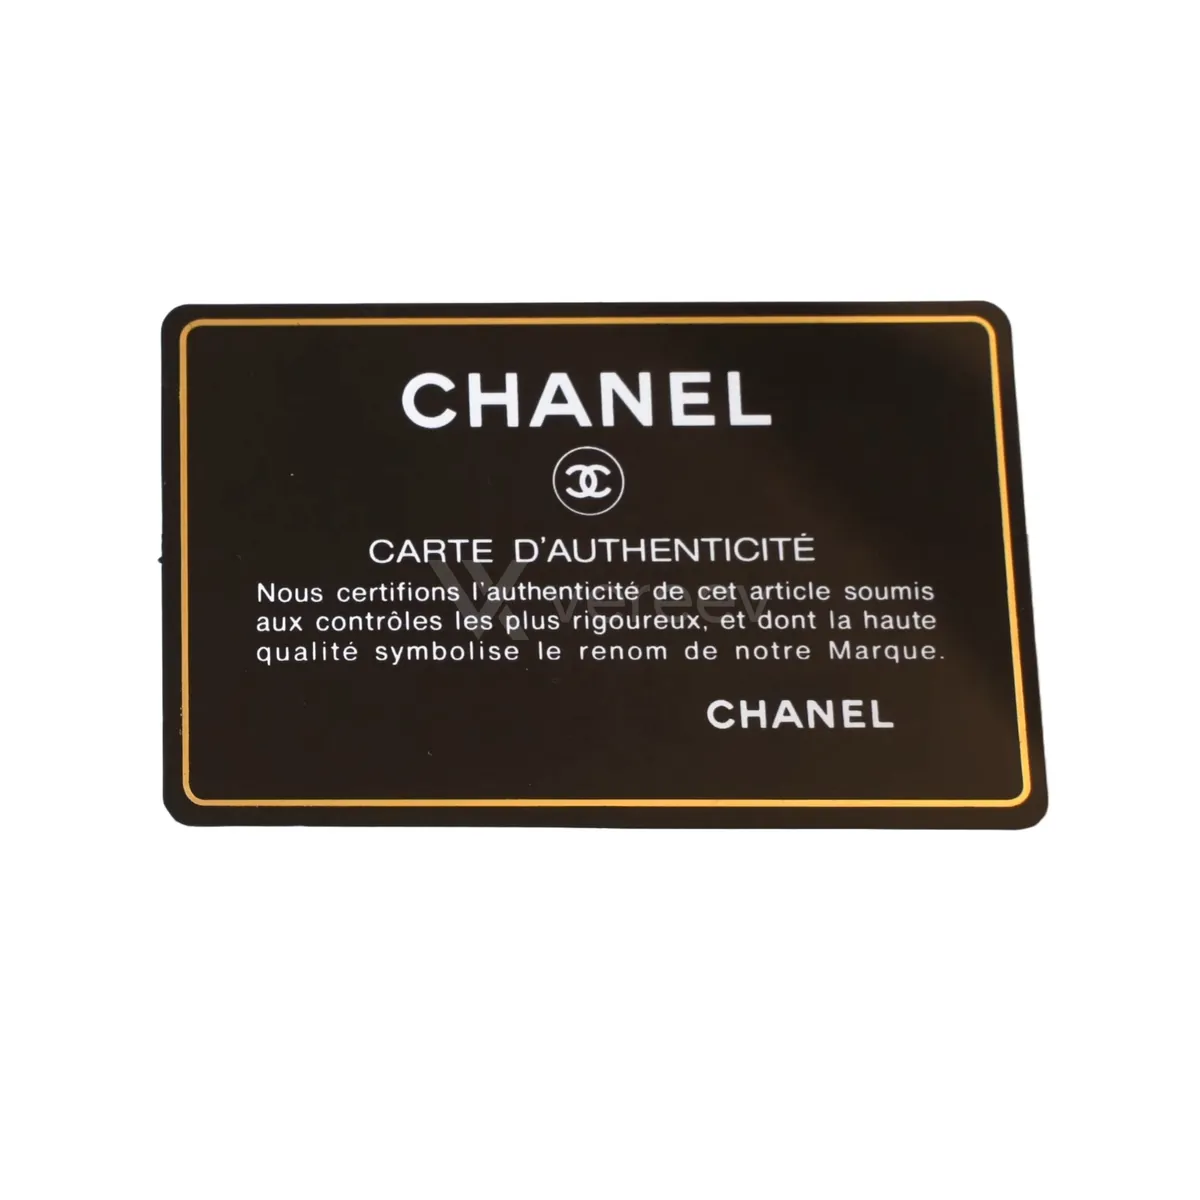
Authenticity Card
Add cards, receipts, barcodes, or documents that came with the bag.
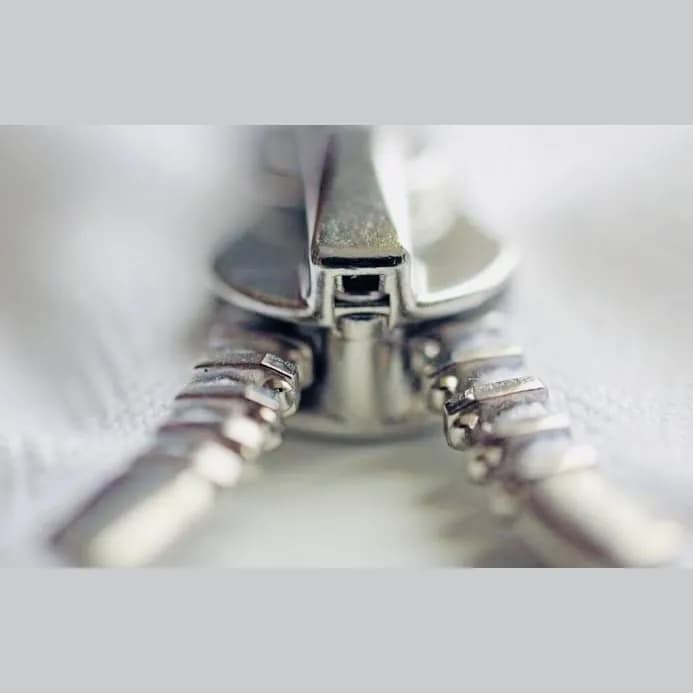
Zipper Slider (Front)
Photograph the front of the zipper slider in sharp focus, including the opening, metal edges, and surrounding zipper teeth.
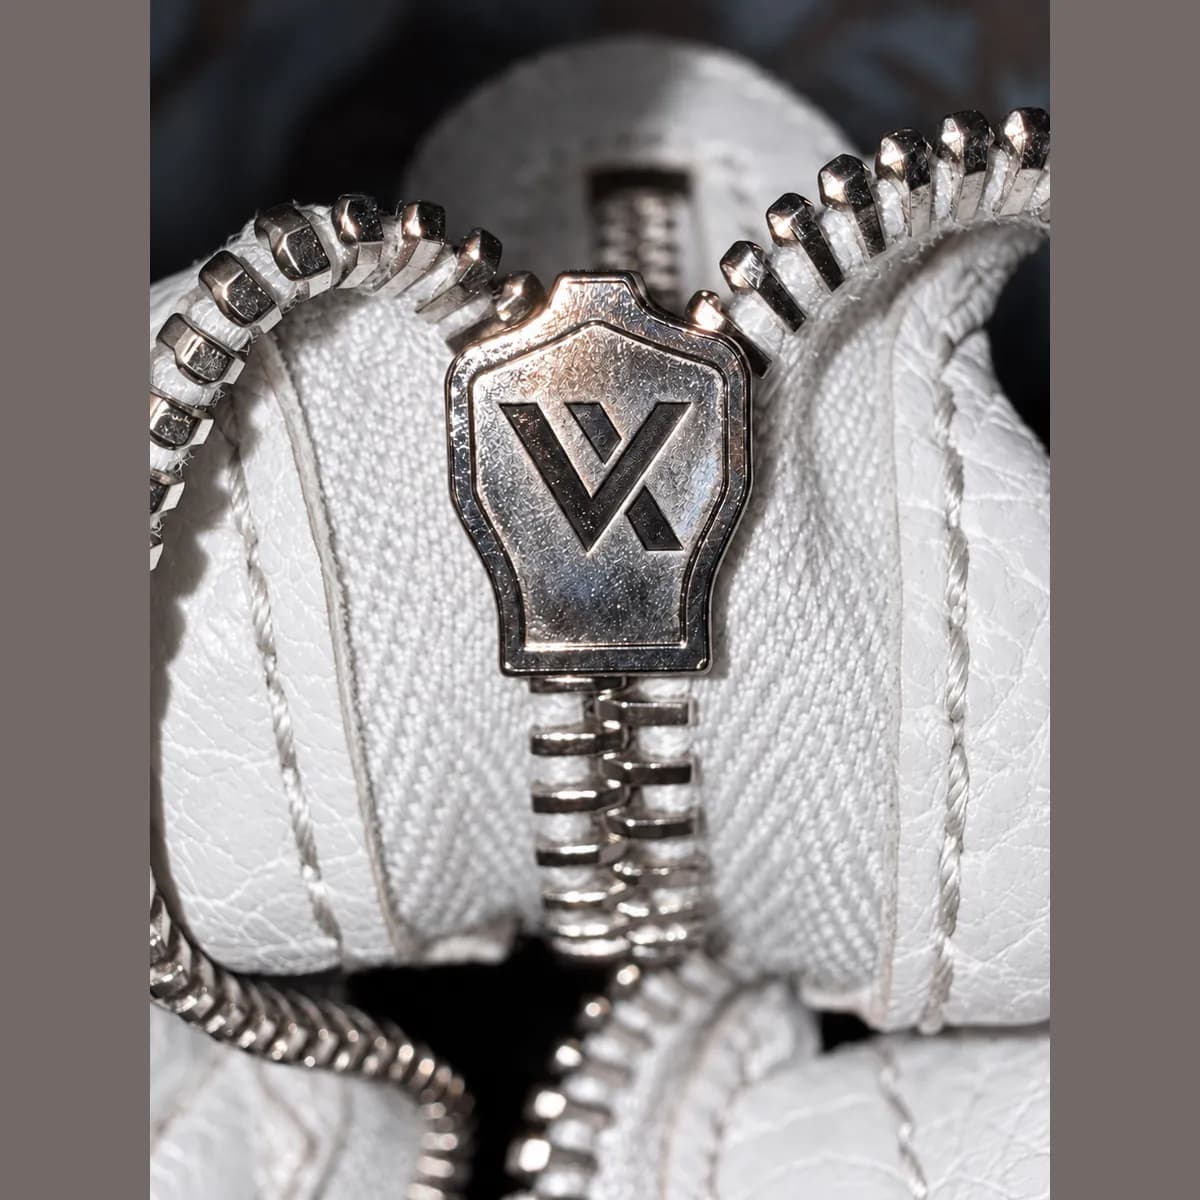
Zipper Bottom
Photograph the zipper bottom in sharp focus, including any markings, metal finish, and surrounding zipper teeth.
Better evidence
Tips for bags
- Shoot the outside in even daylight on a plain background, so color, quilting or pattern and shape are easy to compare.
- Open zippers and pockets fully for the interior photos, and hold the camera straight on for stamps and serial stickers so every character can be read.
- Photograph the same bag in every shot, from the full views to the close-ups.
Take these photos in the Vereev app
The Vereev app shows a sample photo for each angle when you submit bags. Follow the guide, submit the photos for review, and receive your result and digital certificate in Vereev.
FAQ
How many photos do I need to authenticate a bag?
The Vereev app's bag guide lists 13 angles. Start with the front, back, side and interior, then add close-ups of the stamp, stitching, hardware and zipper. The dust bag and the authenticity card or receipt are useful extras when you have them.
Do I need the dust bag and authenticity card?
No. The guide asks for the dust bag, card, receipt or other documents if they are available. Cards and dust bags can be copied or sold separately, so they support the photos of the bag itself rather than replace them.
My bag is not a Chanel. Do the same photos apply?
Yes. The sample photos show which angles to capture, not what your bag should look like. Use the same angles for any brand, and see your brand's guide for the details that matter most for that maker.
Continue your research