
How to Photograph Electronics for Authentication
Photograph the full device, its back, the charging port and the printed model, serial and regulatory markings. Add close-ups of the speaker mesh, microphones, sensors and joints. If you have them, add the box front, the box label and the accessories. Never open the device for a photo.
Step by step
The 9 photos to take
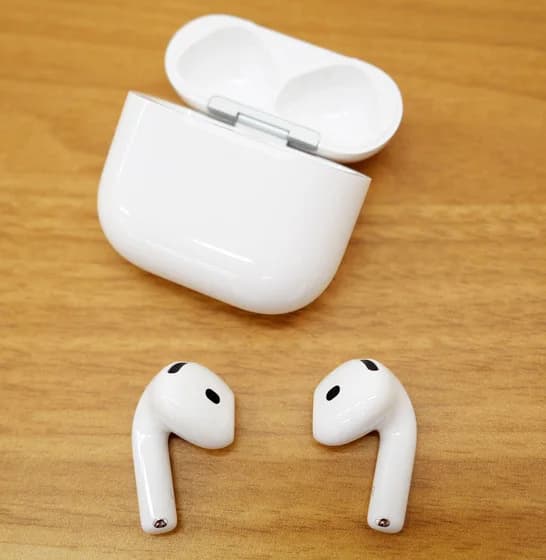
The app uses this guide for electronic devices, headphones, earbuds, charging cases, markings and accessories. Its sample photos show a pair of Apple AirPods with a charging case. Use the same angles for any brand, and keep the same item in every photo.
Full Device
Capture the complete device and any paired components so shape, logo placement, color, and condition are visible.
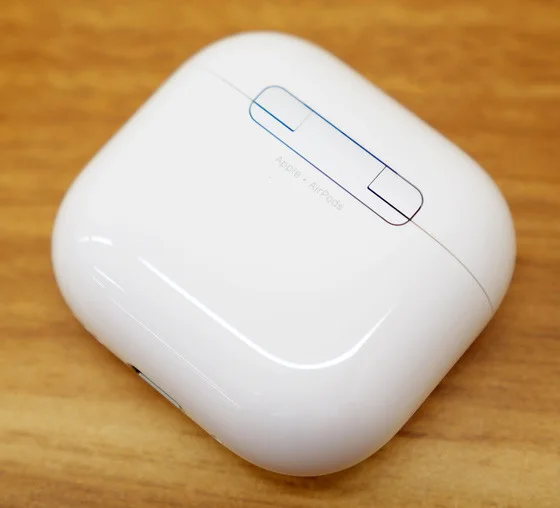
Device Back
Show the back or underside of the device or charging case, including seams, hinges, buttons, and finish.
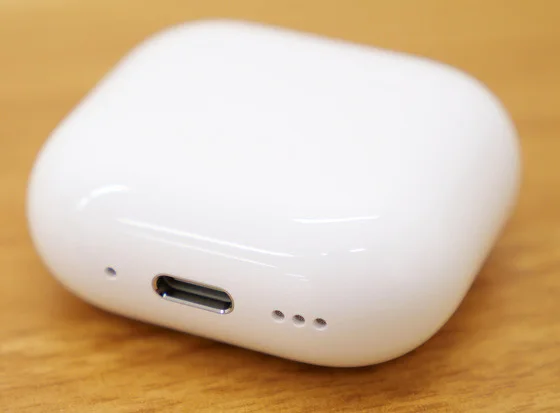
Charging Port
Photograph the charging or data port, connector, or charging contacts clearly, including the surrounding finish.
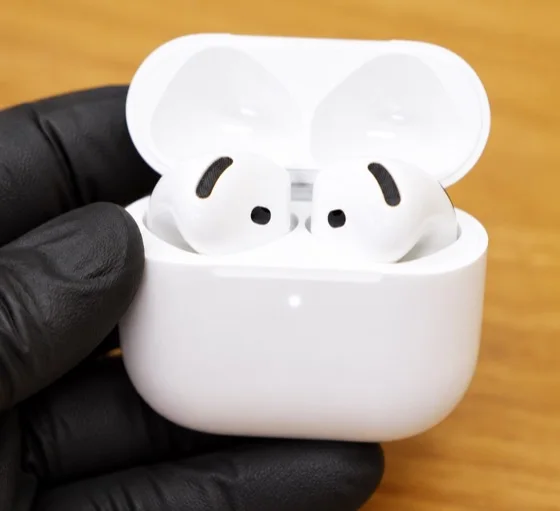
Device Markings
Show printed model, serial, and regulatory markings on the device or case. If there are no markings, photograph that area clearly.
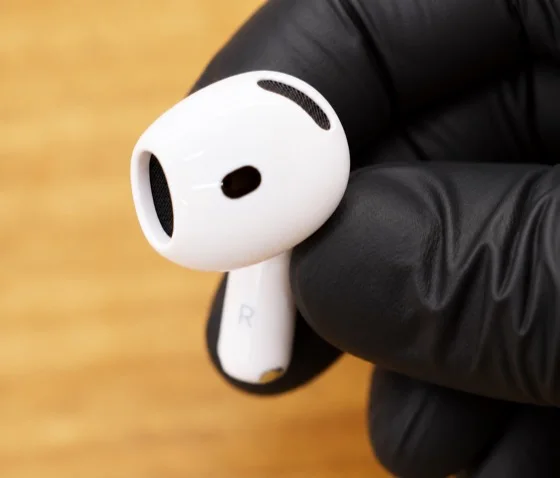
Speaker / Sensor Detail
Capture speaker mesh, microphones, sensors, buttons, or display details in sharp focus.
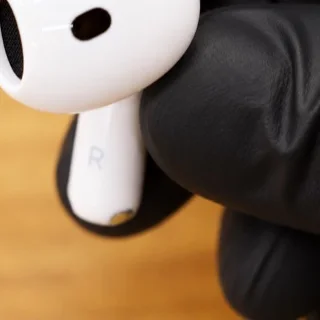
Device Detail
Add a second close-up of logos, seams, joints, controls, or accessible case details. Do not disassemble the device.
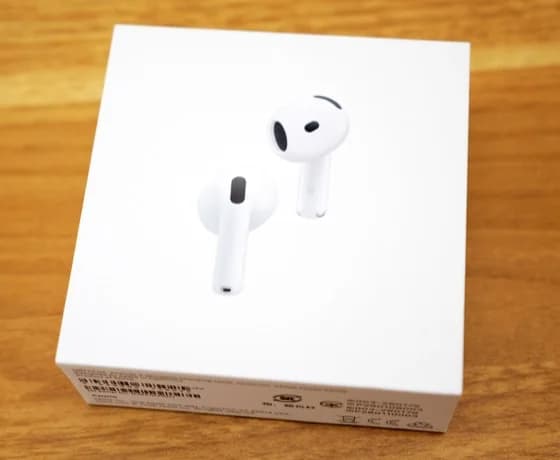
Packaging Front
Optional: show the front of the original box, including product artwork, branding, and printing quality.
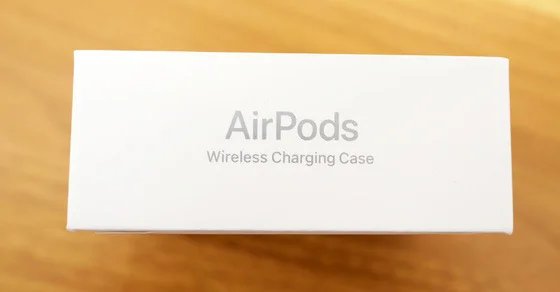
Packaging Markings
Optional: capture box labels, barcodes, model information, serial markings, and regulatory text clearly.
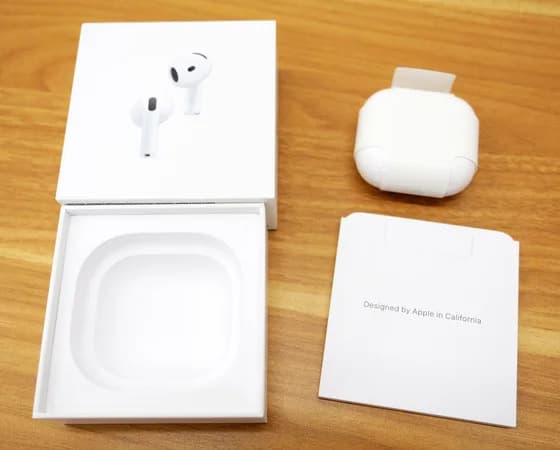
Included Accessories
Optional: photograph included cables, adapters, tips, manuals, inserts, or other accessories together.
Better evidence
Tips for electronics
- Photograph the serial and model text so it can be read at full size, and do not retype it.
- If the area the guide asks about has no printed markings, photograph that area anyway. A missing mark is evidence too.
- Photograph devices from the outside only. The app never asks you to open or take apart a device.
Take these photos in the Vereev app
The Vereev app shows a sample photo for each angle when you submit electronics. Follow the guide, submit the photos for review, and receive your result and digital certificate in Vereev.
FAQ
How many photos do I need to authenticate electronics?
The Vereev app's electronics guide lists 9 angles. Six are required: the full device, its back, the charging port, the markings and two close-ups. The box front, box label and accessories are optional.
Do I need the original box?
No. The box, its label and the accessories are optional in the app's guide, but they add evidence when you have them.
Can photos show whether a device works properly?
No. Photos show construction, markings and packaging. They cannot show sound quality or battery health, so test those yourself and keep your return rights until you have.
Does this guide work for speakers and hair tools?
Yes. Use the same angles for any electronic device: the whole item, the back, the port or plug, the printed markings and close-ups of the details.
Continue your research