
Bag authentication guide
Handbag Authentication
Learn how handbag authentication reviews exact model, shape, leather or canvas, stitching, hardware, interior, stamps, codes, repairs, and provenance.
Independent educational guidance. An item-level result requires review of the exact product evidence.
Direct answer
Handbag authentication starts with the exact model, size, material, color, hardware, and era, then checks structure, leather or canvas, construction, interior, hardware, markings, codes, repairs, and provenance together.
Bags expose evidence across many connected components. A front photo or serial detail cannot show whether the complete item is internally consistent.
Establish shape, scale, and material behavior
Measure the base, height, depth, handle drop, and strap. Compare how the bag holds structure and where seams, pockets, motifs, and reinforcements sit.
Inspect grain, coating, weave, glazing, edge paint, lining, and color in neutral light. Wear should be distinguished from manufacturing inconsistency.
Follow hardware and construction through the bag
Review closures, zipper, rivets, feet, engravings, screws, attachments, handles, pockets, and interior seams from multiple angles.
A genuine repair may replace hardware or lining. Ask what was serviced and photograph the transition between original and replacement components.
Use stamps, codes, and chips as context
Identification systems change by brand and era. Test whether format, placement, typography, and chronology agree with the claimed product.
Do not assume a public code lookup, QR response, NFC scan, card, or receipt proves authenticity. Counterfeiters copy separable evidence. Brand help varies too: Coach, for example, says it does not respond to requests to authenticate product.
Photo guide
Photos to take of a handbag
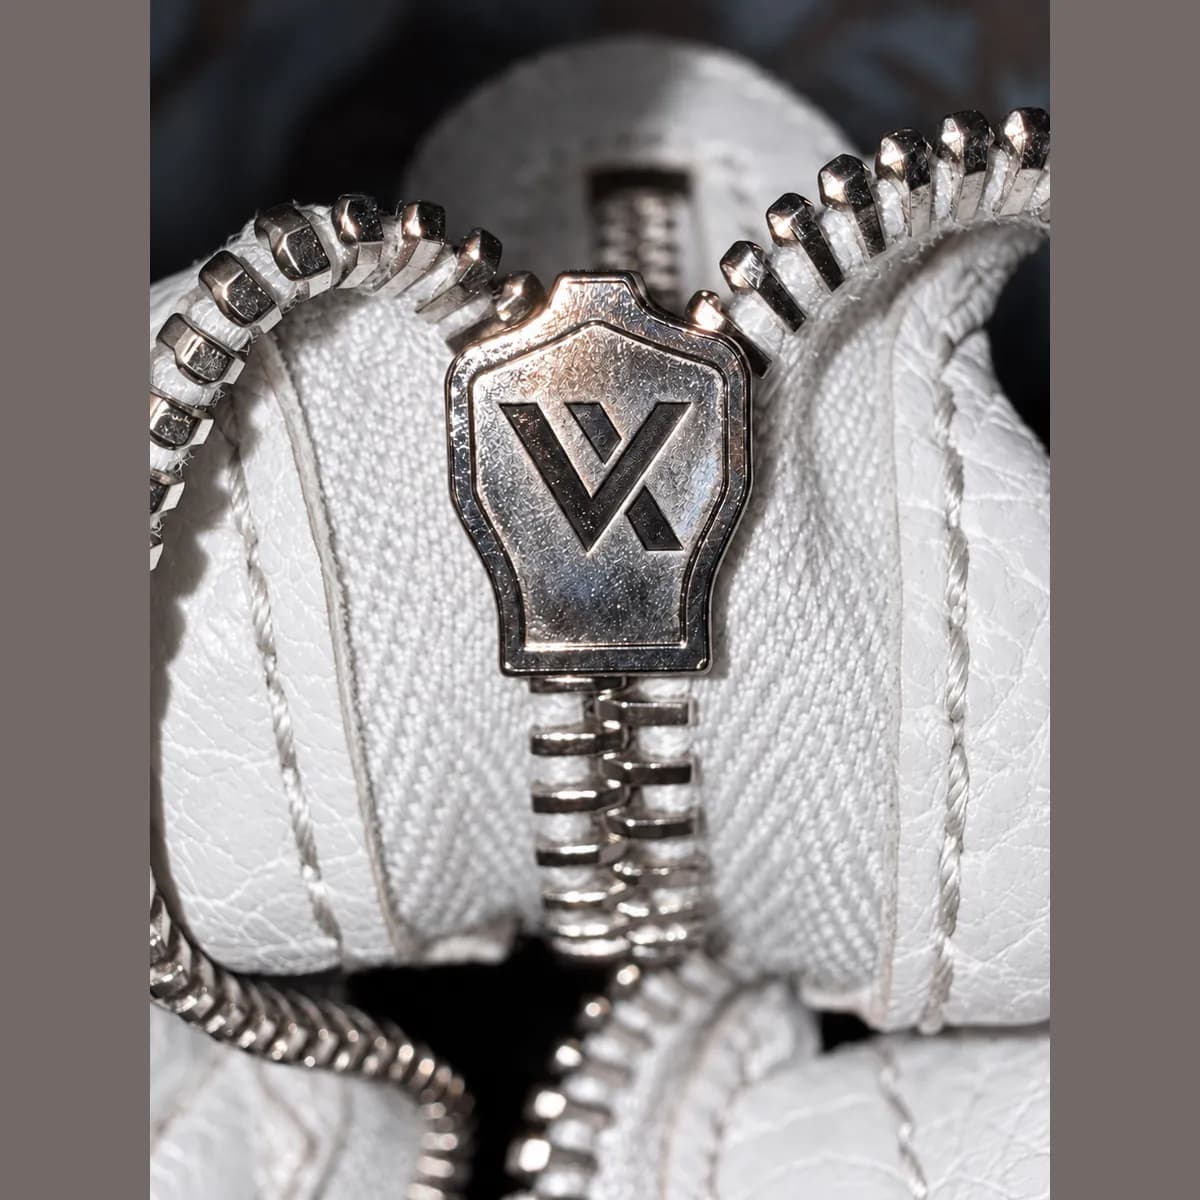
The Vereev app's photo guide for bags lists these 13 angles, with a sample photo for each. The numbers on the photos match the list.
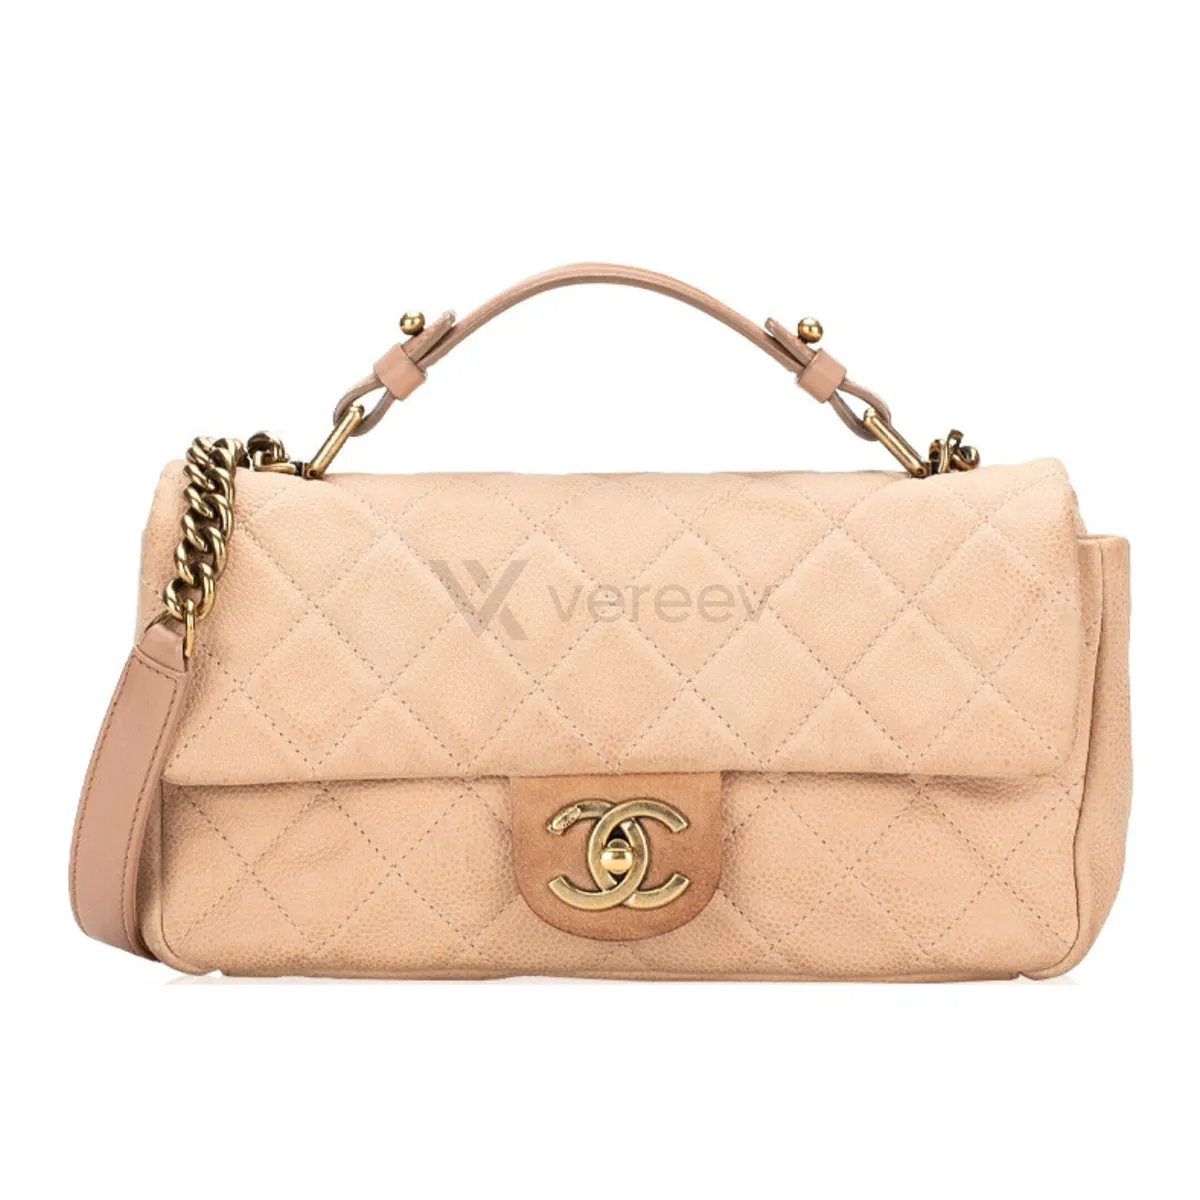
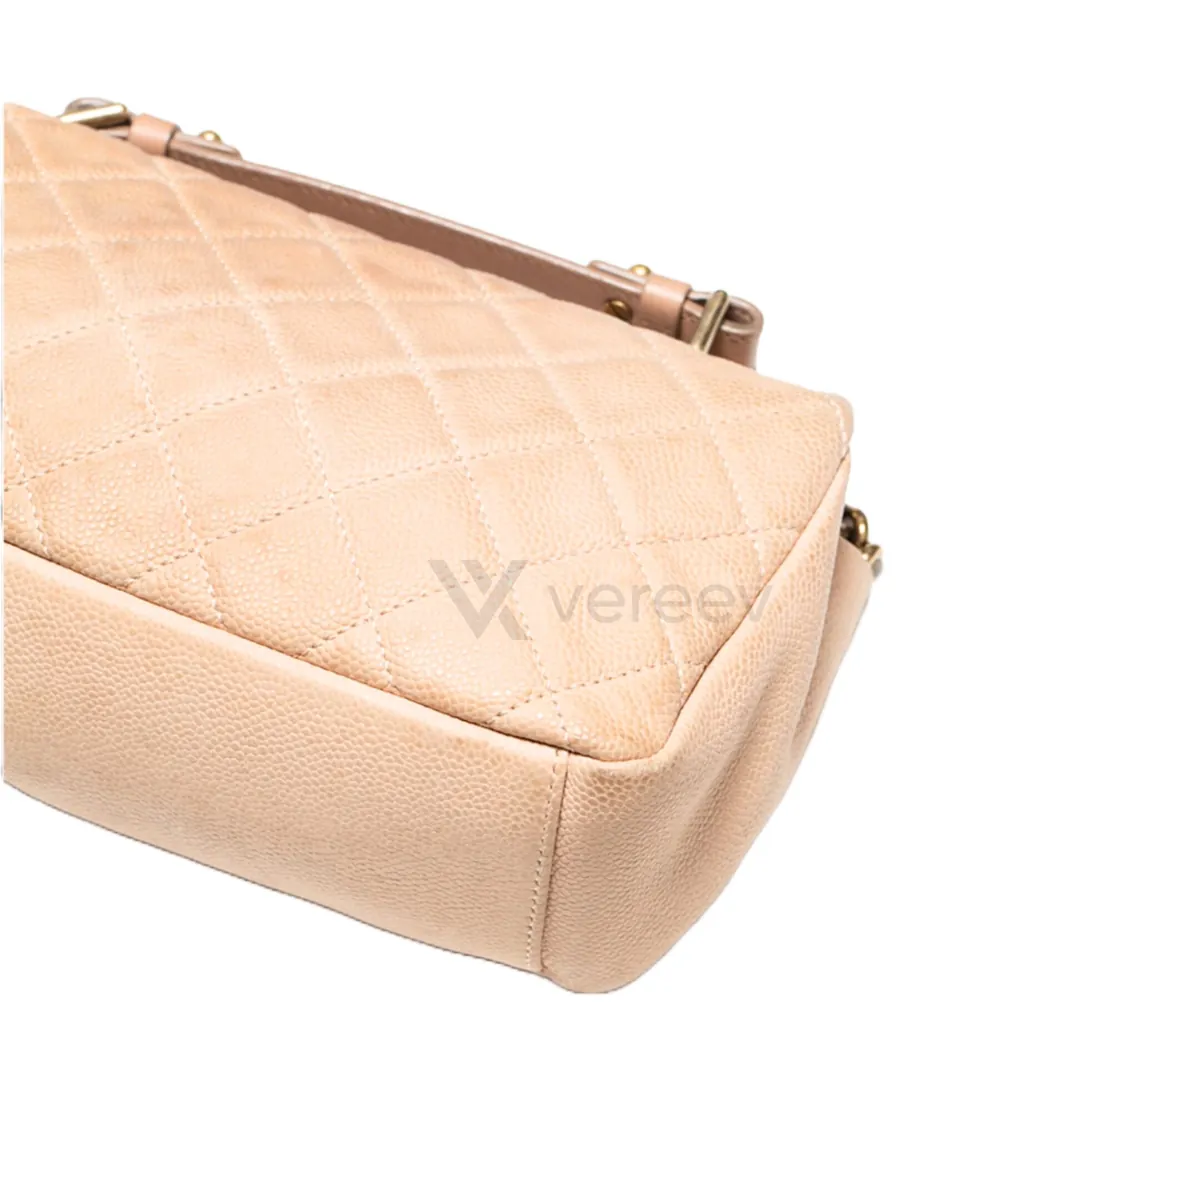
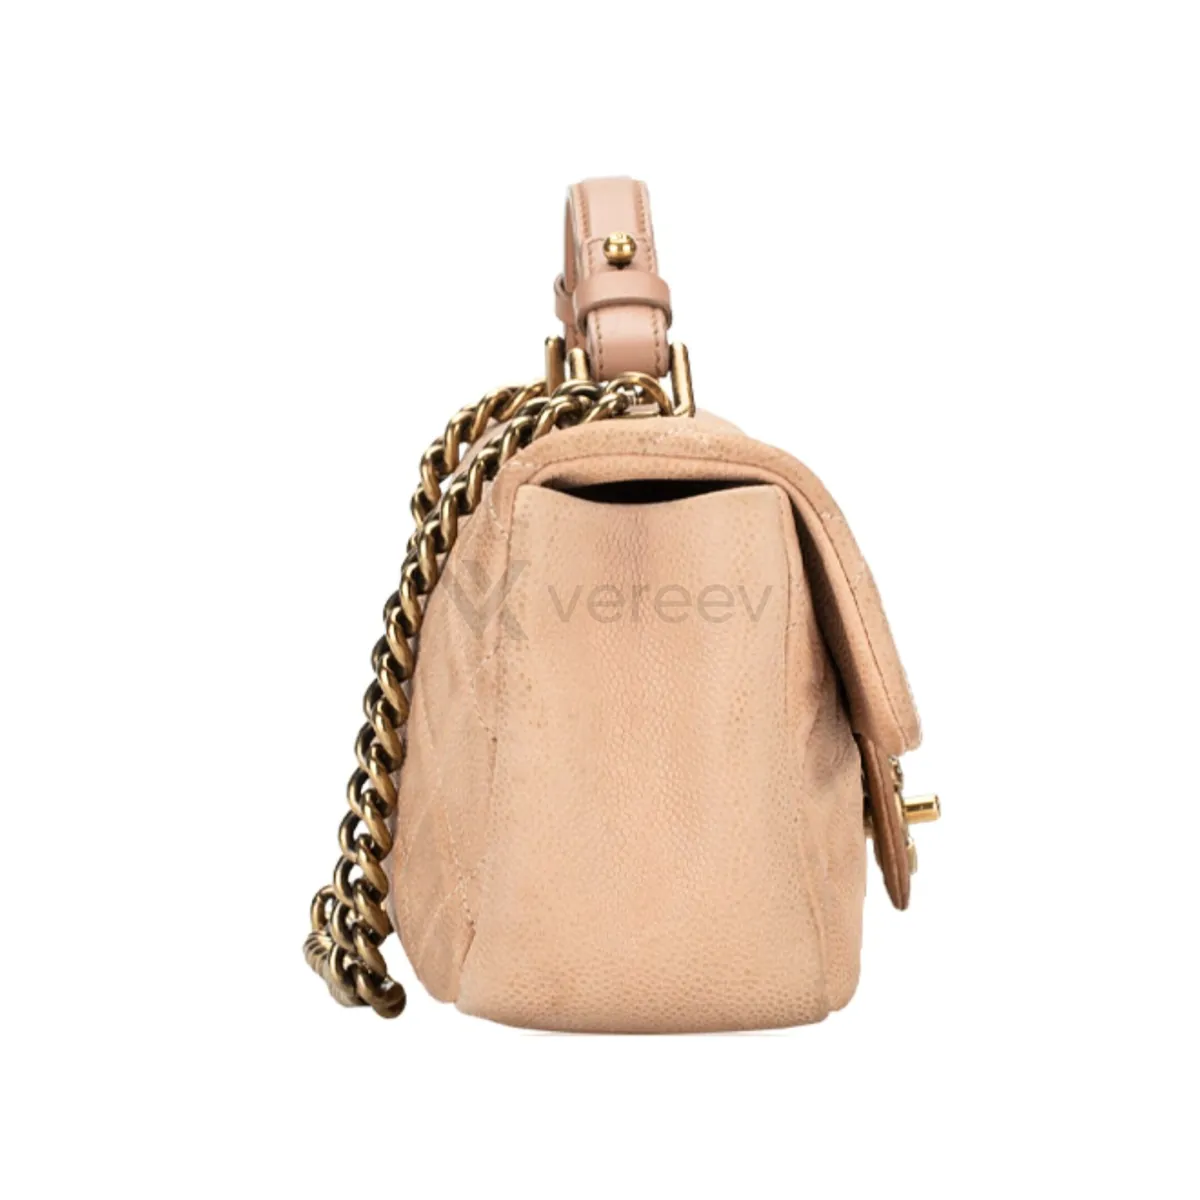
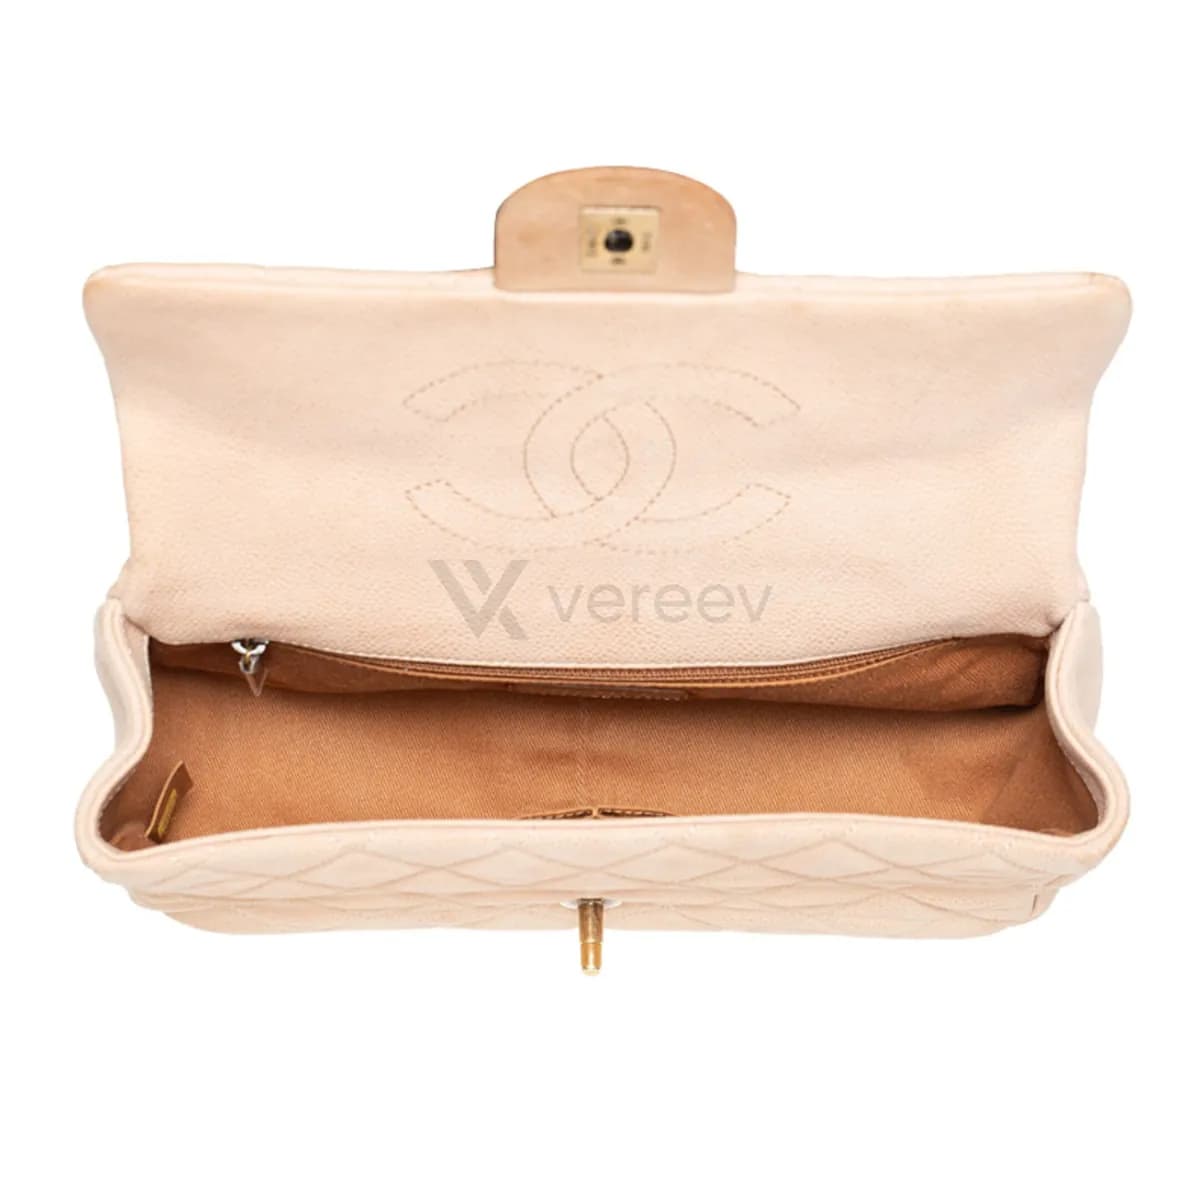
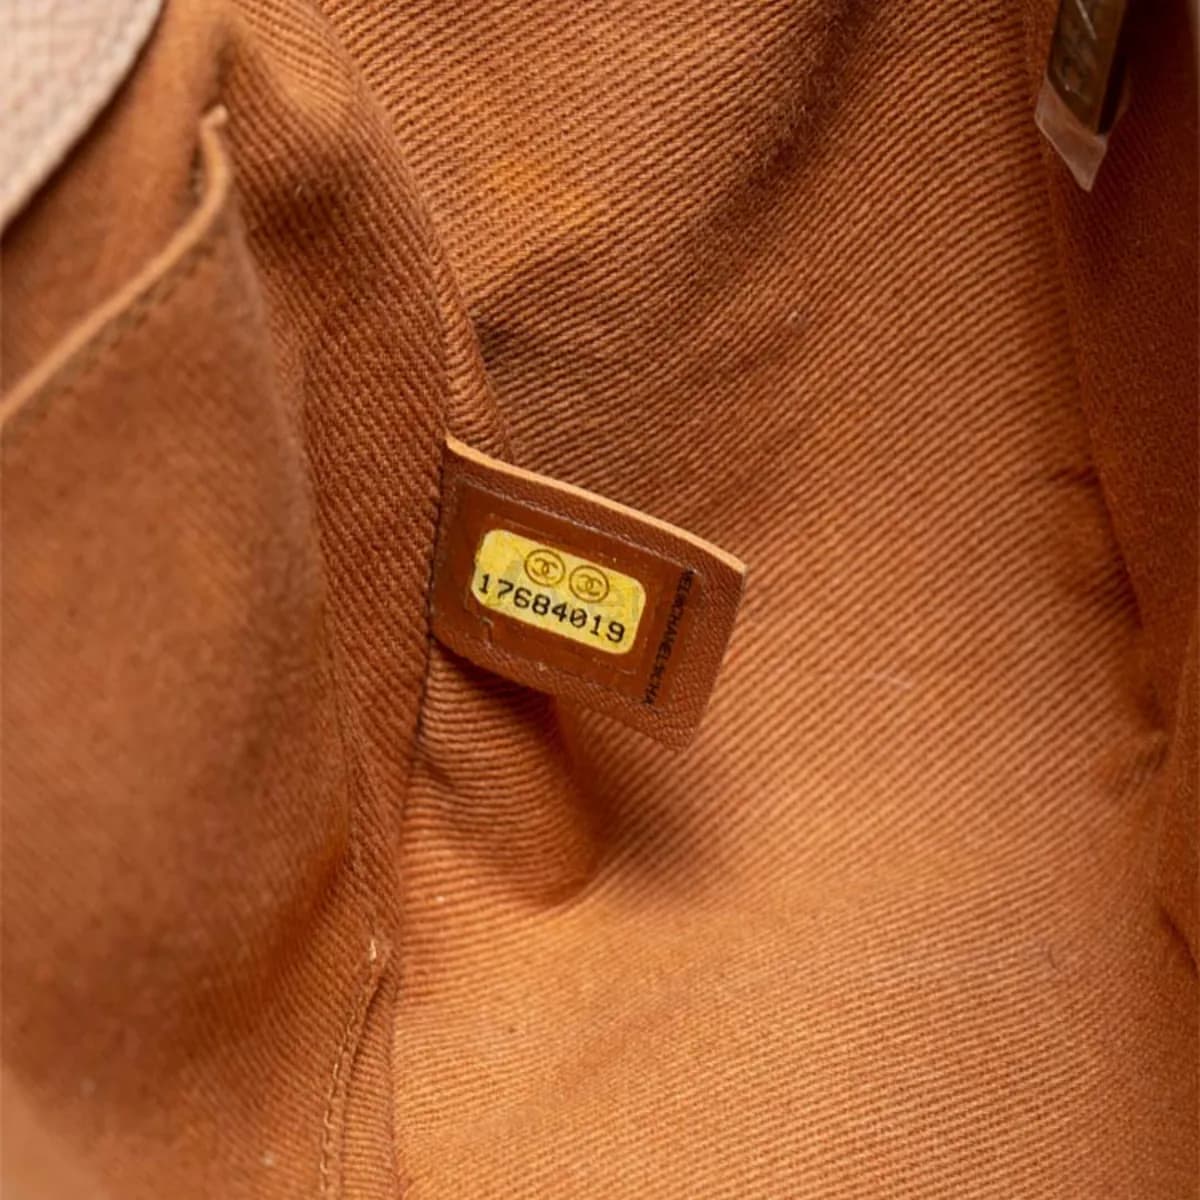
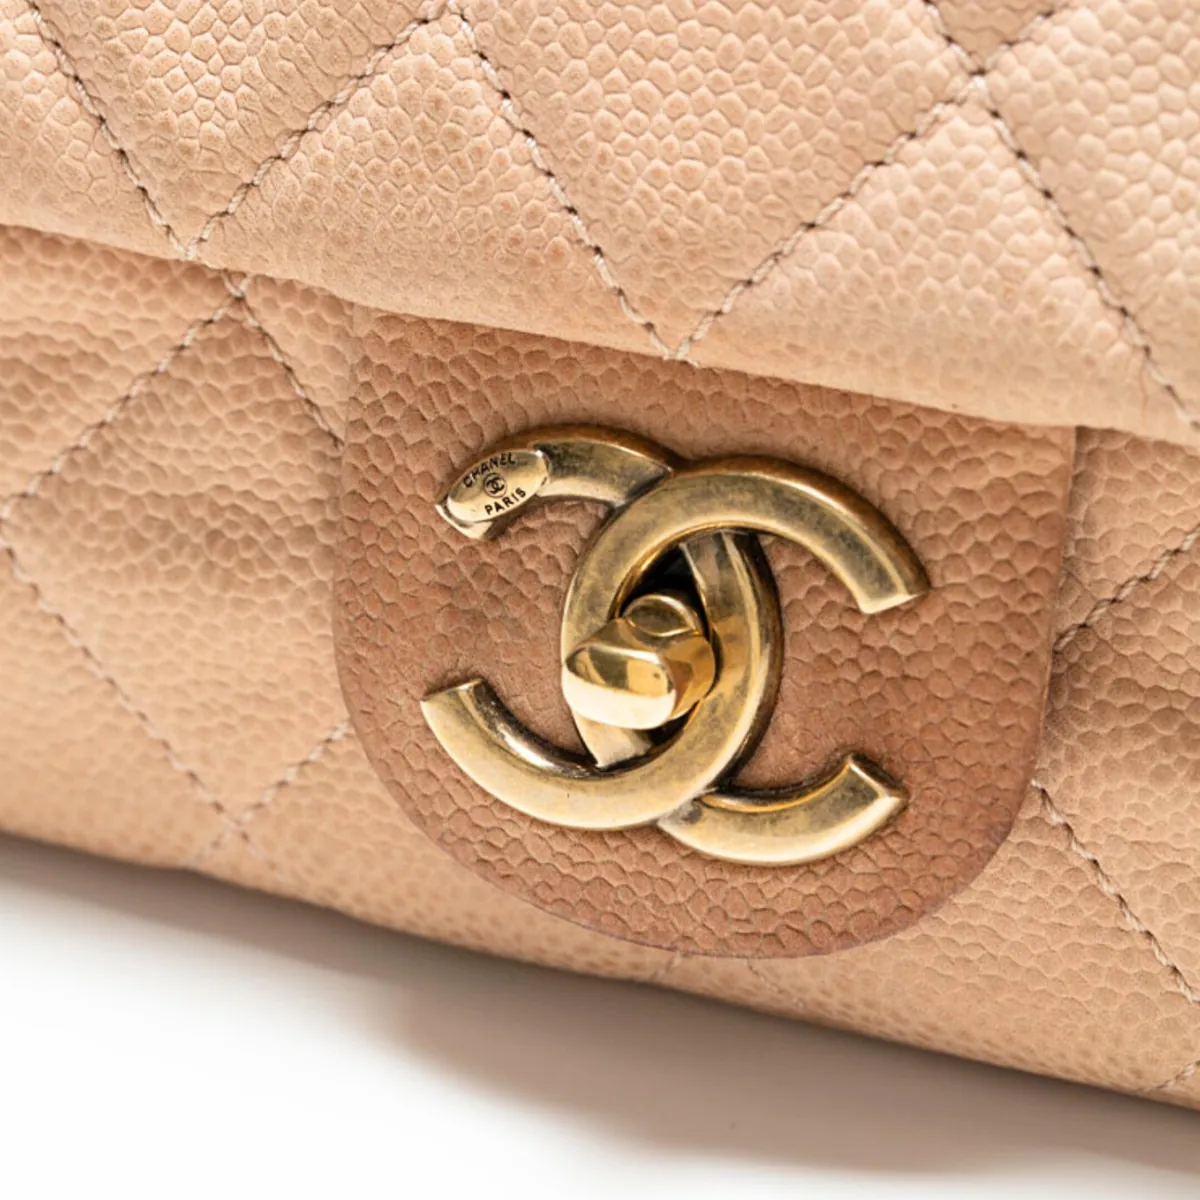
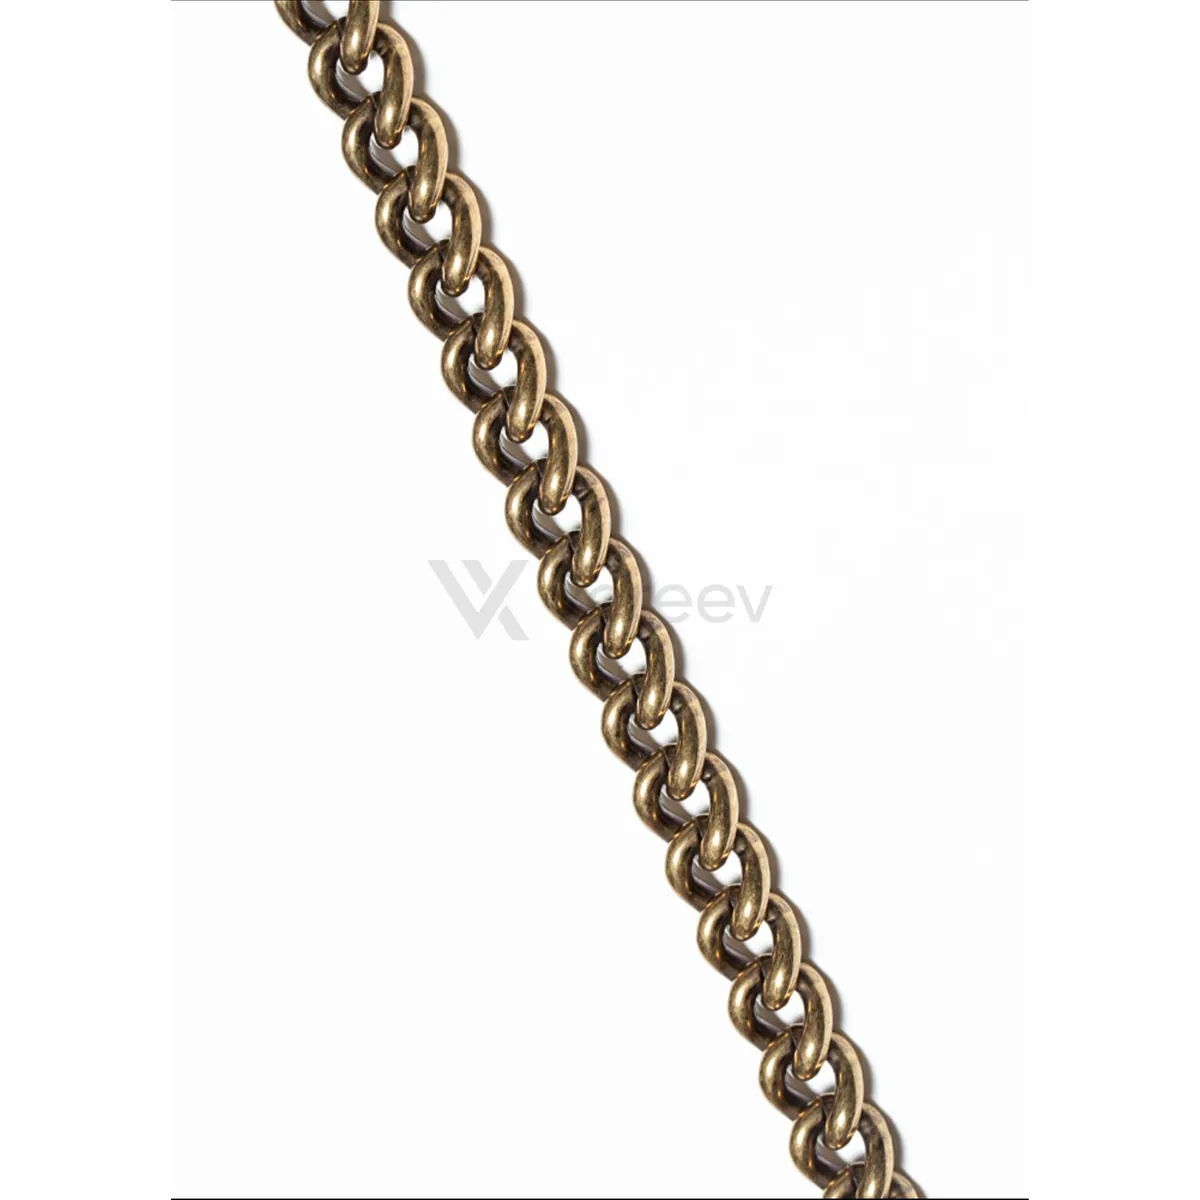
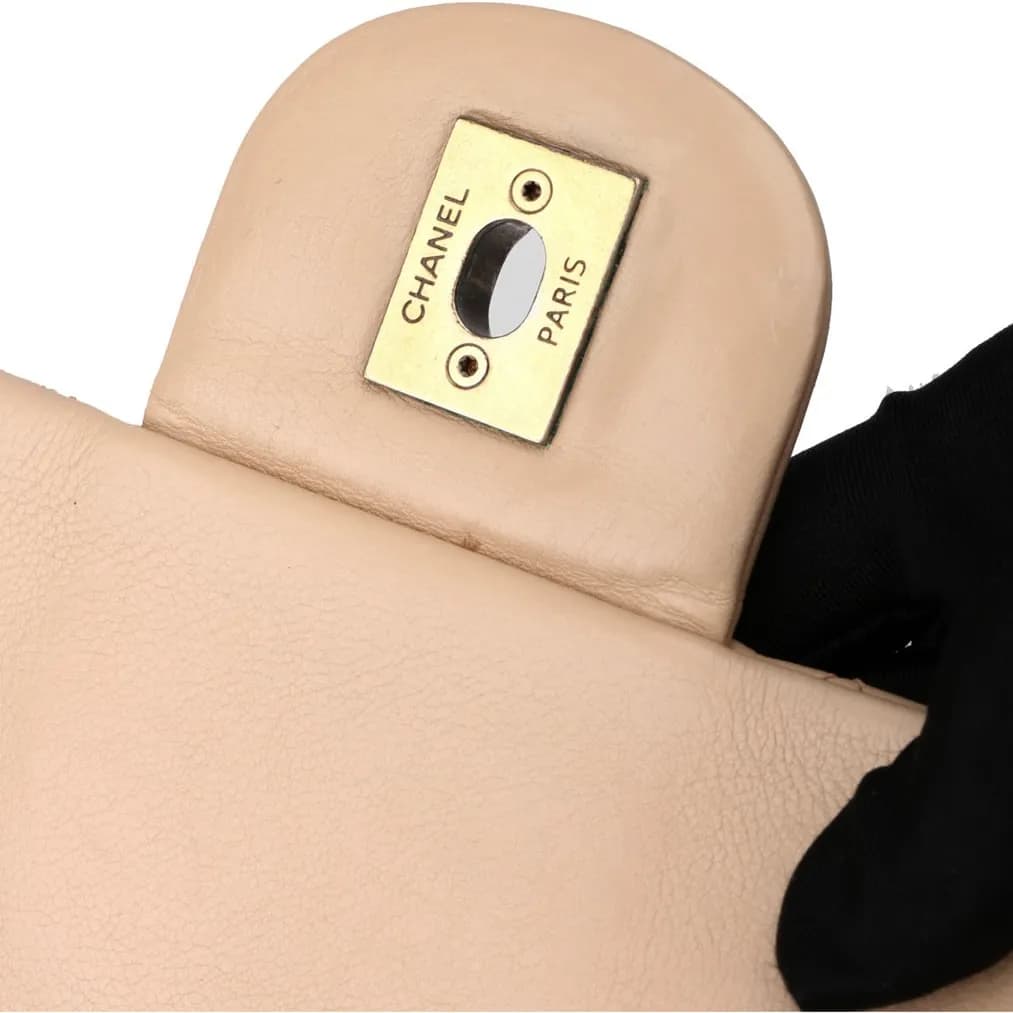
Front Appearance
Show the complete front shape, proportions, logo placement, and material condition.
Back Appearance
Capture the back side so panel alignment, structure, and wear can be compared.
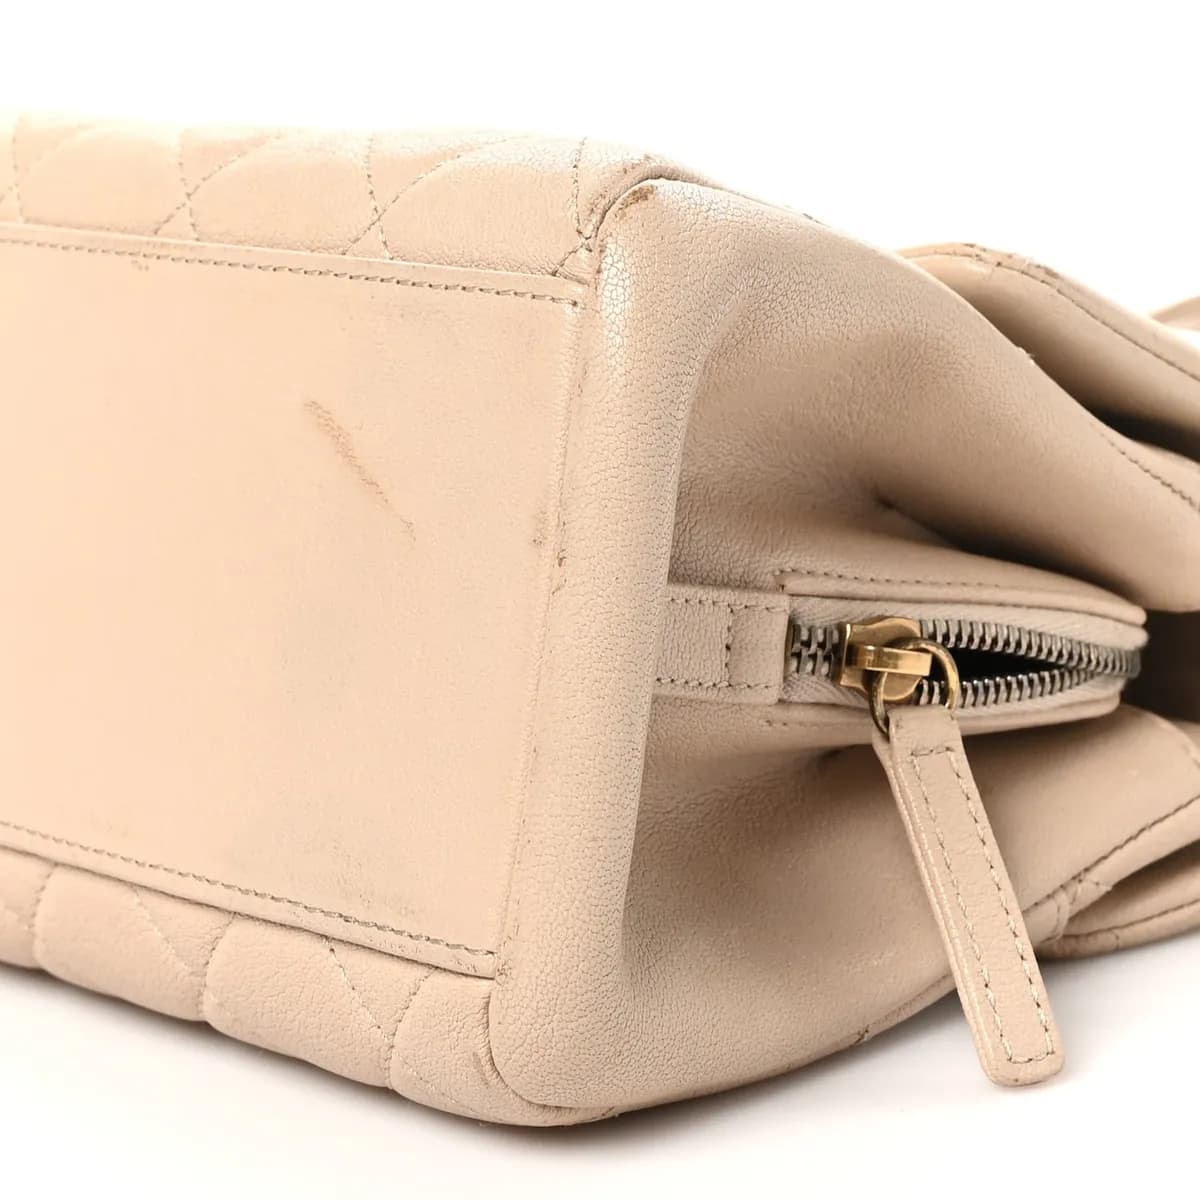
Side Profile
Show side shape, depth, seams, and how the bag holds its form.
Interior
Open the bag and photograph the lining, pockets, interior stamp, and construction.
Tag or Stamp
Capture tags, stamps, serial marks, or date codes in sharp focus.
Detail Close-up
Show stitching, glazing, corners, print alignment, or any detail that helps authentication.
Hardware
Photograph zipper pulls, clasps, buckles, engraving, and metal finish clearly.
Hardware Lettering with Logo
Photograph the hardware lettering and logo straight-on in sharp focus, including engraving depth, typography, spacing, screws, and metal finish.
Zipper Starting Point
Photograph where the zipper begins, including the anchor tab, zipper teeth and tape, surrounding stitching, and nearby construction.
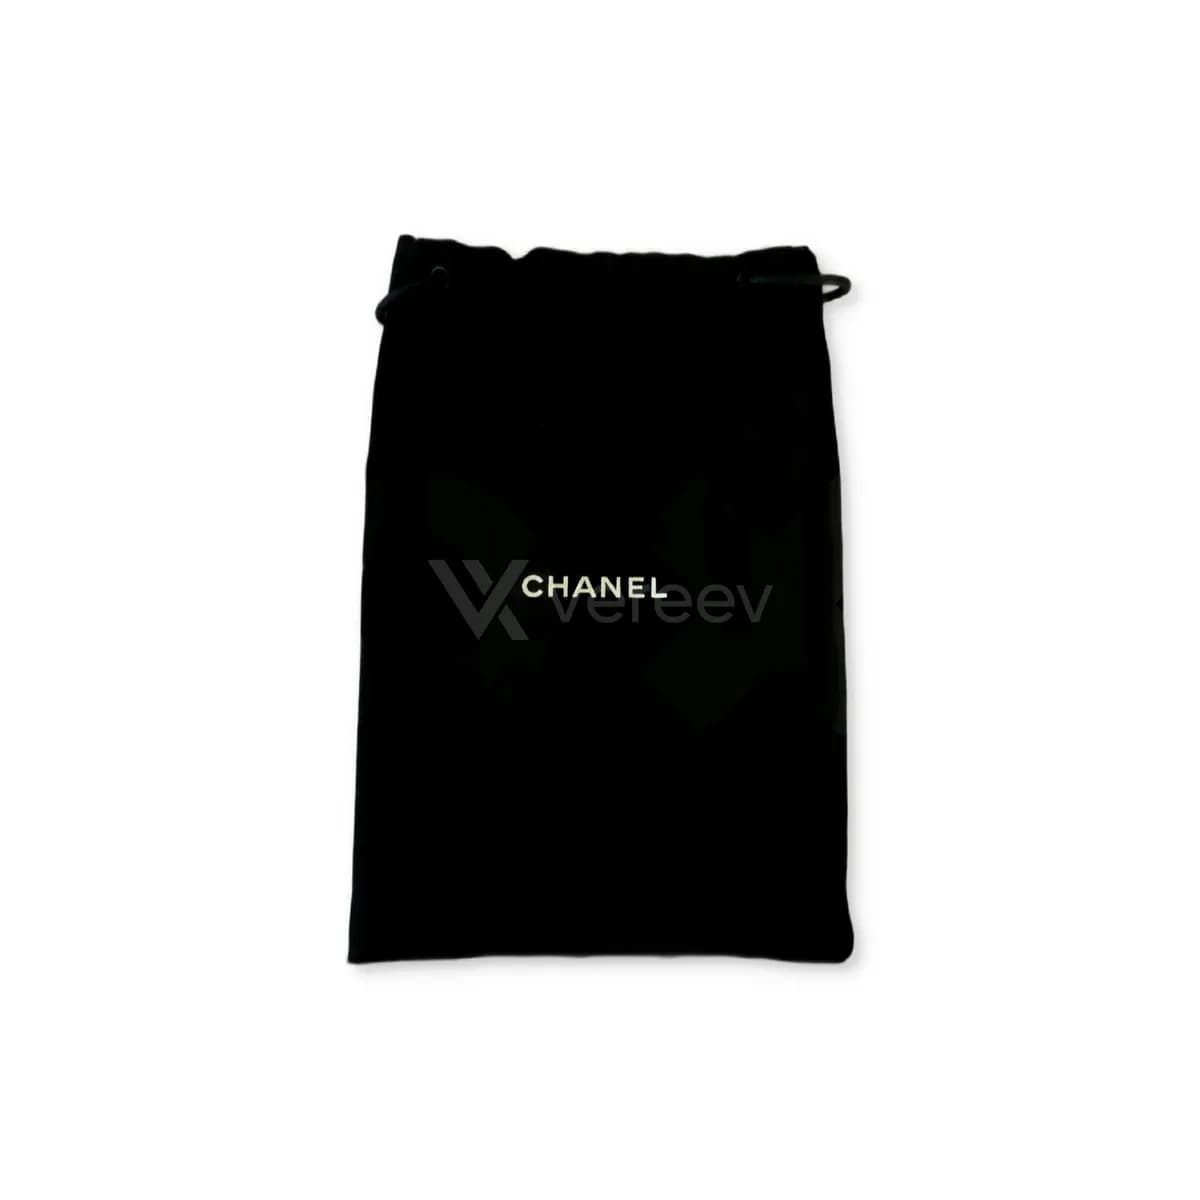
Dust Bag
Include the dust bag, care card, or packaging materials if available.
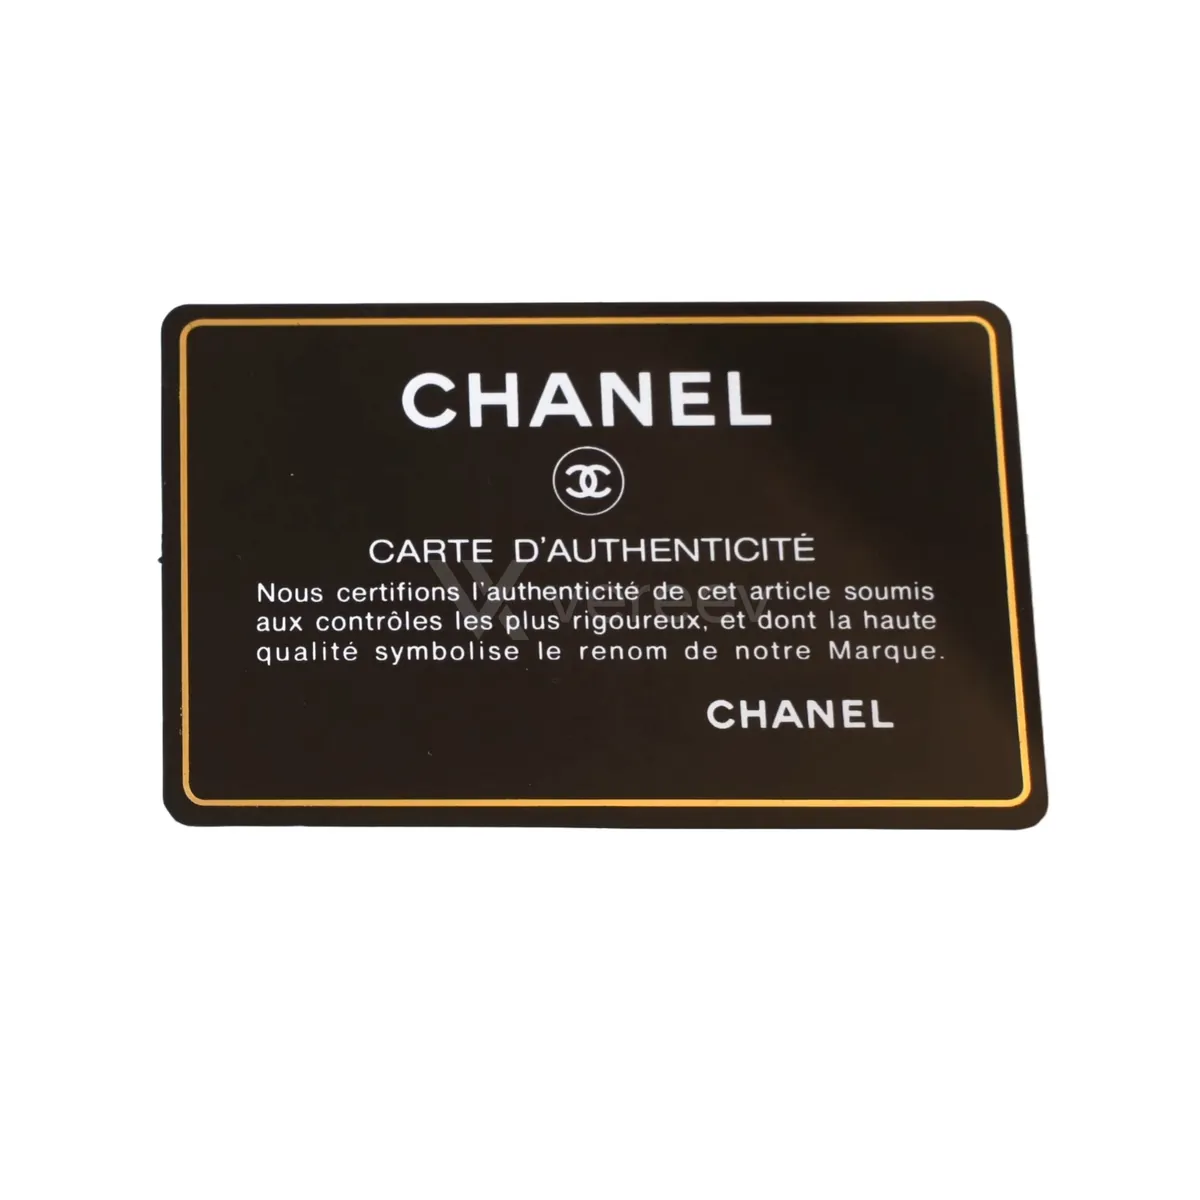
Authenticity Card
Add cards, receipts, barcodes, or documents that came with the bag.
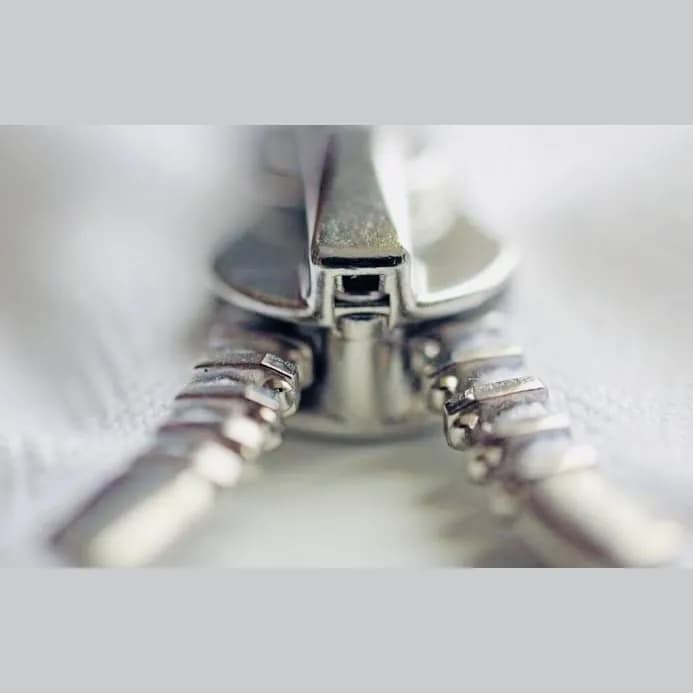
Zipper Slider (Front)
Photograph the front of the zipper slider in sharp focus, including the opening, metal edges, and surrounding zipper teeth.
Zipper Bottom
Photograph the zipper bottom in sharp focus, including any markings, metal finish, and surrounding zipper teeth.
Follow the same angles in the app
The Vereev app shows a sample photo for each angle when you submit a handbag. Sharp, same-item photos give the reviewer the evidence this page describes; packaging and documents help when you have them.
Open the full photo guide for bagsCommon questions
Handbag Authentication FAQ
How do I know if my designer bag is real?
Identify the exact model and compare structure, materials, construction, hardware, markings, and provenance as a complete evidence set.
Where can I authenticate a luxury bag online?
Use a service covering the exact brand and category that requires structured photos and provides a documented, verifiable result.
Can seller photos be used?
Yes, if they are original, complete, sharp, and show the exact item; inspect delivery against them later.
Continue with evidence
Relevant Vereev resources
Item-level review
Authenticate with Vereev
Use this guide to prepare the evidence, then submit the exact supported item for a documented result.