
Practical photo checklist
Designer Bag Authentication Photo Guide
Take clear designer bag authentication photos. Use this practical shot list for the full bag, logos, tags, codes, hardware, stitching, lining, corners, and provenance.
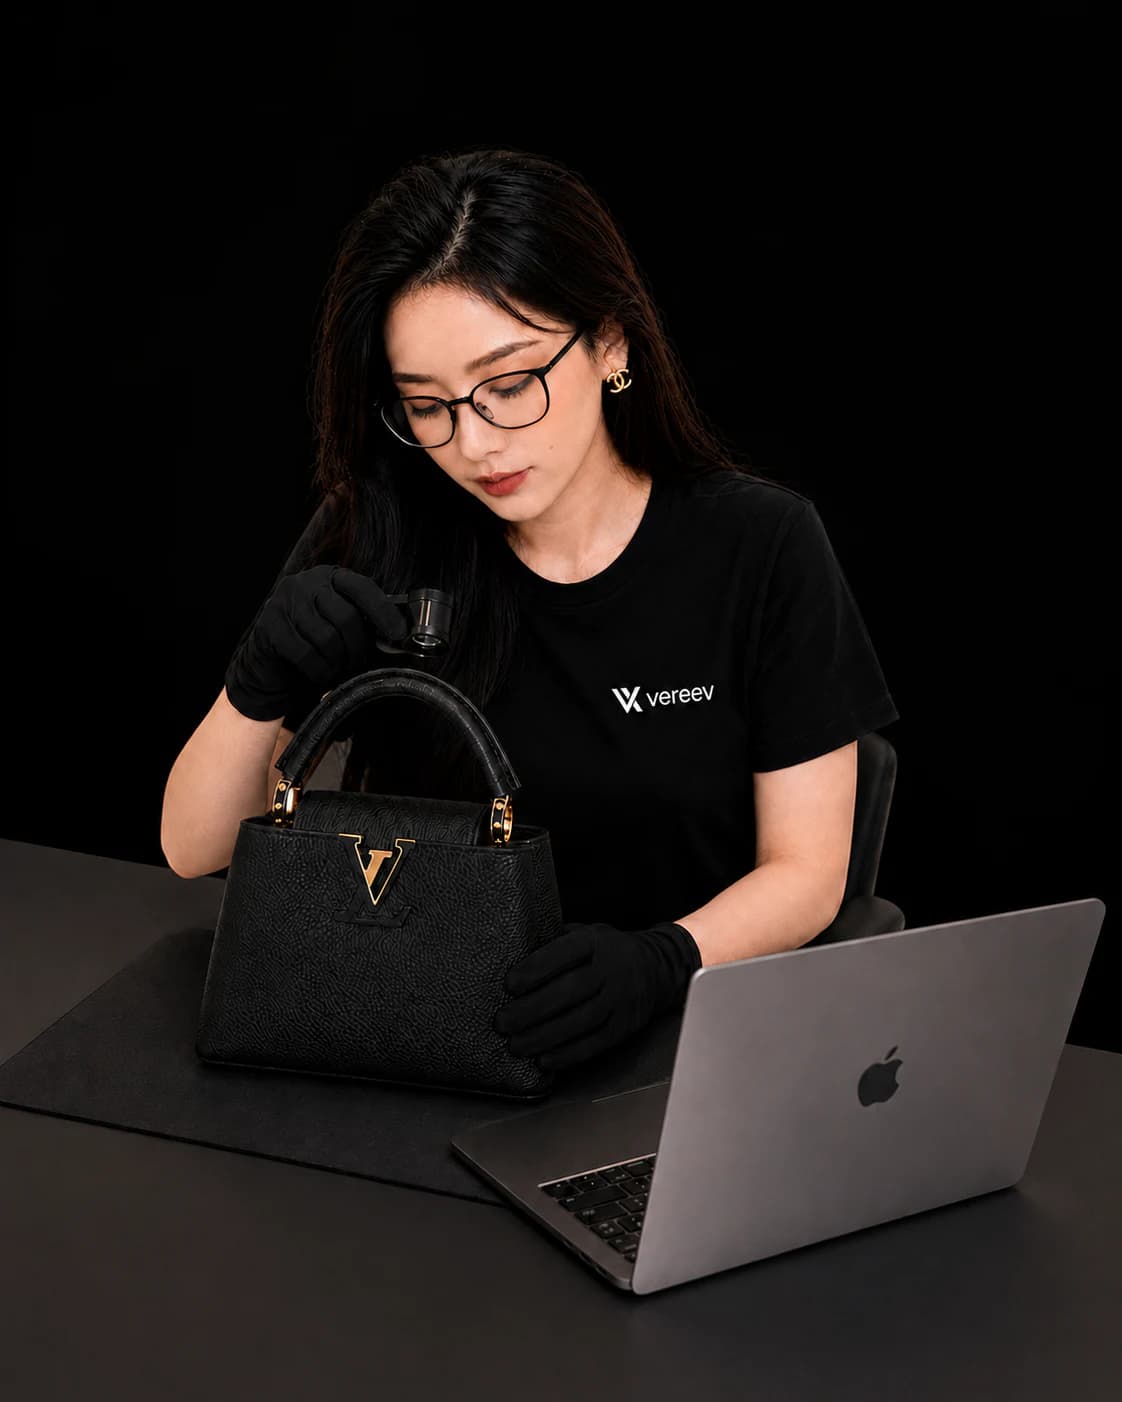
Quick answer
For bag authentication, photograph the full front, back, base, both sides, interior, logos, heat stamps, serial or date codes, hardware engravings, zipper construction, stitching, corners, handles, and any receipt or repair record. Use soft daylight, a plain background, and unedited high-resolution files.
Image quality determines which details can be evaluated. A beautiful listing photo is not necessarily an authentication photo: useful evidence is straight, close, evenly lit, and complete.
Set up the item and light
Use bright indirect daylight or two soft lights from opposite sides. Avoid hard flash, colored room lighting, portrait blur, and deep shadows. Place the bag on a clean, plain surface and wipe only loose dust; do not polish or alter it before documenting condition.
Use the main rear camera at its normal focal length when possible. Clean the lens, keep the phone parallel to the detail, tap to focus, and move closer rather than using heavy digital zoom.
Capture the complete bag first
Take the front, back, base, both sides, top opening, and interior. Include one image with the bag standing naturally and one with its handles and straps fully visible. These views establish proportions and show how details relate to the whole item.
- Do not crop corners, straps, handles, or the base.
- Photograph removable components separately.
- Include a ruler for dimensions when model identification is uncertain.
Photograph the authentication details
Capture every brand mark, interior tag, heat stamp, date or serial reference, care label, hardware engraving, zipper pull, snap, rivet, buckle, foot, and screw. Show the full detail in one frame and a sharp macro view in another.
Add stitch paths, edge paint, glazing, seam intersections, handle attachments, pocket construction, lining, and hidden corners. The back or underside of a component can be as useful as the visible face.
Separate wear from construction
Photograph scratches, tarnish, peeling, replaced parts, repairs, stains, and worn stamps. Include a wider context image so a reviewer can see where the damage is located. Wear can obscure authentic details, while a repair can introduce non-original thread or hardware.
Document provenance without exposing private data
If available, include receipts, service records, product labels, and packaging, but cover payment-card data, home addresses, phone numbers, and unrelated order information. Documents can support provenance but can be copied, transferred, or altered, so they are not substitutes for item photos.
Avoid the most common photo mistakes
Do not send screenshots, social-media downloads, collages that shrink details, filtered images, video frames, or files compressed repeatedly through messaging apps. Keep original files until the review is complete and provide additional angles when requested.
Sources and evidence
How this guide was researched
Vereev separates official brand information, established secondary references, first-party product information, and general buyer-safety guidance. Sources support context, not an authenticity verdict for an unseen item.
- Vereev bag photo guide with the app's 13 sample photos
Vereev original guidance
- Luxury Authentication Australia: photography tips
Industry photo reference
Read the full Vereev research methodology or request a correction.
Item-level review
Authenticate with Vereev
Use the guide to collect clear evidence, then submit the exact item through Vereev when you need an authentication result and digital certificate.
Vereev is an independent authentication service and is not affiliated with, endorsed by, or sponsored by the brands discussed in this guide. Educational guidance cannot replace an item-level review.